114
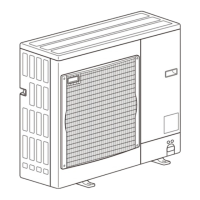
14 DISASSEMBLY PROCEDURE
1. Removing the top panel, service panel, front panel and
back panel
(1)Removethetoppanelfixingscrews(4×10),onefromthe
rightandtwofromtheleftside,anddetachthetoppanel.
(2)Remove1servicepanelfixingscrew(4×10)anddetach
theservicepanelbypullingitdownward.(SeePhoto1)
(3)Removethefrontpanelfixingscrews(4×10),5fromthe
front,2fromtherightand2fromtheleftside,anddetach
thefrontpanel.
(4)Removetheconduitcoverandcordcoverfixingscrew(2
pcs.4×10),anddetachtheconduitcoverandcordcover.
(SeePhoto2)
(5)Removethebackpanelfixingscrews(4×10),4fromthe
rightand3fromtherearside,anddetachthebackpanel.
2. Removing the fan motor
(1)Removethetoppanel.(SeePhoto1)
(2)Removethefrontpanel.(SeePhoto1)
(3)Remove1nut(M6,left-screw)anddetachthepropeller.
(4)DisconnecttheconnectorCNF1onthecontrollercircuit
boardintheelectricalpartsbox.
(5)Loosentheclampfortheleadwireinthemotorsupport.
(6)Remove4fanmotorfixingscrews(4×18)anddetachthe
fanmotor.(SeePhoto3)
Photo 1
Photo 2
Toppanel
Toppanel
fixingscrew
Servicepanel
Servicepanel
forchargeplug
Grille
Frontpanel
Photo 3
Propeller
Nut
Electricalpartsbox
Photo 4
Fanmotor
(MF1)
Fanmotorfixingscrews
Fanmotorfixingscrews
Motorsupport
Clamp
Conduitcover
andcordcover
fixingscrews
Cordcover
Conduitcover
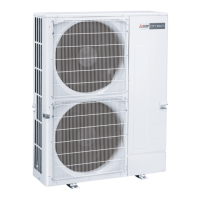
PUZ-A18NHA6 PUZ-A18NHA6-BS
PUY-A12/18NHA6 PUY-A12/18NHA6-BS
OPERATING PROCEDURE
PHOTOS
 Loading...