2 Setup
7
No. 99MBC109B
2
Setup
2.1
Unpacking
When unpacking for the rst time, check that the following components are
contained in the box.
Name Q'ty Name Q'ty
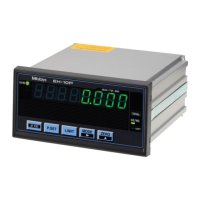
Linear Gage Counter (this product) 1 Stand 1
Washer (plain washer round, nominal
diameter: 4)
6 Rubber foot 4
User's Manual (this document) 1 DC plug (MP-121M) 1
AC adapter 1 Warranty 1
AC cable 1
Tips
An AC adapter and AC cable are not supplied with code No. 542-07x-1.
2.2
Mounting
2.2.1 Mounting on a Panel
Dimensions for the mounting holes in the panel
Width (mm) Height (mm) Panel thickness (mm)
138.5 to 139 68.3 to 68.7 1.0 to 3.2
Panel mounting procedure
1
Loosen the xing bracket mounting screws (see the following gure), and
then remove the xing brackets.
2
Insert the Counter main body from the front side of the panel.
3
From the back of the panel, reattach the xing brackets that you removed in
step
1
to the Counter and secure them.
Tips
Refer to the table below and select the number of
washers to use according to the thickness of the panel.
Panel thickness
(mm)
Number of washers
1.0 to 1.3 0
1.4 to 1.7 1
1.8 to 2.5 2
2.5 to 3.2 3
Fixing brackets
Front side
Fixing bracket
mounting screws
Washers
Rear side
 Loading...