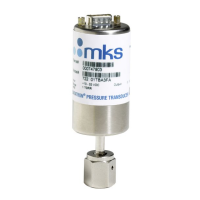
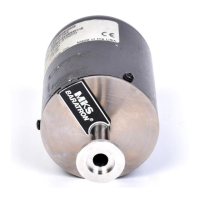
902B Abs Piezo Operation manual
Using the integrated touch display:
When the transducer is turned on, the initializing screen shows the transducer name while starting up. After
start-up, the screen automatically switches to the Main screen. To access the Menu, push anywhere on the
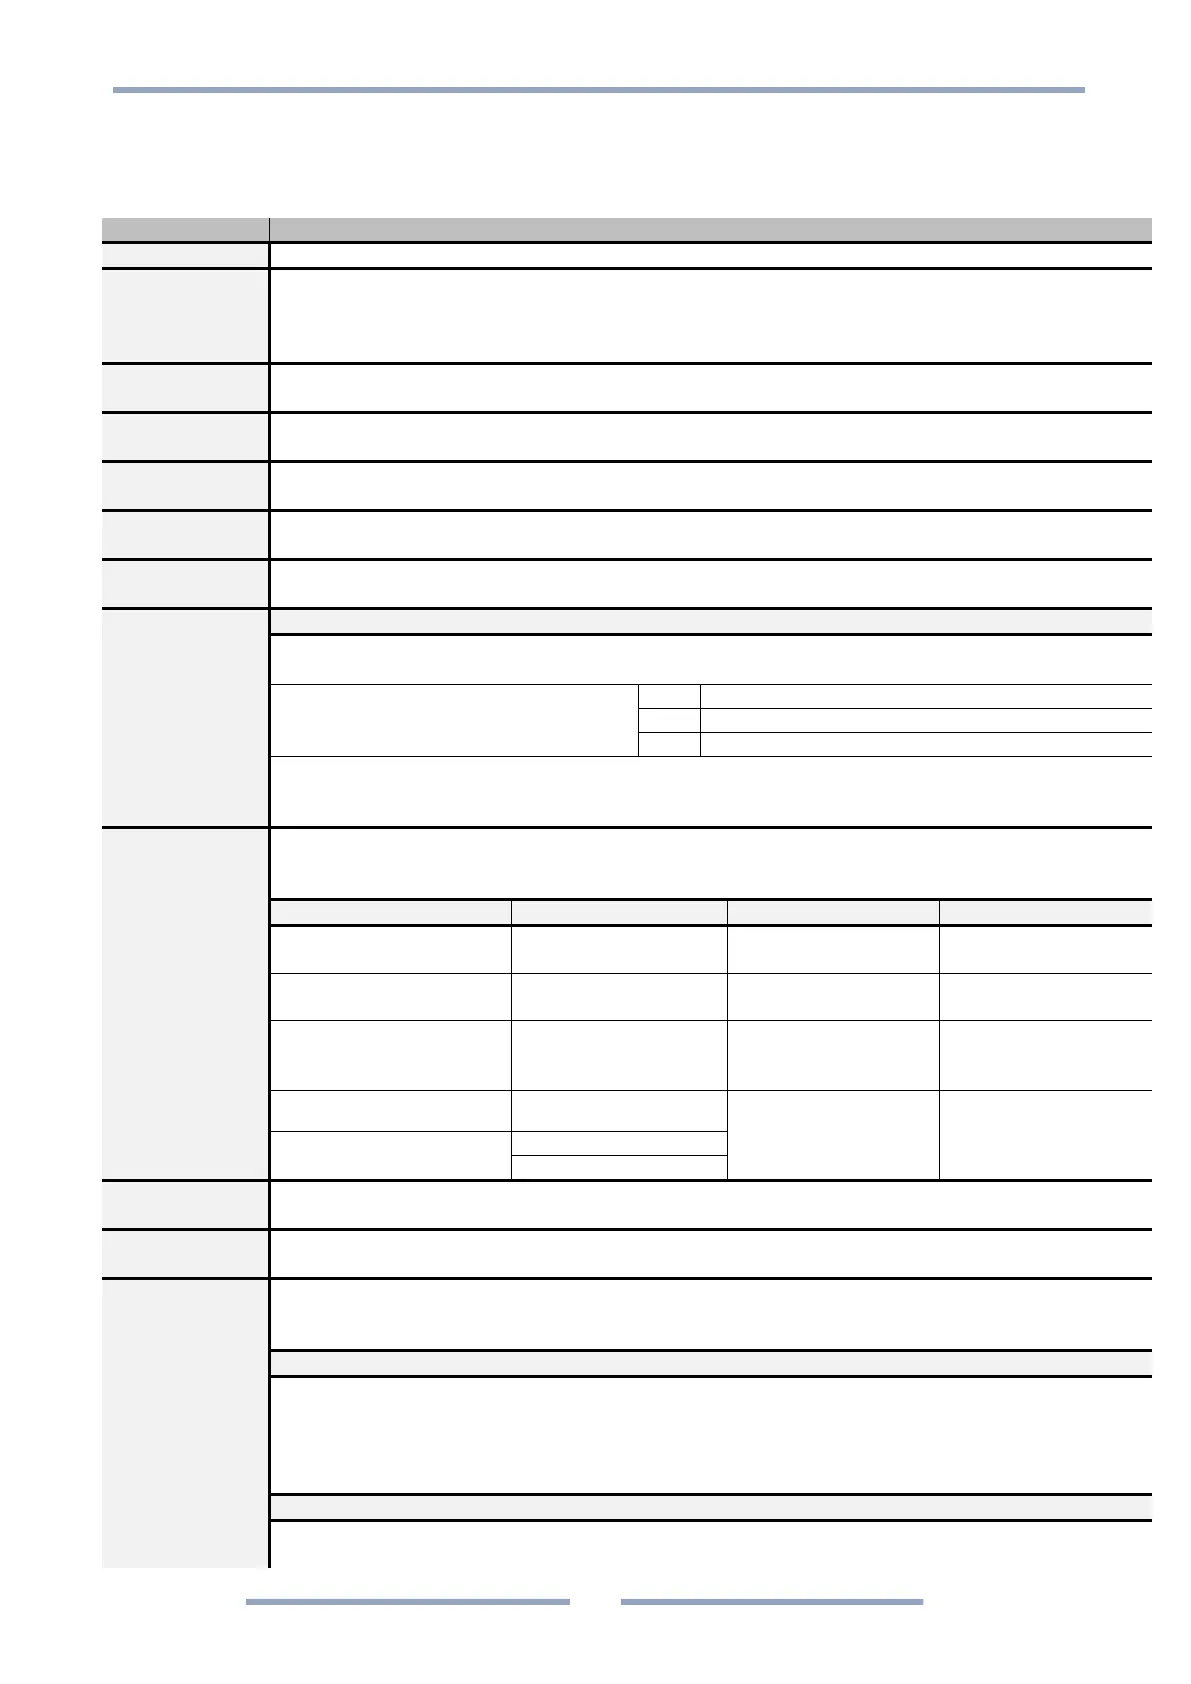
Main screen. The following table shows the different menus and options available:
MKS logo and transducer model
The Home screen shows the current pressure, the transducer model, the status of the setpoints,
the triggering direction of each setpoint and shows if an alarm is enabled.
The setpoint buttons and unit text give quick access to the separate Setpoint-screens and Unit
screen respectively.
The general Menu contains 4 buttons which lead to:
Settings, Sensor, Setpoints menu and Home.
The Settings menu contains 4 buttons which lead to:
Model info, Setup menu, Unit and Back
The Setup menu contains 3 buttons which lead to:
Screen rotation, Alarm and Back
The Sensor screen shows which sensor’s measurement is displayed on the Home screen
(green marked sensor).
The Setpoint menu contains 4 buttons which lead to:
Setpoint 1, Setpoint 2, Setpoint 3 and Back (to Menu)
Each Setpoint screen shows the setpoint status, the pressure unit, pressure triggering direction,
setpoint value and hysteresis value.
The setpoint status is indicated by:
Setpoint enabled ON (Green)
Setpoint enabled OFF (Red)
If the Setpoint screen is accessed via the Setpoint menu, pressing the screen will lead back to
the same menu. If accessed via the quick-access buttons on the Main screen, pressing the
screen will lead back to the Main screen.
The Model info screen shows the transducer type and model number and each screen has
different extra information. Press the screen to toggle through the different info screens and
eventually go back to Settings.
Transducer firmware
version
Setpoint delay 50ms
ON/OFF
Number of available
relays
Relay
communication delay
ON/OFF
The Unit screen displays the current pressure unit and gives the possibility to change the
pressure unit between Torr, Millibar or Pascal.
The Screen Rotation screen displays the current screen orientation and enables the operator to
rotate the screen in four directions.
A visual alarm can be set at a certain pressure.
Press the green or red button to enable or disable the alarm.
Press Set to change the alarm pressure value and triggering direction.
Setting pressure threshold:
The alarm value is set by selecting a digit (left and right arrow) and cycling through the numbers
0-9 and +/- (press up arrow or screen)
To accept, press right arrow until a green checkmark appears. Press again to proceed.
To cancel, press left arrow until a red arrow appears. Press again to proceed.
When the alarm is set, the operator selects whether the alarm triggers above or below the given
value.