79/160
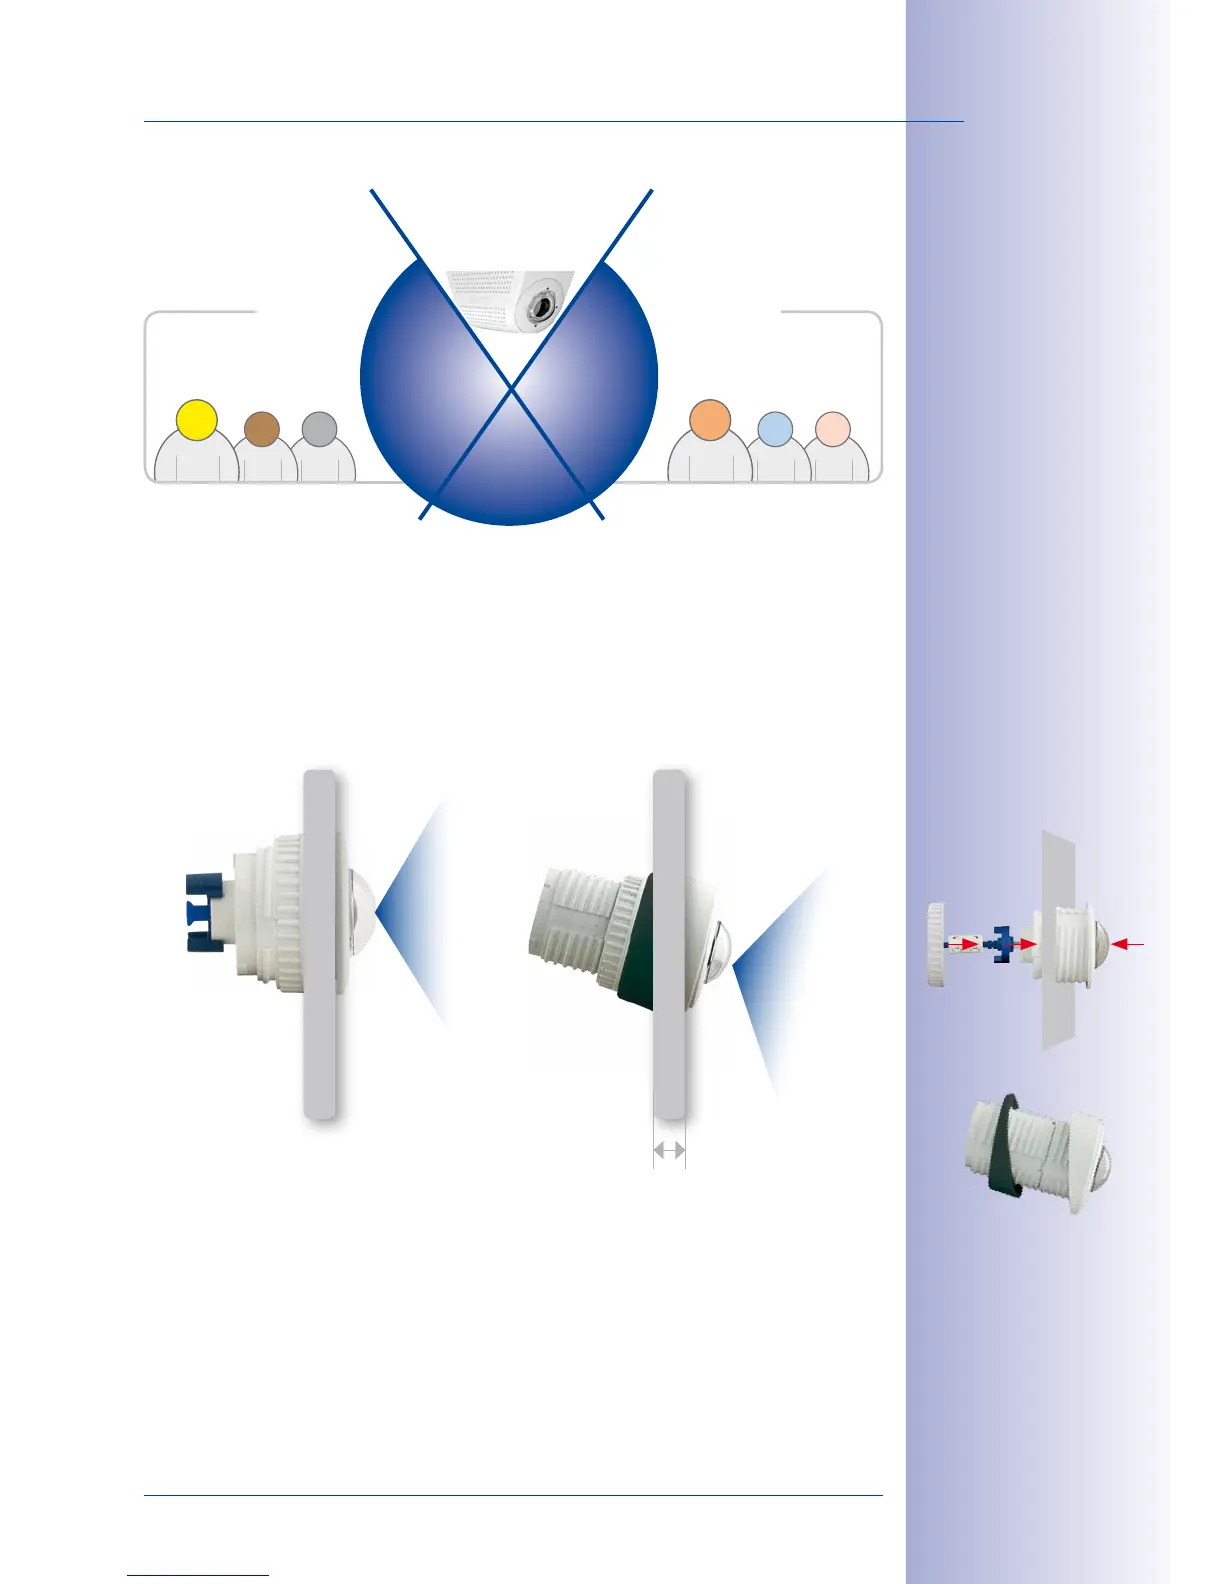
Determining the Installation Position
© MOBOTIX AG • Security-Vision-Systems • Made in Germany
www.mobotix.com • sales@mobotix.com
Wall-Mounting
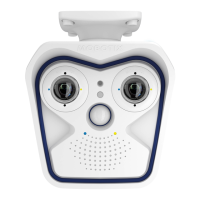
Mounting a S15D sensor module on a wall, for example, on basic partition walls or fake
walls with cavities behind the wall covering, is just as easy as mounting on a ceiling. Drill
a hole 45mm/1.77in diameter, fit the sensor module, fix from behind with a locknut and
connect to the base module. Depending on the installation height and the required cam
-
era focus, the camera can be installed with or without the wedge with 15° tilt available as
an accessory.
MOBOTIX also oers the appropriate installation accessories for mounting the sensor
module on thicker walls. Longer “tunnel holes” through a wall can also be bridged using
several extension pieces (each approx. 40mm/1.6in). The maximum wall thickness is
therefore only limited by the length of the sensor cable depending on the installation
position of the base module, which is in theory 2m/6.6ft.
Product preview:
SurroundMount
module with 2 x L12
sensor modules
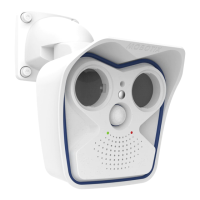
S15D SurroundMount:
6 megapixel 360° camera
Mounting with or without
15° wedge (accessories)
Diam. 50mm/2in*
Diam. 43mm/1.69in
15mm/0.6in
* Hole diameters vary
depending on mate-
rial thickness (see
«Size of the Drilling
Holes with Different
Material Thicknesses»
in
Section 2.1.1,
«Positioning a
Hemispheric Camera»
SurroundMount