Side Planking Above the Wale: Planking is
3/64” thick from the top of the wale to
the planksheer. From planksheer to
main rail, it is 1/32” thick. These planks
are fairly uniform in width from bow to
stern and can be easily fitted.
Laying the Planks in Belt A: Planks
below the wale are 1/16” thick.
Belt A
has ten strakes below the wale. The
maximum plank width is at
Bulkhead
H
(roughly 9” on the real ship or 1/8”
on the model). Planks taper forward to
about 3/32” and widen going aft. Use
1/8” wide strips for the midships area,
3/32” forward, and 3/16” aft.
Lift the plank widths from the hull
planking layout with a tick strip. If you
changed the locations of the battens,
divide the space on each bulkhead into
ten equal plank widths. Set the slide on
your proportional dividers to the num-
ber of planks in
Belt A. Span the width
of
Belt A with the long legs. The dis-
tance between the points on the short
legs is the width of each plank in the
belt. Mark these lines on the bulkheads
with a pencil.
The next step is to cut planks to fit
between the marks.
Belt A doesn’t
require spiling, so make straight tapered
planks. Start at
Bulkhead H. Use four
planks; one from
Bulkhead H to
Bulkhead L, another from Bulkhead L
to the stern, Bulkhead H to Bulkhead
D
, and Bulkhead D to the stem. First,
lay a piece of planking stock over
Bulkheads H through L. In pencil, mark
their overall length on the plank, then
the position of each bulkhead. Next,
using a set of dividers or tick strip, lift
the plank widths from the marks on the
bulkheads and transfer to the stock.
Draw a line thr
ough the points and cut
the plank. Trace this tapered plank to
obtain another for the other side of the
hull. Repeat for the r
emaining planks
in
Belt A.
Install these planks on the hull. Follow
the same procedure for the next strake,
but stagger the butts. Install a plank
fr
om
Bulkhead G to Bulkhead C,
Bulkhead C to the stem, Bulkhead G
to Bulkhead K, and Bulkhead K to the
stern. The hull now has four planks
comprising each strake fr
om bow to
stern (Figur
e 2-5).
Move down to the next planking
strake. Stagger the butts starting at
Bulkhead F. Continue until this strake
is finished, then complete the others in
Belt A. Most planks have a sever
e bend
at the stern and must be steam bent.
Laying the Planking in Belt B and Belt C:
These belts have 10 strakes about the
same width as those in
Belt A. If the
temporary batten is still in place, remove
it. Lay the planks for
Belt B and Belt C,
but remember to stagger the butts.
Laying the Planking in Belt D: This belt
contains the garboard strake (next to
the keel) and has only eight strakes.
Near the stern are two stealers fitted
per the plans.
Sheet 2 shows a complete planking pro-
file. Follow it to determine the plank
widths in
Belt D aft. The hull planking
layout doesn’t show all the planks aft,
so the profile view is necessary.
Plank Variations within a Belt: Suppose a
belt has nine planks the same width,
but the tenth plank must be wider to
complete the belt. Cause for worry?
Certainly not. No planking job, even on
real ships, is that precise. After all,
these are hand-cut planks and slight
variances will occur. The important
thing is to keep their flow smooth.
Fashion Piece: When planking is com-
pleted, add the fashion piece at the
stern (Figure 2-6).
15
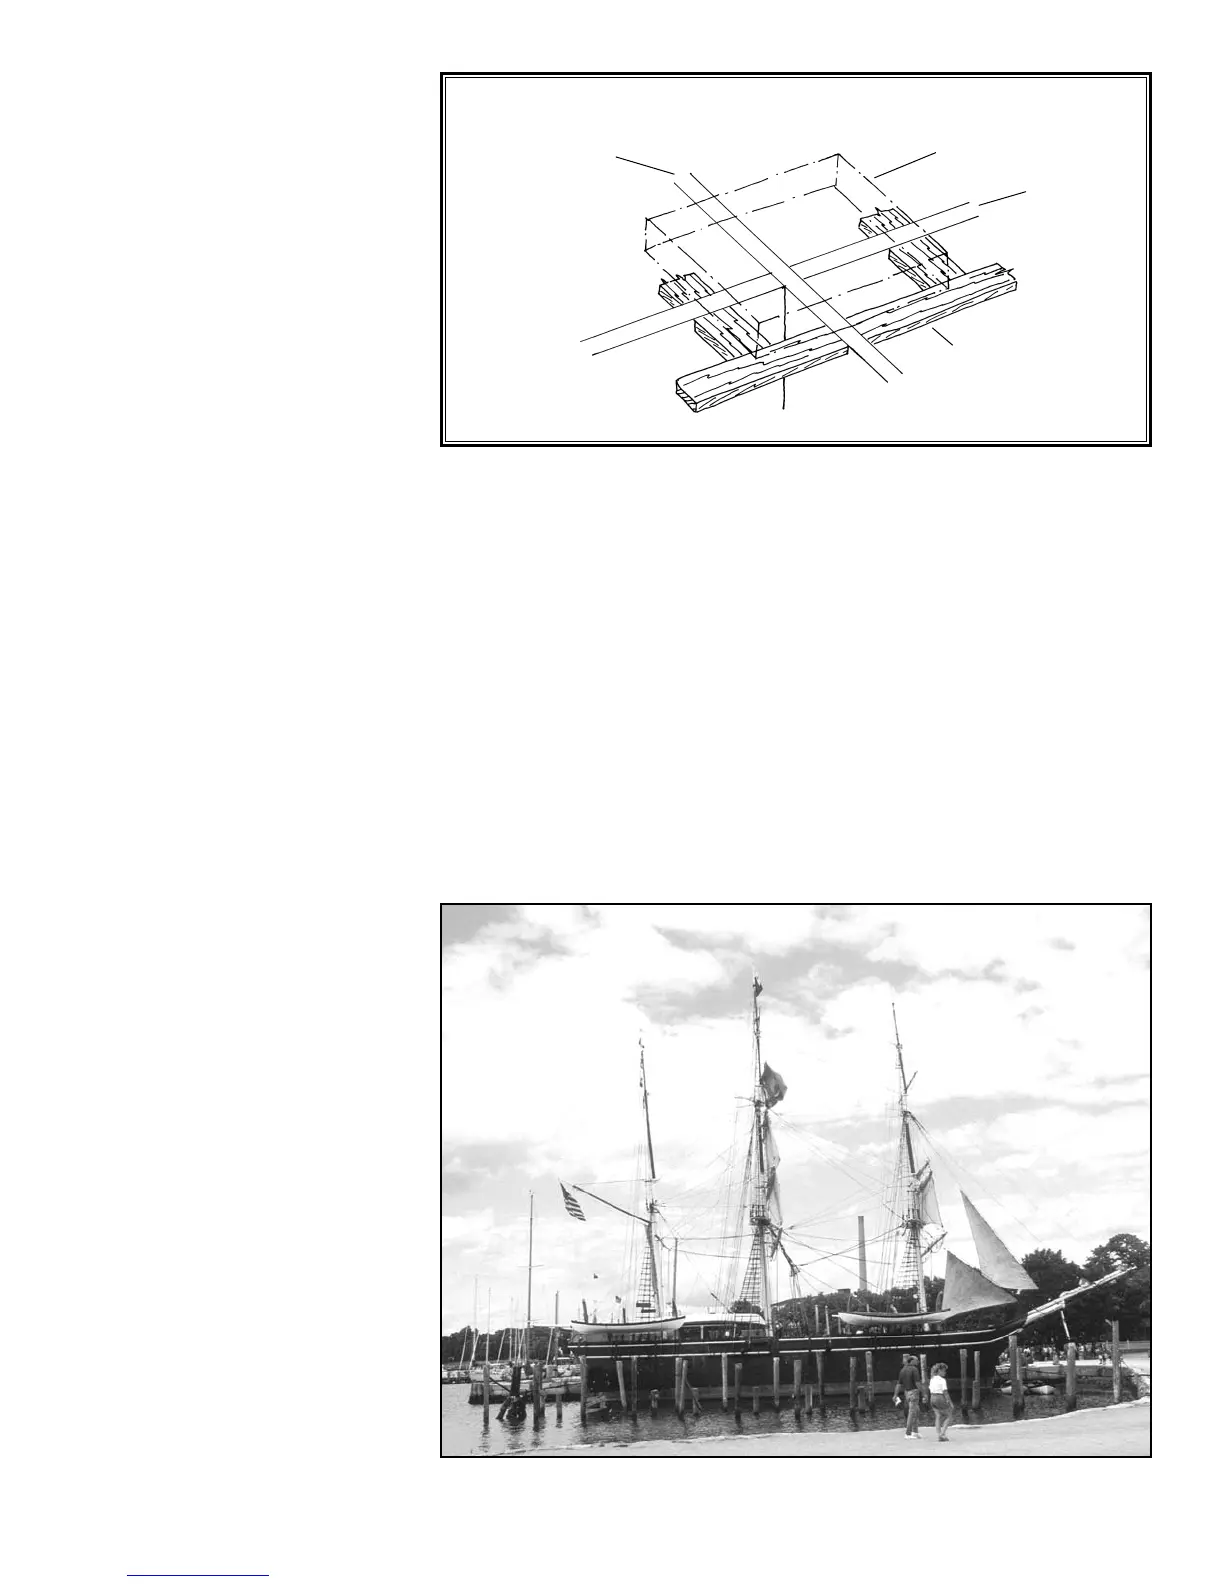
Fig. 2-7 Installing Deck Hatch Coaming Supports
Bulkhead
Coaming
Center keel
W
ood support
under coaming


 To Next Page