Mounting the Hull
Before proceeding farther, mount the hull
to prevent damaging fittings when han-
dling the model. Proper mounting is
important, because future alignments will
require a true waterline. This kit contains
two brass pedestals and a baseboard for
displaying the model. A second option,
called the launching ways, can be made by
hand or purchased. Feel free to devise
your own approach. To avoid damaging
the base, mount the model to a flat, true
work board until finished. The method of
mounting remains the same.
Models should be cased to protect them
from dirt and damage. Furthermore, most
competitions require entries to be cased. A
case is a cheap insurance policy. However,
the kit’s baseboard may be too small to serve
as the base for the case. A case’s outside
diameter should be 4” longer than the model
(2” fore and aft), 4” wider (2” port and star-
board) and 2” higher. If the baseboard does-
n’t measure 34-3/4” long by 14-1/8” wide,
make a new one to accept a case.
1. Baseboard with 2 Pedestals
Round the top edges of the baseboard or
cut a simple chamfer. Those with access to
a router can cut mouldings along the
edges. Paint or stain the baseboard.
Alternatives: Prefinished baseboards are
available or make your own from cherry,
walnut, bubinga, or rosewood.
Mount the model so the copper line is par-
allel to the baseboard. Drill pilot holes in
the keel and baseboard for the pedestal
screws. If something goes awry and the
balance is off, add a brass shim under one
pedestal to correct it.
2. Launching Ways
Launching or building ways, available as
a kit from Model Expo, is another method
of mounting. It is most suitable for models
without sails. Drill the keel to accept the
rods anchoring the model to the ways.
Launching ways are easily adapted to
mounting on the baseboar
d and permit
the builder to create a mini-diorama based
on a shipyard activity. Follow directions in
the launching ways kit to achieve the
proper waterline level.
Note: Stain or paint the baseboar
d or
launching ways before mounting the hull.
Adding Hull Details
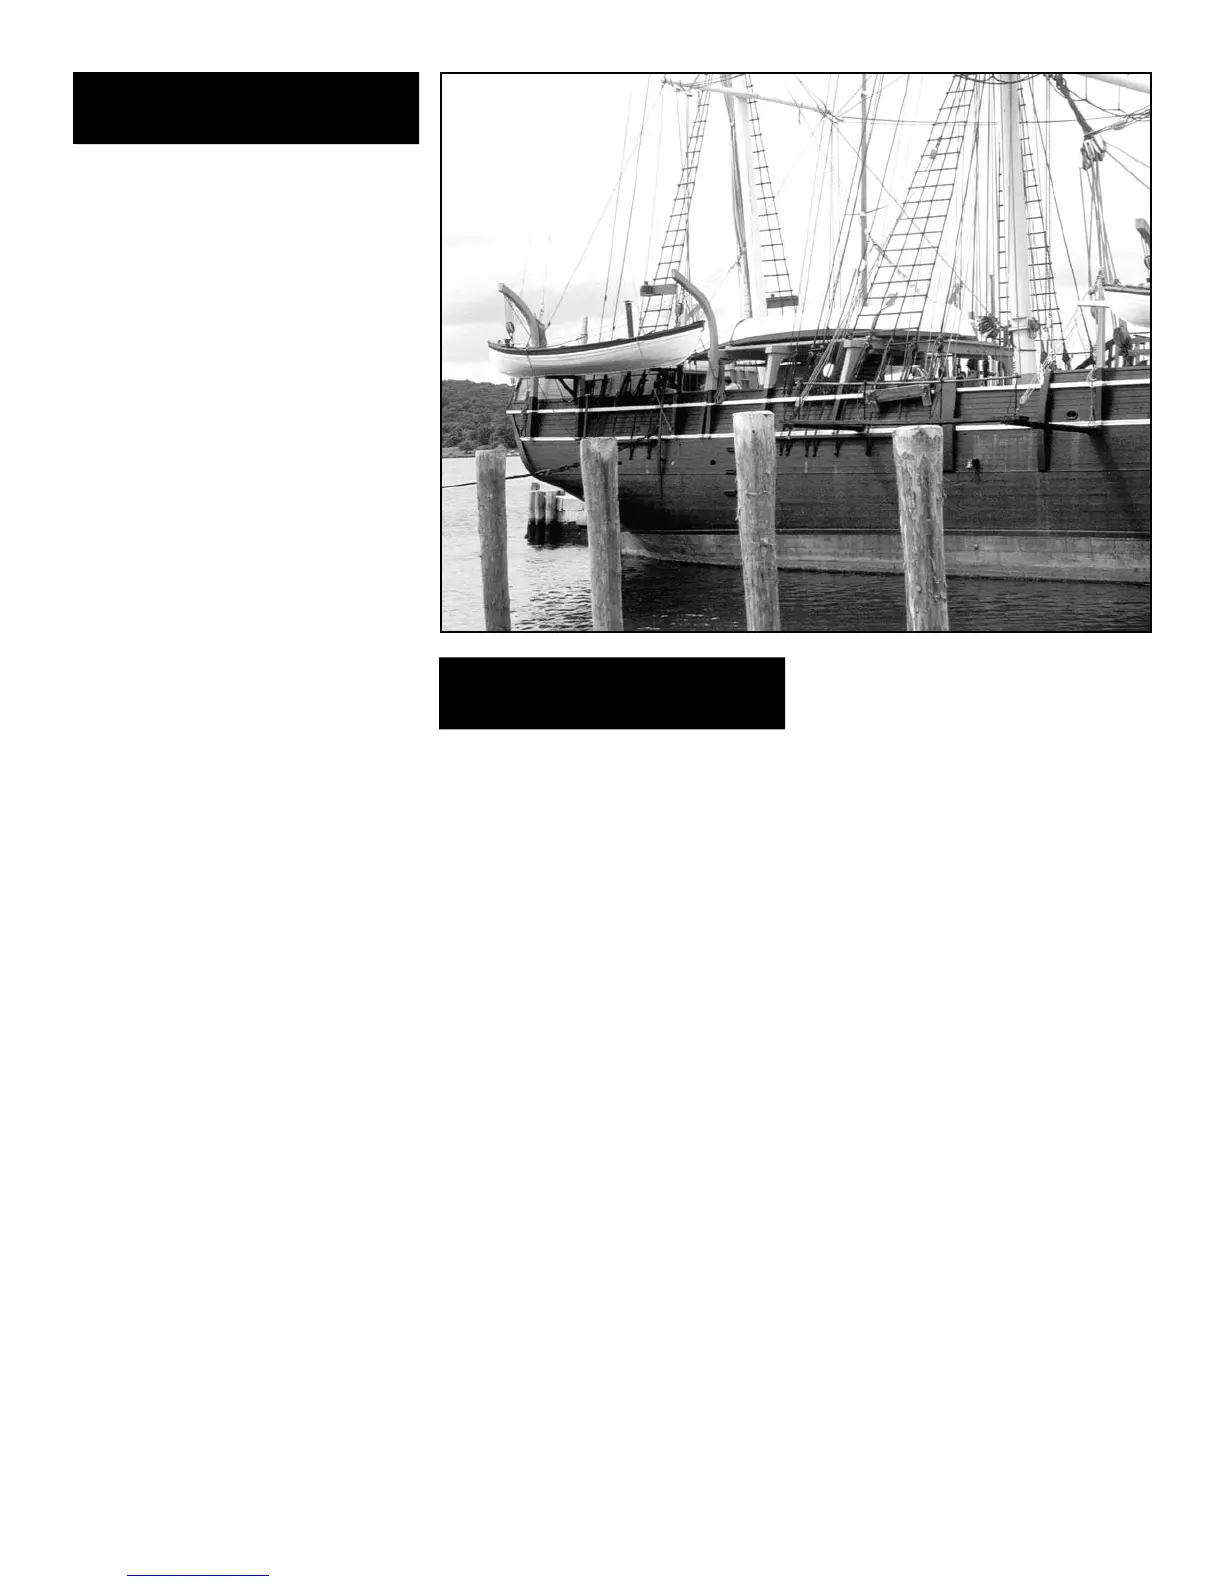
1. Locating Deck Furniture
If hatch and companionway coamings
were not installed when planking the
deck, it’s time to locate them along with
the hurricane house, deckhouse, veg-
etable bin, skylight, amidships shelter
(boat bear
er), crew’s head, bilge pumps,
bitts, catheads, windlass, chocks, cleats,
eyebolts and ringbolts, chain pipes,
hawse pipes, stern eagle, tryworks,
workbench, scrap hopper, cooling tank,
boat davits, and fife rail.
To locate items, measure from a known
benchmark such as the centerline or center
of a mast. Mark positions lightly in pencil.
While eyebolts, cleats, and other fittings
associated with rigging can wait, installing
them while working on the deck is a good
idea. Once they’re mounted, varnish the
deck. Then, when rigging commences, the
fittings ar
e r
eady and waiting.
2. Deck Structures
T
he crew’s head, aft hurricane house,
amidships shelter, deckhouse, and berth
duplicate planked structures. Tick off
dimensions from the plans (Figure 5-1
gives some ideas). The amidships shelter
comes with laser-cut knees. After 1906,
Morgan had a tryworks shelter, but it
wasn’t included during the 1983
restoration.
Notice the tool racks hanging under the
amidships shelter. For added detail,
place harpoons or other gear in the racks.
Most planked structures have pro-
nounced seams. Sand their edges a little
to emphasize those joints when glued.
Check the plans for other fittings that
may be easier to install before the furni-
ture is added. Think about painting
before mounting. Don’t back yourself
into a corner.
Option: Those who pr
efer not to plank
the str
uctur
es can substitute the sheet
basswood. Leave it plain or scribe plank
seams with a sharp pointed instr
ument.
Commer
cially scribed planking sheets
are also available. Although the scores
ar
e a little wide for
Mor
gan’
s
scale, they
ar
e visually effective.
3. Skylight
The aft skylight is an inter
esting, but
tedious structure to construct (Figure
5-2 ). For the panes, use sheet plastic
or micr
oscope slide covers with the
back painted light blue. Panes can be
left clear, but paint the area under the
skylight black if not detailed. Cut mul
-
lions and stringers from brass rod or
wire; or, fake it and paint on the divid-
ing bars. Eliminate some if too tedious.
Even with less than the correct num-
ber, the visual effect will be good.
STAGE 4
STAGE 5
18

 Loading...


