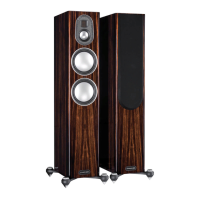
Spikes and Feet
For Wooden/Hard Floors
(Gold 200 & 300 only)
The foot comes pre-assembled for use on hard/solid oors or where spikes are
inappropriate. All that is required is xing them into the plinths. This is achieved
by screwing the feet fully into the 2 threaded holes in each half of the plinth.
With great care turn the cabinet the right way up. Place the cabinet in the desired
location, checking that it is level on all sides. If slightly o-level, unscrew the
foot at the lowest point and check again. Continue this process until the cabinet is
fully level. Use the locking nuts (illustrated on page 3) on each foot to x the feet
in place and to stop any unwanted vibrations.
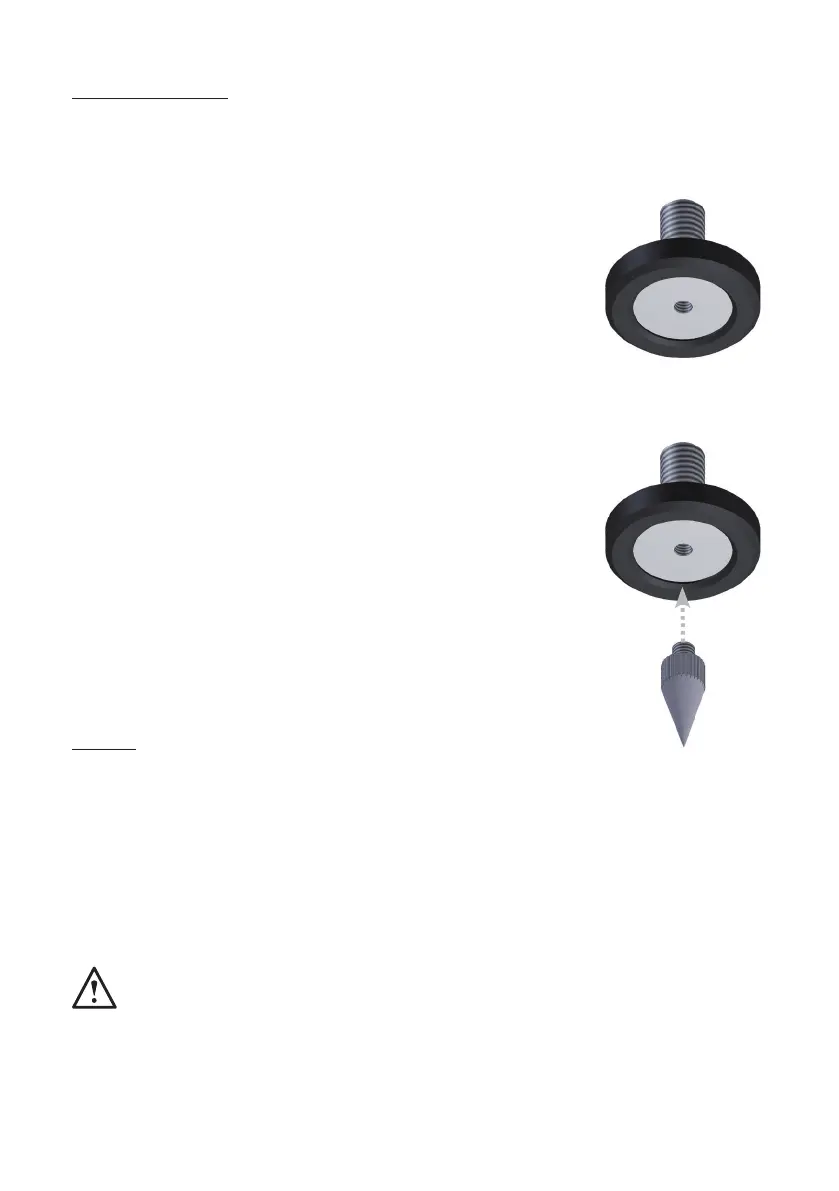
For Carpeted Floors
(Gold 200 & 300 only)
If being installed on carpeted oors, remove the spike from the packaging and x
it into the foot assembly, as illustrated.
Please ensure there are no hidden wires under the carpet that could be damaged
by the spikes.
With great care turn the cabinet the right way up. Place the cabinet in the desired
location, checking that it is level on all sides. If slightly o-level, unscrew the
foot at the lowest point and check again. Continue this process until the cabinet is
fully level. Use the locking nuts (illustrated on page 3) on each foot to x the feet
in place and to stop any unwanted vibrations.
Grilles
The grilles are held invisibly in place by magnets in the cabinet itself (except Gold FX).
When tting, rstly ensure they are the correct orientation (badge at the bottom) and oer them up to the
cabinet. The magnets should them pull them into position, but it may need some ne adjustment to ensure
they are square on the cabinet.
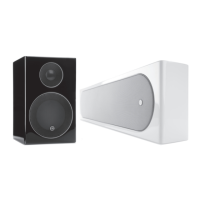
The Gold FX comes with the grilles factory tted. When removing them, carefully prise them away from the
cabinet with the tips of your ngers. There are three separate grilles tted to each Gold FX cabinet.
CAUTION: Always remove the grilles before attempting to move or lift the loudspeakers.
Gold Series4
 Loading...