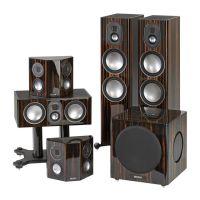
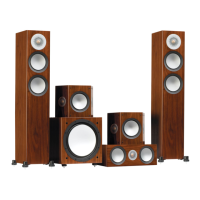
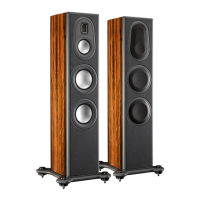
Platinum Series II6
Unpacking
Before you unpack your speakers, please make sure that there is plenty of clean oor area available. Pictorial guides
printed on the outer transit carton show you the ideal method for unpacking. Please see below for more information.
WARNING: DO NOT attempt to lift any of the speakers alone. The recommended number of people is
printed on the outer carton.
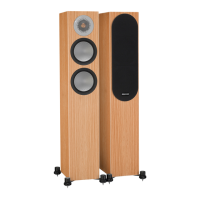
For all speakers (except the PL300 II and PL500 II): Lay the box down on the oor so the opening is on the side facing up.
Open the outer carton and then use the handles of the inner cardboard sleeve to lift the speaker and packaging out of the box.
Remove the polystyrene end caps and t the feet/spikes (where applicable). Please refer to the Spikes and Feet section below.
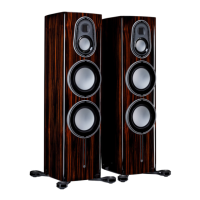
The PL300 II and PL500 II: Should be unpacked standing upright, the top of the speaker is indicated on the carton. Open
the carton and use the holes provided in the cardboard tray at the base of the speaker to pull the speaker out of the carton.
The sleeves at the side can be used also to steady the speaker and assist pulling. Once the speaker is out remove the top
polystyrene cap. Tilt the Speaker to remove the base polystyrene caps and protective cloth. The PL500 II has easy-slide
feet attached to the bottom of the plinth. These enable easy positioning of the PL500 II. They work on all oors and will not
scratch. If the carpet is very thick, these may not work as eectively and the cabinet will need to be “walked” into position.
Once positioned the spikes/feet can be added by tilting the cabinet as previously described, please refer to the Spikes and
Feet section below.
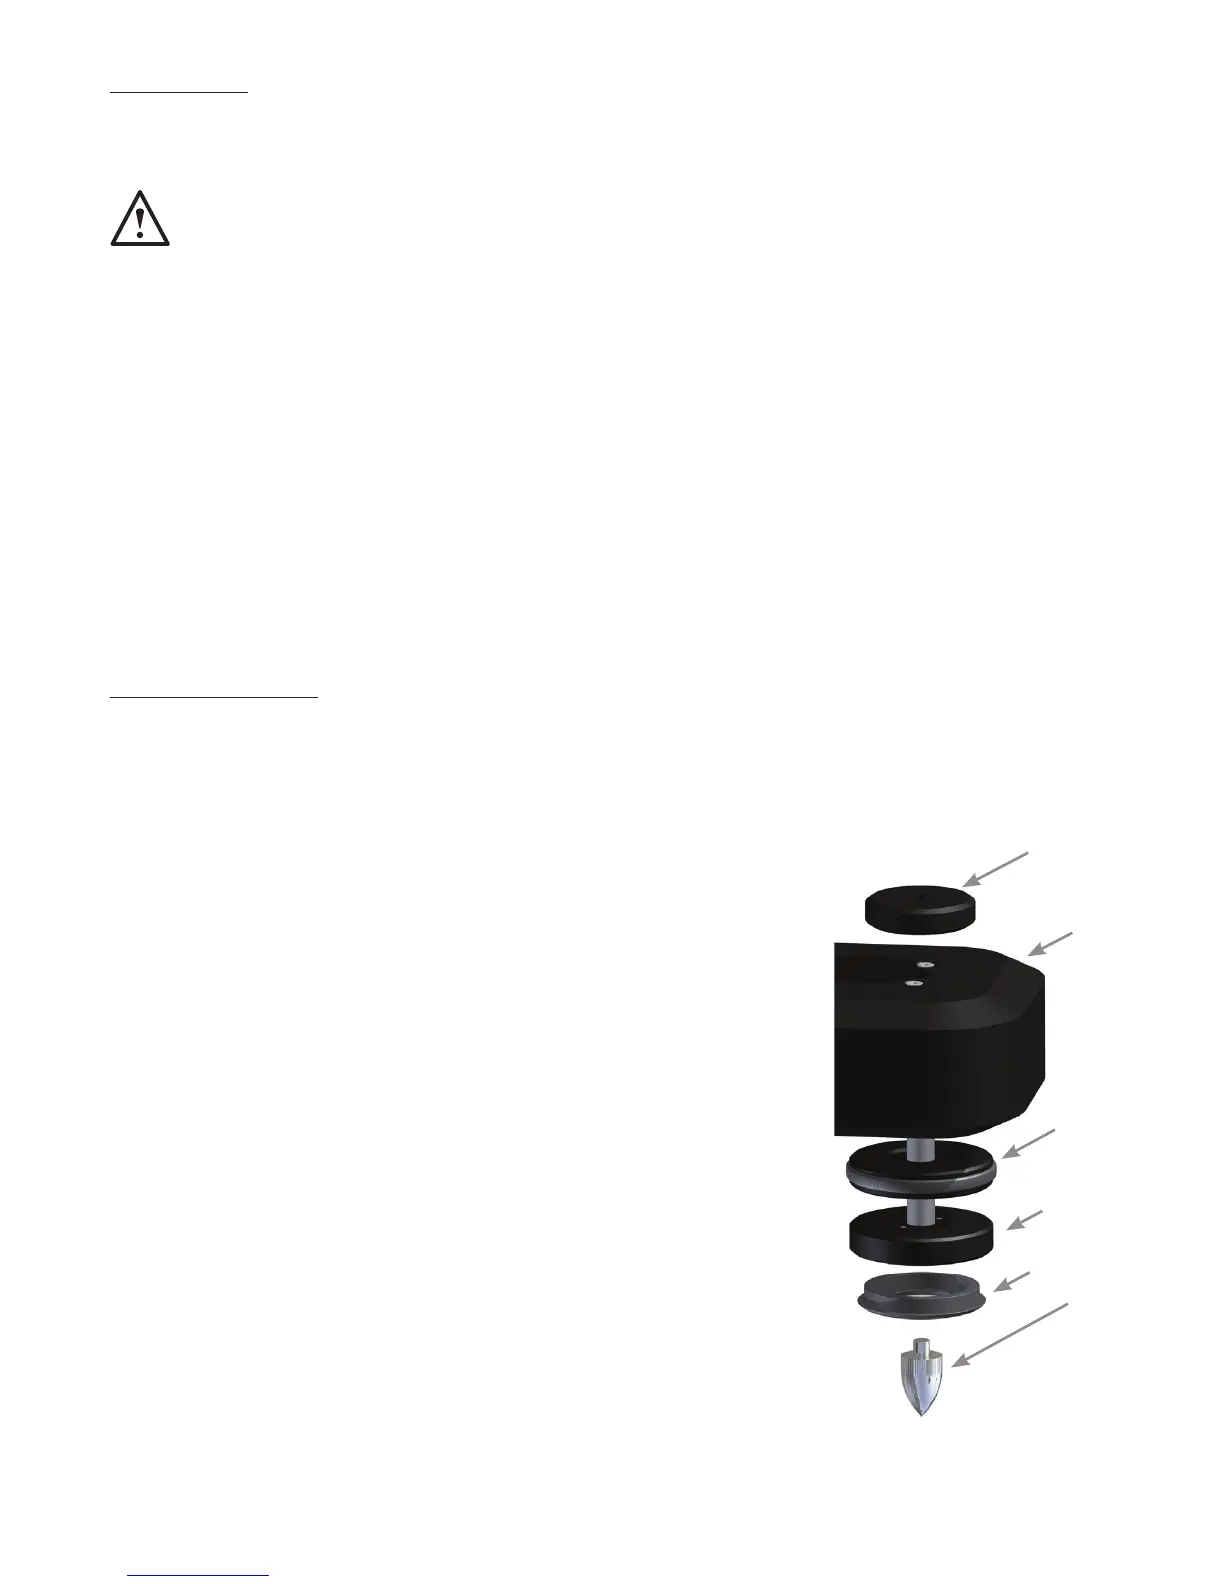
Spikes and Feet
For Carpeted Floors
(PL200 II, PL300 II and PL500 II only)
The feet are supplied pre-assemble for use on carpeted oors or where spikes
are appropriate. All you need to do is x them into the plinths. This is achieved
by screwing the feet fully into the 4 threaded holes in the plinth. They are then
secured using the large locking nuts provided.
You can check that the speaker is level on all sides by using the levelling tool
provided in your tool kit. If it’s slightly o-level, unscrew the foot at the lowest
point and check again. Continue this process until the cabinet is fully level. Use
the locking nuts on each foot to x the feet in place and to stop any unwanted
vibrations.
Please ensure there are no hidden wires under the carpet that could be
damaged by the spikes.
For Wooden/Hard Floors
(PL200 II, PL300 II and PL500 II only)
If the speaker is being installed on a hard/wooden oor, remove the spike from the
foot assembly as illustrated.
You can check that the speaker is level on all sides using the levelling tool provided
in your tool kit. If it’s slightly o-level, unscrew the foot at the lowest point and
check again. Continue this process until the cabinet is fully level. Use the locking
nuts on each foot to x the feet in place and to stop any unwanted vibrations.
Locking Nut
Plinth
Locking Nut
PL500 II
Only
Main Threaded
Part
Rubber Pad
Spike
 Loading...