25
3/4" custom door panel must be routed to accommodate
these door handle extrusions. Rout the panel as
illustrated, 1/4" deep, and 1-13/16" wide on the handle
side.
Refer to installation instructions for ZKTR36LH or
ZKTR36RH trim kit for 3/4" custom panels:
• Follow Step 1 to remove the standard aluminum trim.
• Follow Steps 2 and 3 to attach new 3/4" trim pieces
and to install panel support brackets.
Right hand door swing models are illustrated in these
instructions. Follow these instructions for left hand
models.
Tools and materials required:
• #2 Phillips screwdriver
• Drill and appropriate bits
• Custom door panel
• Custom handle
• Safety glasses
Note:
This kit must be used in combination with ZKTR36LH
or ZKTR36RH trim kit for 3/4" panel trim.
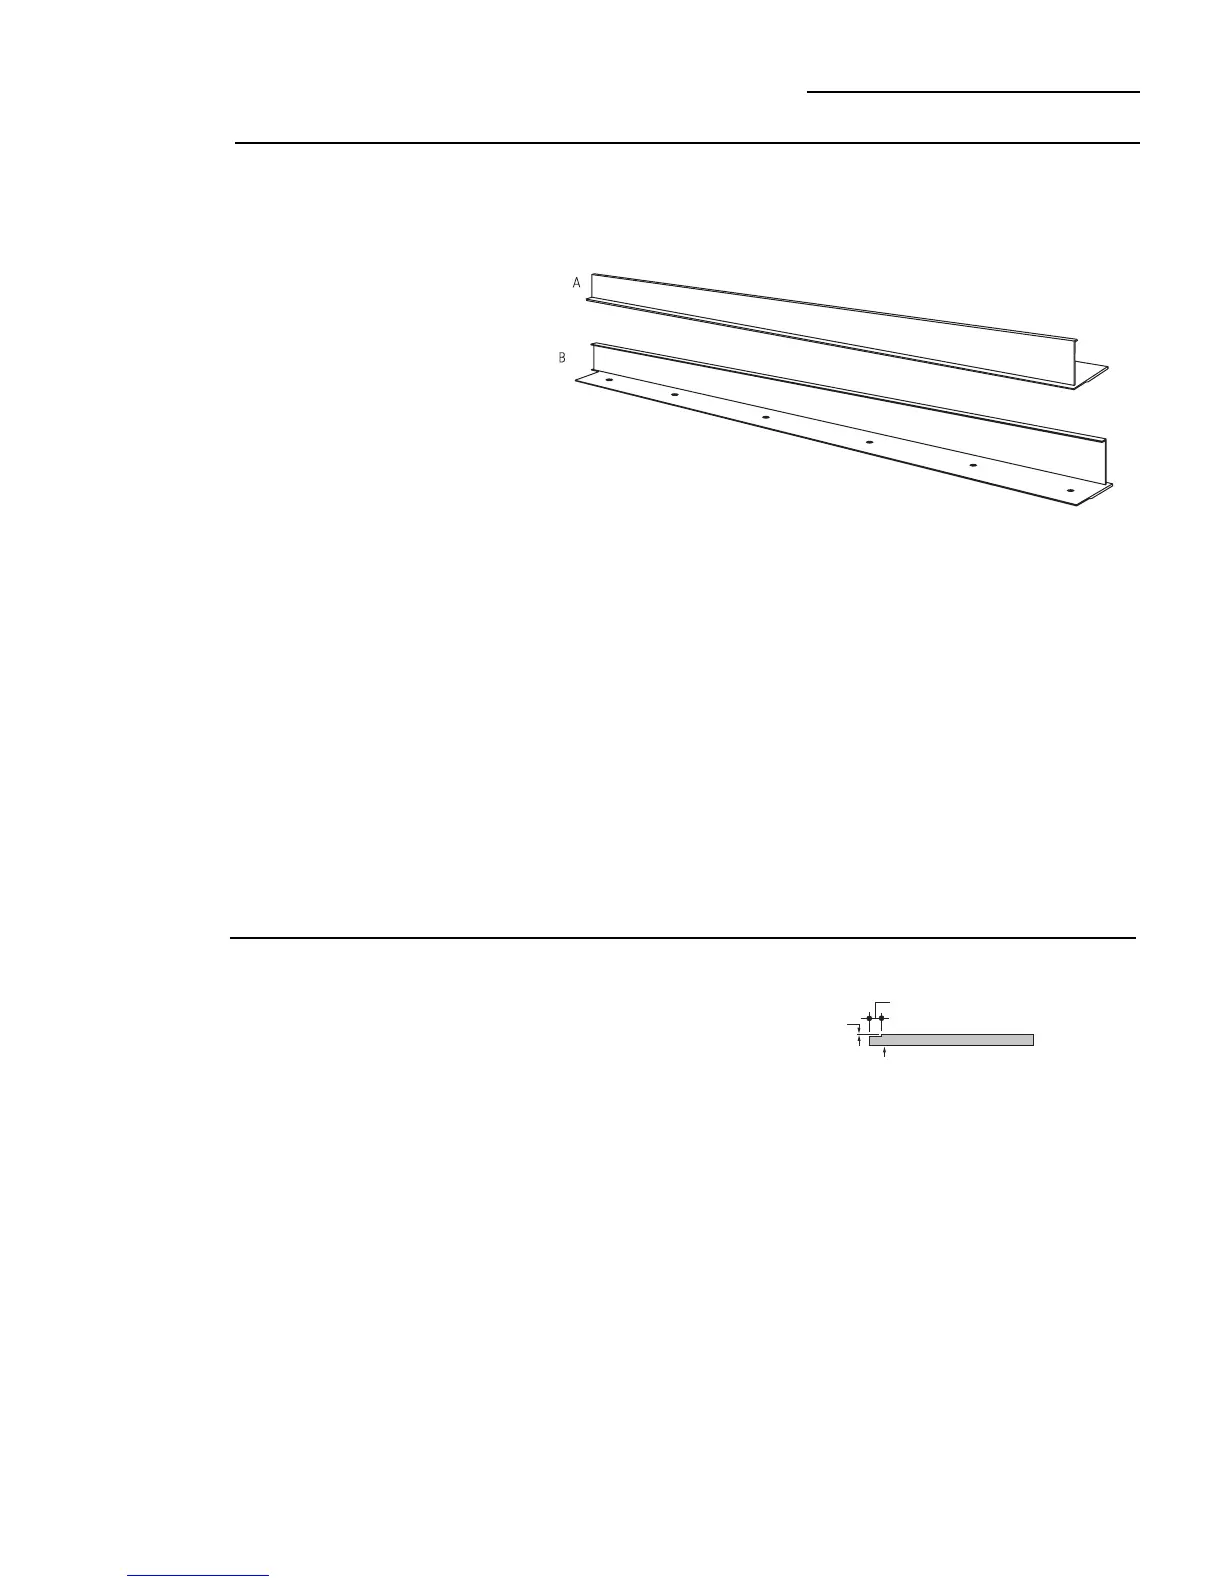
Part List:
A. Handle extrusion (for left hand models)
B. Handle extrusion (for right hand models)
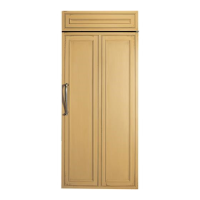
This kit provides the necessary framework to install a
custom handle,
of your choice
, onto a 3/4" thick
decorator door panel. (Handles not included.) The
handle extrusion allows the custom handle to be
secured to the door structure, rather than the door
panel.
• Select handle extrusion for your model, discard other
extrusion.
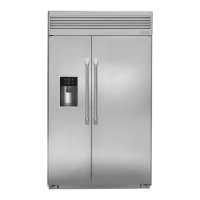
ZKHTR1 Trim Kit
Support for Custom Handle
Kit Contents
Before
you begin
Important:
Optimal final appearance depends on careful
routing depth. Do not exceed 1/4" routing depth
1-13/16"
Back Side
Handle Side
Custom Panel
1/4" Max.
 Loading...