EasyManua.ls Logo

Mooney M20K - Finalcheck; Landing Gear Actuator

Mooney M20K
437 pages
Print Icon
To Next Page IconTo Next Page
To Previous Page IconTo Previous Page
Loading...
MOONEY
AIRCRAFT
CORPORATION
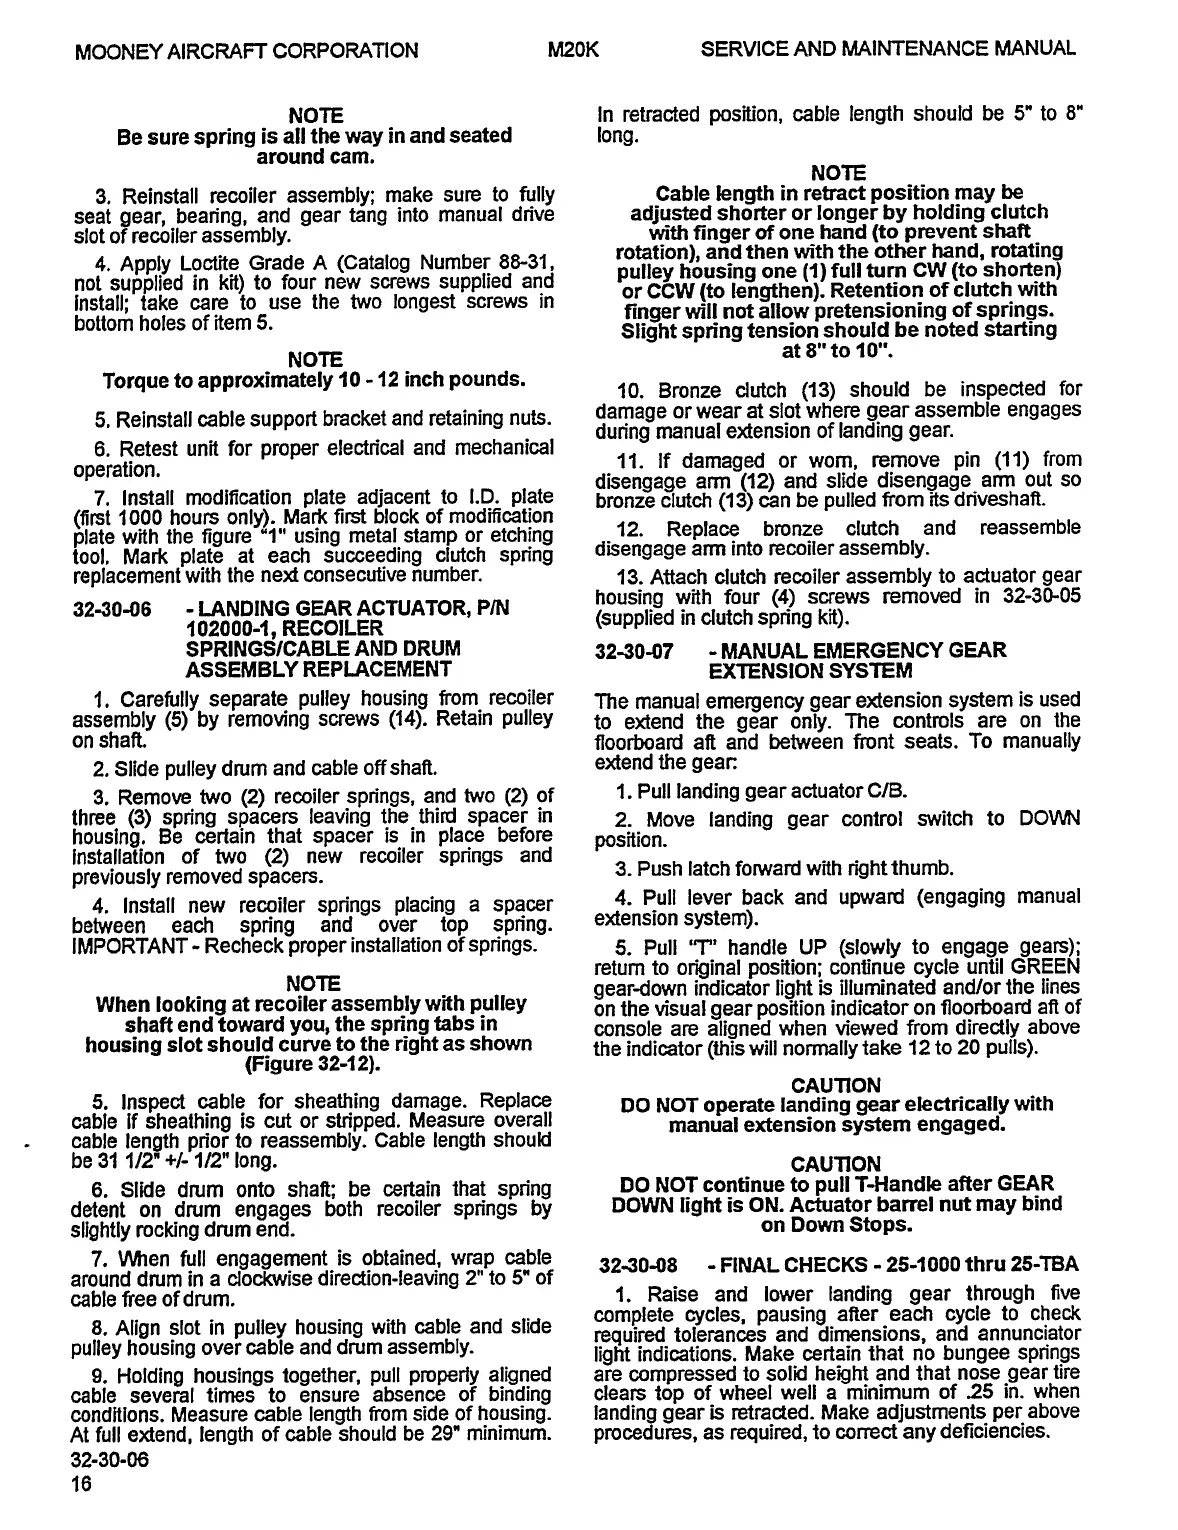
M20K
SERVICE
AND
MAINTENANCE
MANUAL
NOTE
In
retracted
position,
cable
length
should
be
5"
to
8"
Be
sure
spring
is
all
the
way
in
and
seated
long.
around
cam,
NOTE
3.
Reinstall
recoiler
assembly;
make
sure
to
fully
Cable
length
in
retract
position
may
be
seat
gear,
bearing,
and
gear
tang
into
manual
drive
adjusted
shorter
or
longer
by
holding
clutch
slot
of
recoiler
assembly.
with
finger
of
one
hand
(to
prevent
shaft
4,
Apply
Loctite
Grade
A
(Catalog
Number
8&31,
rotation),
and
then
with
the
other
hand,
rotating
not
supplied
in
kit)
to
four
new
screws
supplied
and
pulley
housing
one
Il)
full
turn
CW
(to
shorten)
Install;
take
care
to
use
the
two
longest
screws
in
or
CCW
(to
lengthen).
Retention
of
clutch
with
bottom
holes
of
item
5.
finger
will
not
allow
pretensi
oning
of
springs.
Slight
spn’ng
tension
should
be
noted
starting
at
8"
to
10".
NOTE
Torque
to
approximately
lO
-12
inch
pounds.
10.
Bronze
clutch
(13)
should
be
inspected
for
5.
Reinstall
cable
support
bracket
and
retaining
nuts.
damage
or
wear
at
slot
where
gear
assemble
engages
dun’ng
manual
e>ctension
of
landing
gear.
6.
Retest
unit
for
proper
electn’cal
and
mechanical
operation,
ii.
If
damaged
or
worn,
remove
pin
(11)
from
disengage
arm
(12)
and
slide
disengage
arm
out
so
7.
Install
modification
plate
adjacent
to
I.D.
plate
bronze
clutch
(13)
can
be
pulled
from
its
driveshaft.
(first
1000
hours
only).
Mark
first
block
of
modification
plate
with
the
figure~’l"
using
metal
stamp
or
etching
12´•
Replace
bronze
clutch
and
reassemble
tool.
Mark
plate
at
each
succeeding
clutch
spn’ng
disengage
amn
into
recoiler
assembly.
replacement
with
the
ne~d
consecutive
number.
13.
Attach
clutch
recoiler
assembly
to
actuator
gear
3230-06
LANDING
GEAR
ACTUATOR,
P/N
housing
with
four
(4)
screws
removed
in
32-30-05
(supplied
in
clutch
spn’ng
kit).
102000-1,
RECOILER
SPRINGS/CABLE
AND
DRUM
3230-07
MANUAL
EMERGENCY
GEAR
ASSEMBLY
REPLACEMENT
U(TENSION
SYSTEM
i.
Carefully
separate
pulley
housing
from
recoiler
The
manual
emergency
gear
e~dension
system
is
used
assembly
(5)
by
iemoving
screws
(14).
Retain
pulley
to
extend
the
gear
only.
The
controls
are
on
the
on
shaR
floorboard
aft
and
between
front
seats.
To
manually
2.
Slide
pulley
drum
and
cable
offshaft.
extend
the
gear:
3.
Remove
two
(2)
recoiler
spn’ngs,
and
two
(2)
of
1´•
Pull
landing
gear
actuator
C/B.
three
(3)
spring
spacers
leaving
the
third
spacer
in
2.
Move
landing
gear
control
switch
to
DOWN
housing;
Be
certain
that
spacer
is
in
place
before
position.
installation
of
h~Jo
(2)
new
recoiler
spn’ngs
and
previously
removed
spacers.
3.
Push
latch
forward
with
right
thumb.
4.
Install
new
recoiler
spn’ngs
placing
a
spacer
4.
Pull
lever
back
and
upward
(engaging
manual
between
each
spn’ng
and
over
top
spn’ng.
extension
system).
IMPORTANT
Recheck
proper
installation
of
springs.
5.
Pull
’T’
handle
UP
(slow(y
to
engage
gears);
return
to
original
position;
continue
cycle
until
GREEN
NOTE
gear-down
indicator
light
is
illuminated
and/or
the
lines
When
looking
at
recoiler
assembly
with
pulley
on
the
visual
gear
position
indicator
on
fioortsoard
aft
of
shaft
end
toward
you,
the
spn’ng
tabs
in
console
are
aligned
when
viewed
from
directly
above
housing
slot
should
curve
to
the
right
as
shown
th,
indicator
(this
will
normally
take
12
to
20
pulls).
(Figure
32-12).
CAUTION
5.
Inspect
cable
for
sheathing
damage.
Replace
DO
NOT
operate
landing
gear
electrically
with
cable
if
Sheathing
is
cut
or
stripped.
Measure
overall
manual
extension
system
engaged.
cable
length
pn’or
to
reassembly.
Cable
length
should
be
31
1/2"
1/2"
long.
CAUT1ON
6.
Slide
drum
onto
shaft;
be
certain
that
spring
DO
NOT
continue
to
pull
i-Handle
after
GEAR
detent
on
drum
engages
both
recoiler
spn’ngs
by
DOWN
light
is
ON.
Actuator
barrel
nut
may
bind
slightly
rocking
drum
end.
on
Down
Stops.
7.
When
full
engagement
is
obtained,
wrap
cable
3230-08
FINAL
CHECKS
25-1000
thru
25-TEA
around
drum
in
a
clockwise
direction-leaving
2"
to
5"
of
cablefreeofdrum.
1.
Raise
and
lower
landing
gear
through
five
complete
cycles,
pausing
after
each
cycle
to
check
8.
Align
slot
in
pulley
housing
with
cable
and
slide
required
tolerances
and
dimensions,
and
annunciator
pulley
housing
over
cable
and
drum
assembly.
light
indications.
Make
certain
that
no
bungee
spn’ngs
9.
Holding
housings
together,
pull
properly
aligned
are
compressed
to
solid
height
and
that
nose
gear
tire
cable
several
times
to
ensure
absence
of
binding
clears
top
of
wheel
well
a
minimum
of
25
in.
when
conditions.
Measure
cable
length
from
side
of
housing,
landing
gear
is
retraded.
Make
adjustments
per
above
At
full
e>dend,
length
of
cable
should
be
29"
minimum.
procedures,
as
required,
to
correct
any
deficiencies.
32-30-06
16
OLDWILLWAYNE

Table of Contents