Do you have a question about the mopio BROOKLYN 47 and is the answer not in the manual?
General advice and checks to perform before beginning the assembly process.
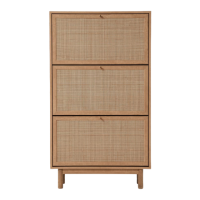
Visual guide to all components included in the package for assembly.
Visual guide to all fasteners, fittings, and tools required for assembly.
Prepare the floor, attach cambolts, dowels, and drawer runners to panels.
Attach cambolts and dowels to side panels and main body components.
Install camlocks and sticker cams into panels for secure connections.
Connect panels using camlocks and sticker cams as illustrated.
Screw cambolts into the main top and bottom panels.
Attach the legs to the bottom panel using screws.
Position and attach side panels to the main unit.
Attach the back and side panels using screws.
Insert dowels into the designated holes on drawer support panels.
Install drawer support panels using camlocks.
Slide the back panel into the grooves of the assembled unit.
Attach the top panel using camlocks and sticker cams.
Adjust frame for squareness and secure with wedges and screws.
Insert cambolts and dowels into drawer base and side panels.
Assemble drawer panels using camlocks and screws.
Install drawer runners and secure with wedges and screws.
Insert drawers and adjust alignment by tightening runner screws.
Attach hinges to the door panel and install the handle.
Mount door hinges onto side panels and adjust door alignment.
Insert shelf pins and place shelves onto the pins.
Guidelines for maintaining the product's longevity and appearance.
Answers to common queries regarding product issues, warranty, and returns.
Details on the limited warranty for manufacturing defects and the 30-day return policy.
| Brand | mopio |
|---|---|
| Model | BROOKLYN 47 |
| Category | Indoor Furnishing |
| Language | English |