Product Overview Features
Before first use, please take a few minutes to read this
instruction book and find a place to keep it handy for future
reference. Please pay particular attention to the safety
instructions.
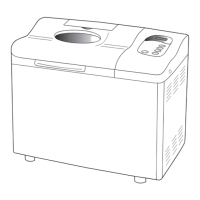
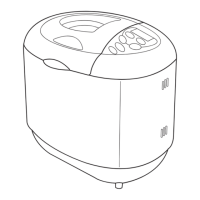
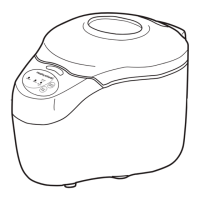
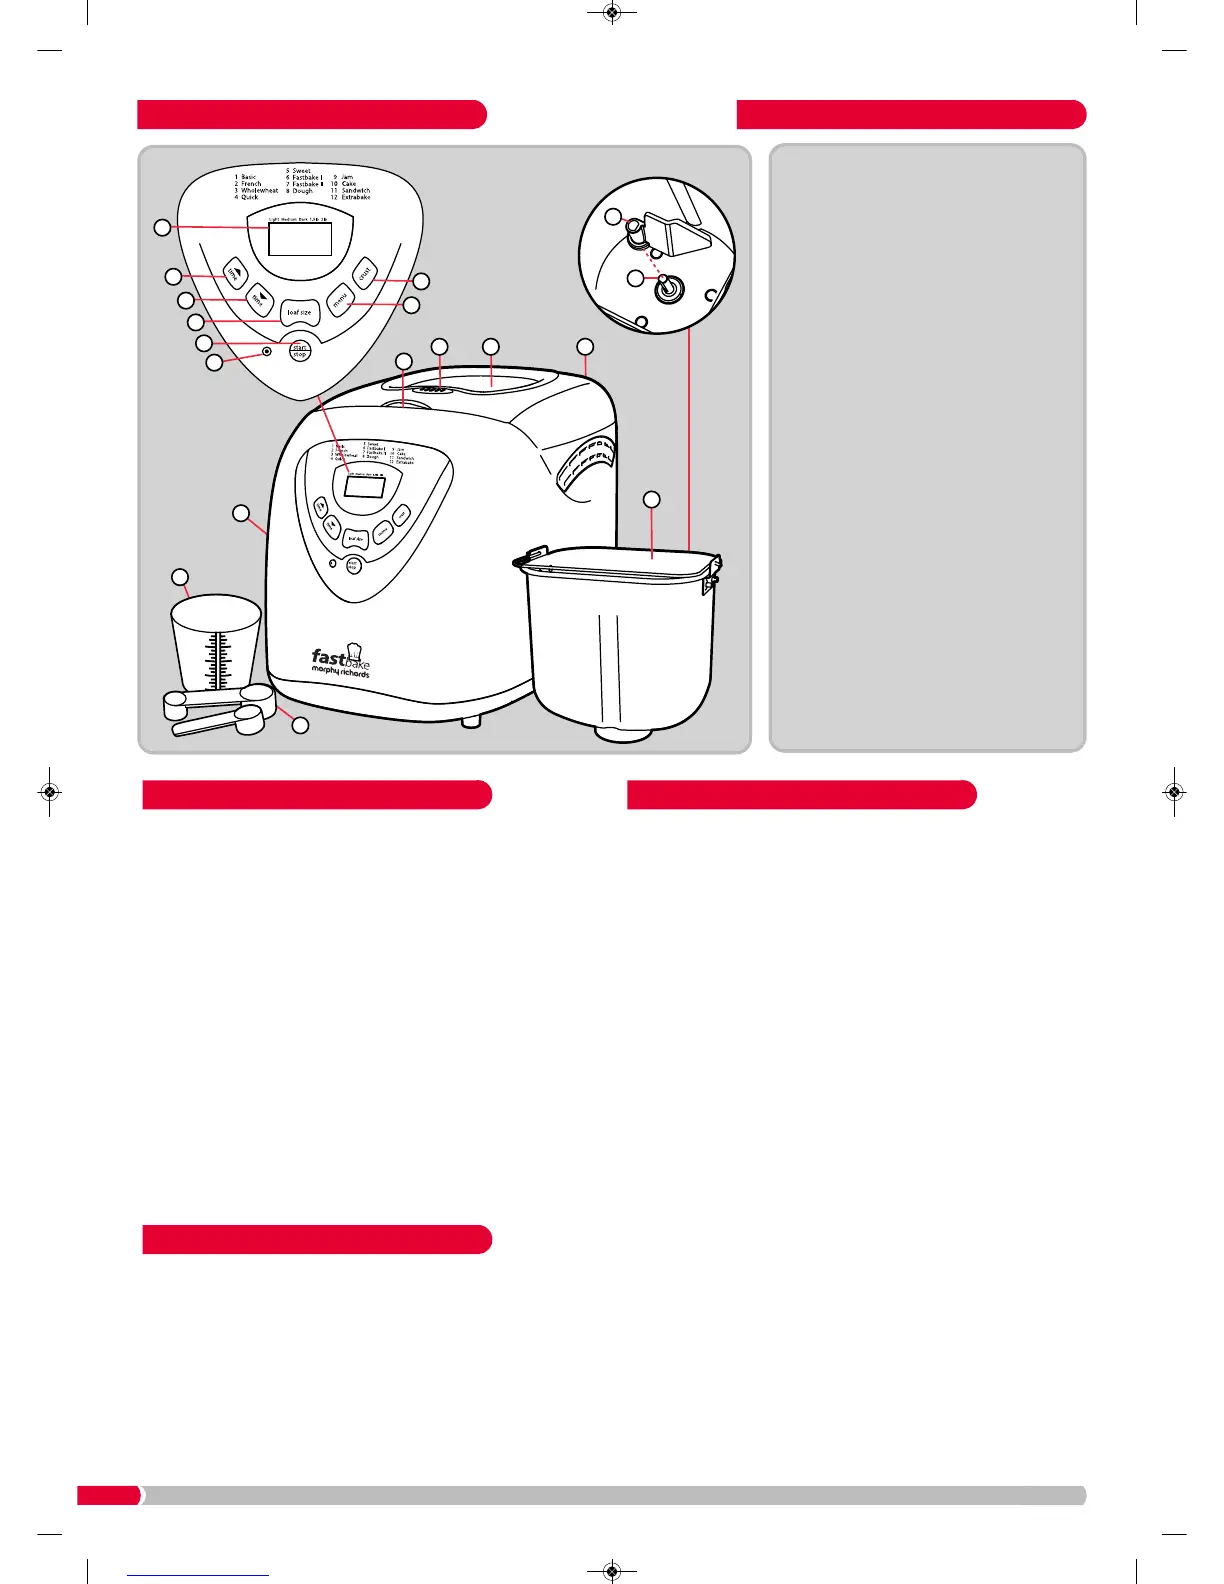
1. Wash the Baking Pan (6), Kneading Blade (7) in hot soapy
water, dry thoughly.
2. Wipe the outside surface of the Main Unit (5) with a clean,
damp cloth.
DO NOT use scouring pads or any abrasives on any part of
the Breadmaker.
3. If using for the first time, use oil, butter or margarine to grease
the Baking Pan and bake empty for about 10 minutes on the
Extra Bake program.
4. Clean with a damp cloth again.
5. Place the Kneading Blade on the Rotating Shaft (8) in the
Baking Pan. During manufacturing it is necessary to lightly
grease some parts of the appliance. This may result in the unit
emitting some vapour when first used, this is normal.
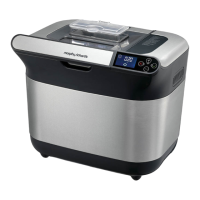
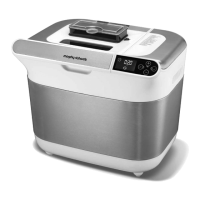
• The breadmaker has two settings to make either a small
(1.5lb / 680g) or large (2lb / 907g) loaf (approximate weight,
dependant upon recipe).
• A fruit and nut beep signals when extra ingredients, such as
fruit and nuts, can be added so they don’t get chopped by the
kneading blade.
• The 1.5lb setting can be used to make a 1lb loaf for some of
the recipes.
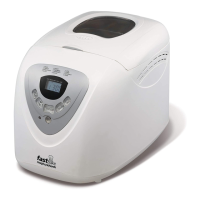
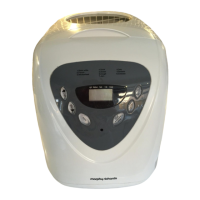
LCD Screen (9)
Allows you to view the browning level, loaf weight, and
programme selected. It also shows a countdown timer
indicating the time left before completion (3:20, for example,
is 3 hours and 20 minutes; 0:20 is 20 minutes.)
Timer delay buttons (10), (11)
Can be used to delay the start of bread making process, so
the baking process completes when you require. (All
programs except Fastbake and Jam).
Loaf size button (12)
For selecting the small (1.5lb) or large (2lb) loaf size
(certain programs only).
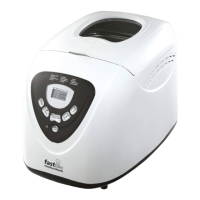
Start (13)
Press and hold for approximately 1 second to start, a beep
sounds and the colon (:) flashes before the program starts.
Stop (13)
Press and hold for approximately 2 seconds to stop the
baking process, a beep sounds to confirm.
Crust button (15)
For selecting the crust colour from light, medium or dark
(selected programs only).
Menu button (16)
For choosing your desired bread making programme.
Feature OverviewBefore First Use
About This Breadmaker