4-6 Radio Disassembly — Detailed
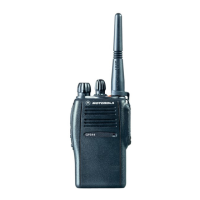
4. Pull the volume and channel selector knobs off of their shafts. Remove the dust cover.
5. Separate the chassis from the internal electronics front cover assembly by using the chassis
opener (part number 6680702Z01). Place the broad side of the opener into the slots located
at the base of the radio (see Figure 4-3). Press the handle of the opener downwards. This
pressing action forces the thin inner plastic wall toward the base of the radio, releasing the
two chassis base tabs.
6. Lay the chassis down. Rotate the front cover backward and slightly away from the chassis.
7. Lift the latch on the main circuit board to release the jumper flex from its connector.
Figure 4-2 Knob Removal
NOTE
Both knobs slide on and off. However, they are supposed to fit very tightly on their shafts.
Figure 4-3 Chassis Removal
CAUTION: Marring the front cover O-ring sealing area will prevent the radio from sealing
properly.
NOTE
The jumper flex and wire assembly connecting the front cover assembly and the chassis
prevent you from completely separating the two units.
Knobs
Radio Chassis
Po
 Loading...