Moxa Managed Ethernet Switch (UI_2.0_FW_5.x) User Manual
Configuration by Command Line Interface
(CLI)
Opening the Moxa switch’s Telnet or web console over a network requires that the PC host and Moxa switch
are on the same logical subnet. You may need to adjust your PC host’s IP address and subnet mask. By
def ault, the Moxa switch’s IP address is 192.168.127.253 and the Moxa switch’s subnet mask is
255.255.255.0 (ref erred to as a Class B network). Your PC’s IP address must be set to 192.168.xxx.xxx if
the subnet mask is 255.255.0.0, or to 192.168.127.xxx if the subnet mask is 255.255.255.0.
NOTE
To connect to the Moxa switch’s Telnet or web console, your PC host and the Moxa switch must be on the
same logical subnet.
NOTE
When connecting to the Moxa switch’s Telnet or web console, f irst connect one of the Moxa switch’s
Ethernet ports to your Ethernet LAN, or directly to your PC’s Ethernet port. You may use either a straight-
through or cross-over Ethernet cable.
NOTE
The Moxa switch’s def ault IP address is 192.168.127.253.
Af ter making sure that the Moxa switch is connected to the same LAN and logical subnet as your PC, open
the Moxa switch’s Telnet console as follows:
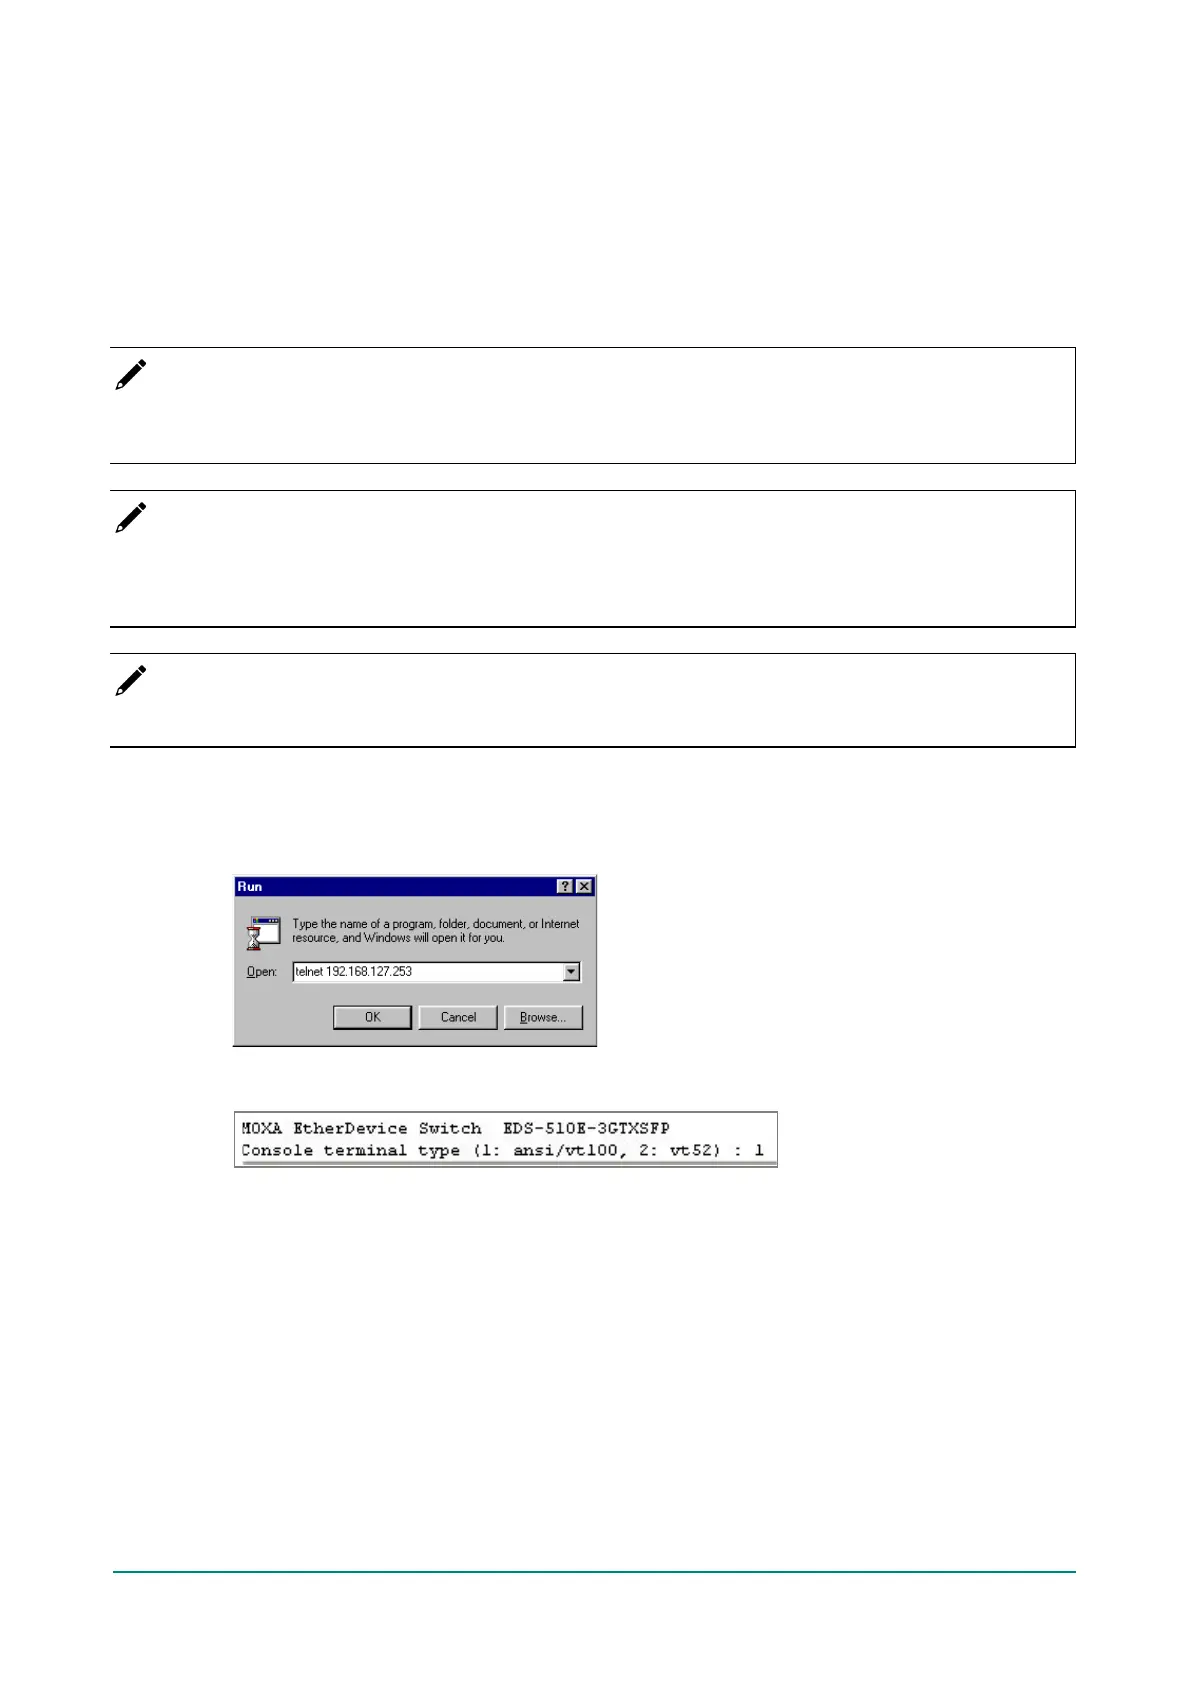
1. Click Start > Run f rom the Windows Start menu and then Telnet to the Moxa switch’s IP address f rom
the Windows Run window. You may also issue the Telnet command f rom a DOS prompt.
2. In the terminal window, the Telnet console will prompt you to select a terminal type. Type 1 to choose
ansi/vt100, and then press Enter.
 Loading...