- 5 -
Hardware Installation Procedure
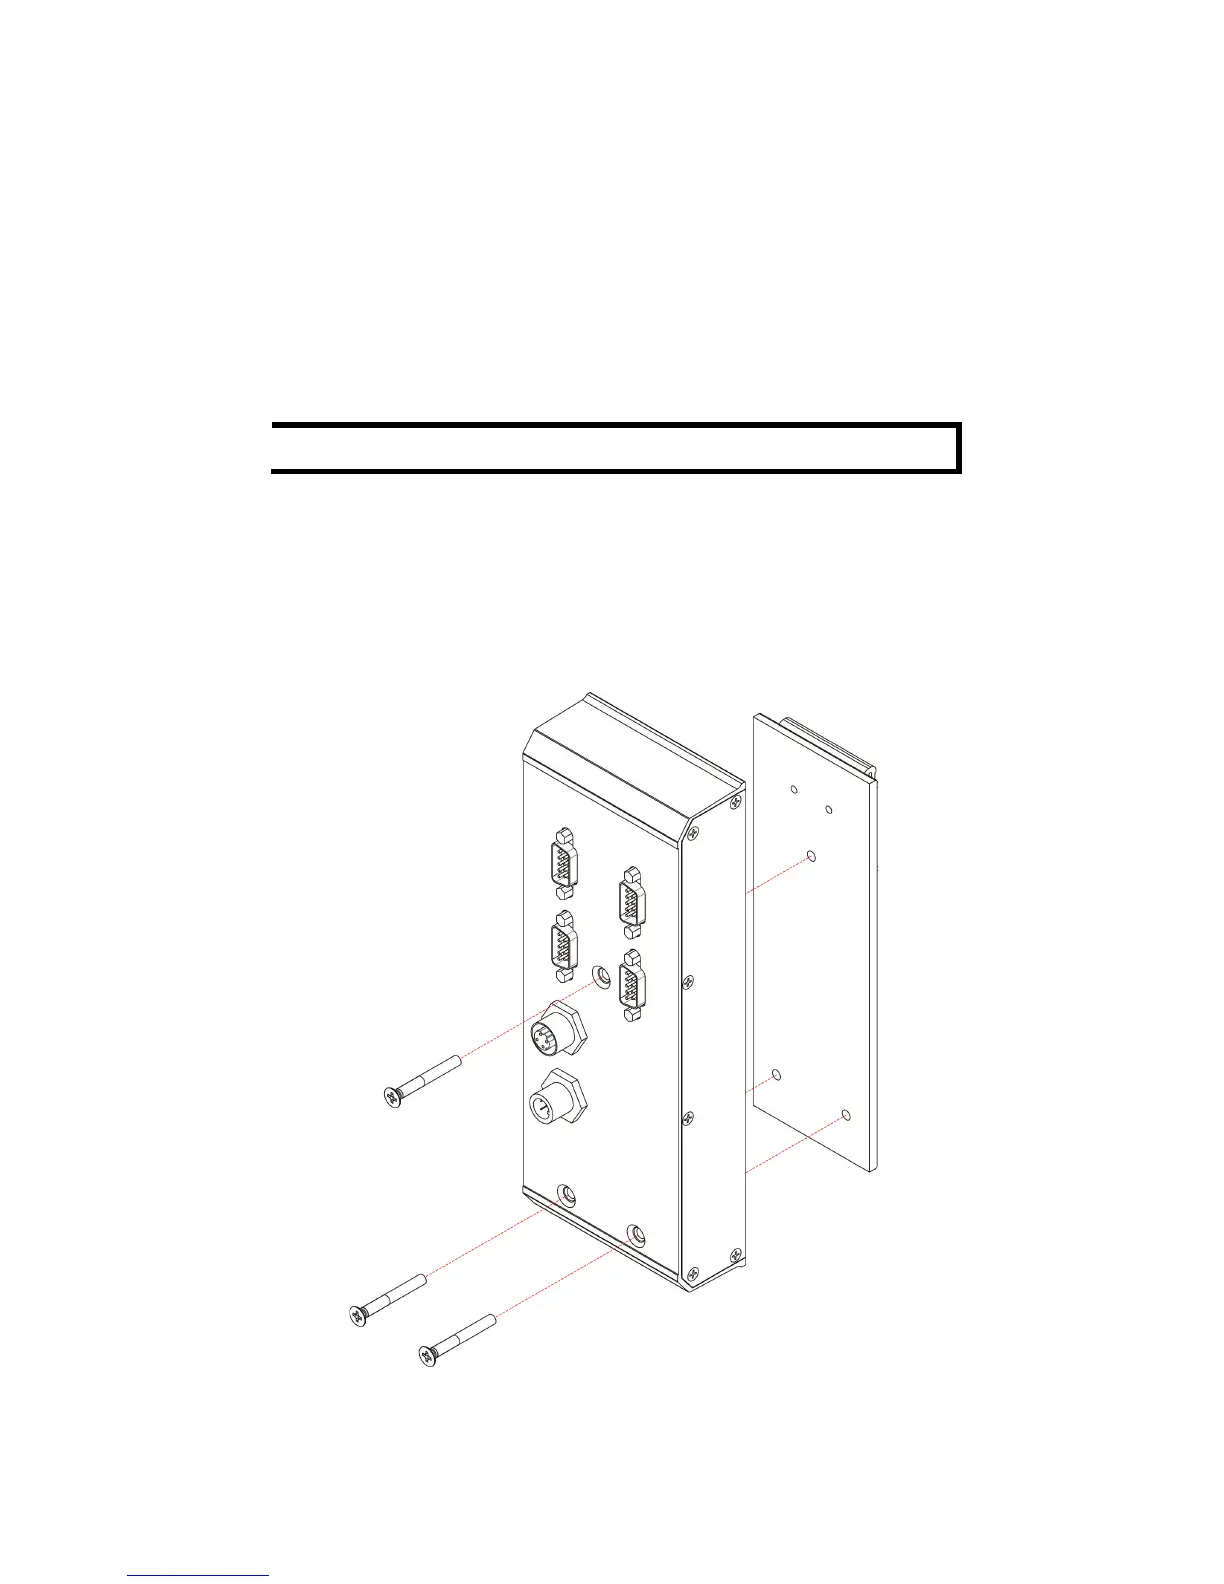
Panel/Wall Mounting
Mounting the NPort 5000AI-M12 on the wall requires three screws.
Please use the three screws provided in the product package.
STEP 1: Use the device to mark the positions of the three screw holes
on the wall, as shown in the mounting dimensions diagram.
STEP 2: Use one screw to go through the top-middle screw hole on the
device server and screw it into the wall.
STEP 3: Screw in the remaining two screws through the bottom-left
and bottom-right holes on the device server to the wall.
DIN-Rail Mounting (optional)
You may use the optional DIN-rail mounting kit (DK-TN-5308; must be
purchased separately) to mount the NPort 5000AI-M12 on a 35 mm
DIN rail.
STEP 1: Fix the DIN-rail attachment plate onto the rear panel of the
device server as shown in the figure below.
 Loading...