9
Hardware Installation
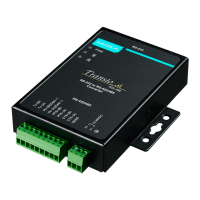
Installing the TCC-100 involves six straightforward steps:
• STEP 1: Set the DIP switches
• STEP 2: Attach the power supply
• STEP 3: Wire the terminal block
• STEP 4: Attach the RS-232 converter
• STEP 5: Test the connection
• STEP 6: Choose a placement option
STEP 1: Set the DIP Switches
The DIP switches on the TCC100/100I are used to set the signal
transmission mode and to enable or disable the termination resistor. You
can configure the converter for either RS-422 or RS-485 transmission mode.
Your program and serial port should be set to match the converter’s
settings.
-422 or RS-485 mode. The default is “Off”
-485 mode.
Switch 2 selects 2-wire or 4-wire RS-485 mode. The default is
“
Off” for 2-wire RS-485. Note that if Switch 1 is set to RS-422
2 is inactive.
—
Switch 3 enables the terminator to 120
o
hms. When enabled, the
120
ohm resistor prevents signal reflection during RS-485
transmission. The default is
“Off” to dis
able the terminator. If your
particular application does not require usi
ng the termination
ply set Switch 3 to the off position to disable it.
Dip Switch Settings
(terminator active)
ON ON OFF
(terminator active)
OFF ON ON
 Loading...
