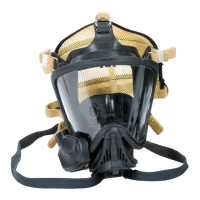
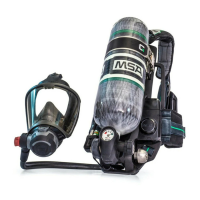
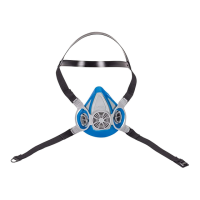
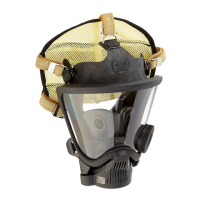
FIREHAWK M7 SECOND STAGE REGULATOR
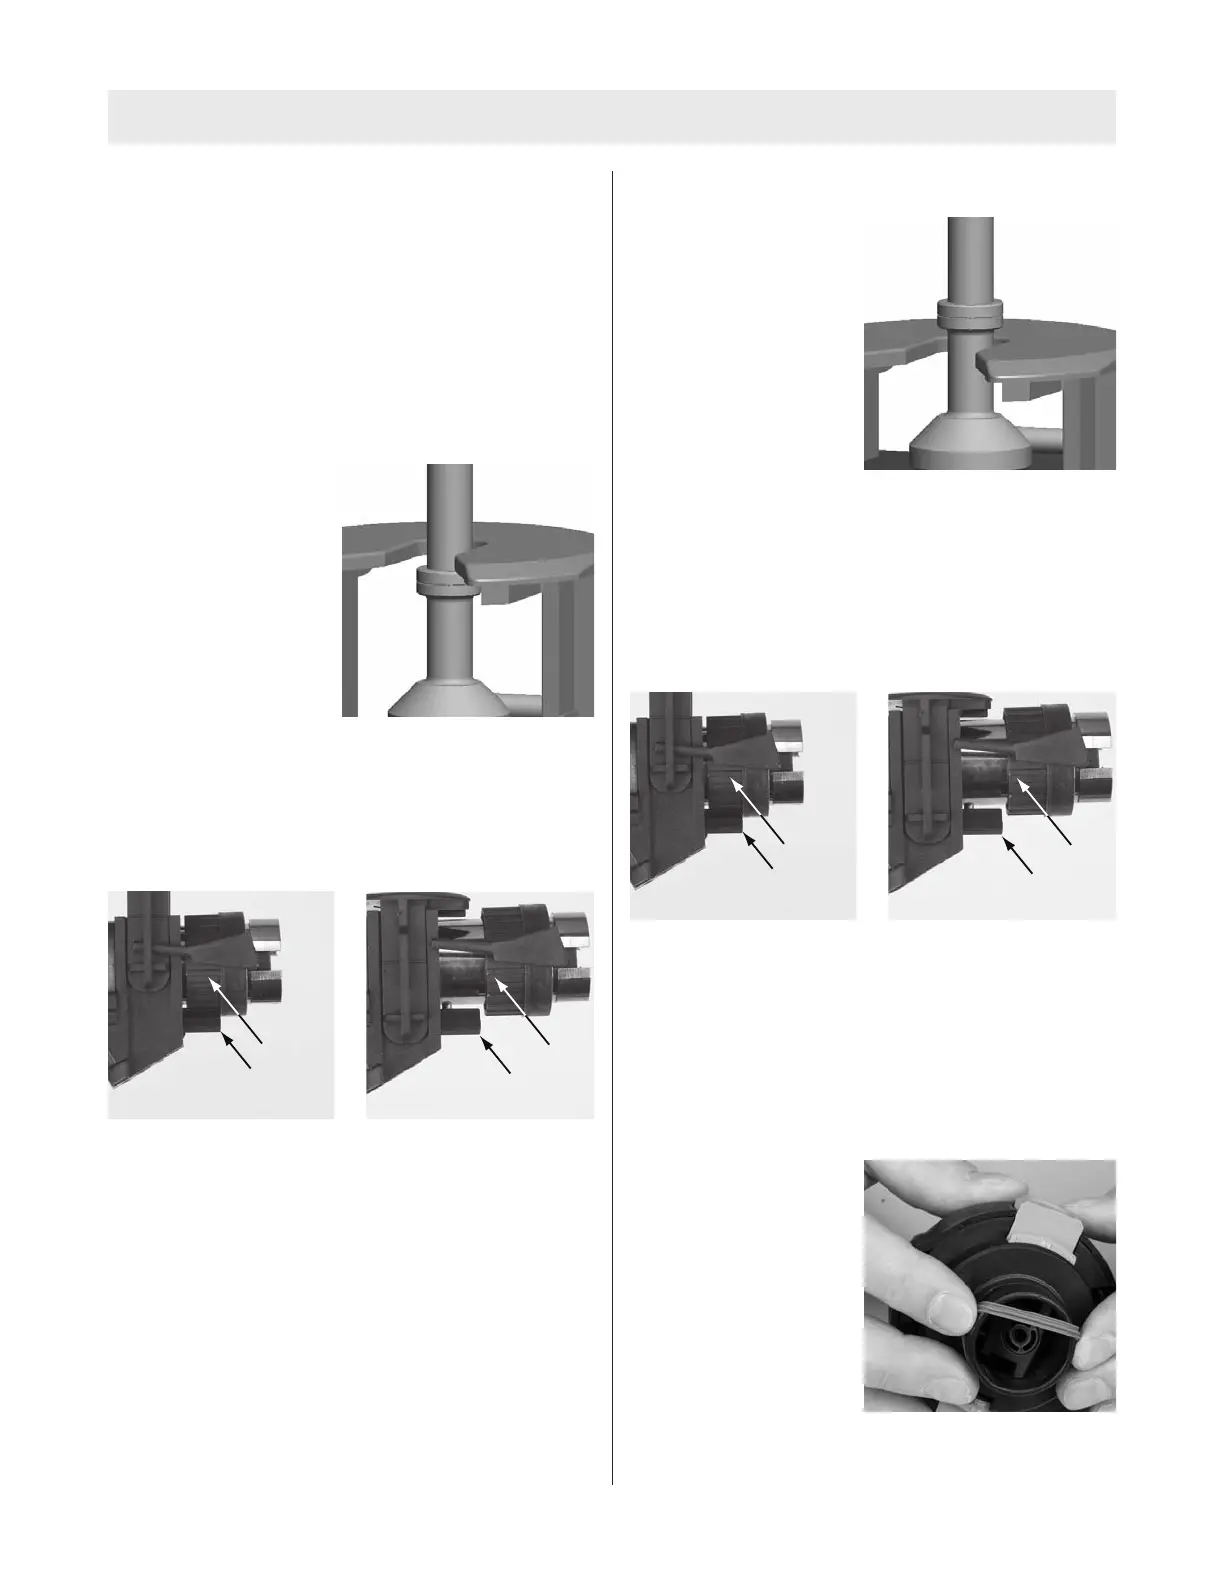
Note: If the top of the valve fork is above or below the
acceptable range, adjust the valve. Normally the valve
fork will not require adjustment. Do not adjust the valve if
the fork is within the acceptable range.
Adjusting Valve Fork Height for Proper Performance
Adjustment of Valve Fork if Above the Maximum
Inspect and adjust valve fork height with the valve fork
pointing toward you. Turn the Adjustment Wheel clock-
wise to lower the fork. Turn the Adjustment Wheel coun-
terclockwise to raise the fork.
Above maximum height –
Top of fork above top of
acceptable range.
1. Slide the adjustment when and valve housing slightly
away from the valve support to allow the adjustment
wheel to rotate.
Note: The adjustment wheel cannot turn unless the ribs
are free from the locking tab.
2. Turn the adjustment wheel clockwise to lower the fork.
3. Slide the adjustment wheel and valve housing back
into place. Ensure that the valve lever and fork do not
bind. The fork should move up and down easily.
Adjustment for Valve Fork if Below the Minimum
Below minimum height –
Top of fork is below
acceptable range.
1. Slide the adjustment wheel and valve housing slightly
away from the valve support to allow the adjustment
wheel to rotate.
2. Turn the adjustment wheel counterclockwise to raise
the fork.
Note: The adjustment wheel cannot turn unless the ribs
are free from the locking tab.
3. Slide the valve housing back into place. Ensure that
the valve lever and fork do not bind. The fork should
move up and down easily.
Firehawk Second Stage Regulator Reassembly
Installing the Regulator Seal Ring
1. Apply a thin film of Christo-Lube lubricant (P/N
604070) to the new o-ring.
2. Roll the new o-ring
onto the regulator out-
let and seat it into the
o-ring groove.
Note: An unseated seal can cause an air leak.
8
TAL 114 (L) Rev. 7 - 10093086

 Loading...