Do you have a question about the NAD MT 1 and is the answer not in the manual?
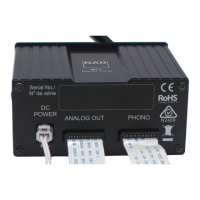
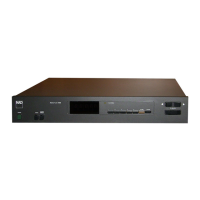
Pre-install cables to MT 1 connector points; connect FFC to PHONO port if PP375 is installed.
Connect DC POWER and FFC cables from MT 1 to C 375BEE main board and PP375 module.
Remove dummy cover, install MT 1 in its place, and fix with screws.
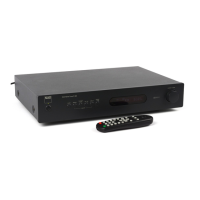
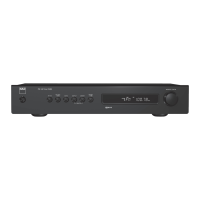
MT 1 is compatible with C 375BEE units that have the 0.5W standby logo on their rear panels.
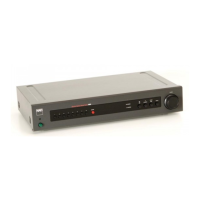
Pre-install cables to C 356BEE connector points and connect DC POWER and FFC cables.
Remove dummy cover, install MT 1 in its place, and fix with screws.
Download the latest MT1 owner's manual from the NAD Electronics website.
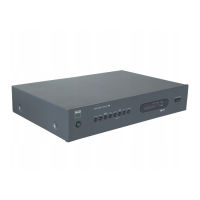
The NAD MT 1 Media Tuner is a module designed for integration with specific NAD C 375BEE and C 356BEE amplifier units, enhancing their functionality by adding media tuning capabilities. This module allows users to expand their amplifier's features without needing a separate external device.
The MT 1 Media Tuner serves as an internal upgrade module, providing media tuning functions directly within compatible NAD C 375BEE and C 356BEE amplifiers. While the specific media tuning capabilities (e.g., FM/AM radio, internet radio, streaming services) are not explicitly detailed in the provided installation guide, the presence of "Media Tuner" and "WIFI" labels on the module's rear panel suggests a range of digital media and network connectivity features. It integrates seamlessly with the amplifier's existing architecture, utilizing internal power and signal connections. The module is designed to be user-installable, fitting into a dedicated slot on the amplifier's rear panel.