1818
1818
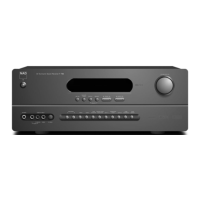
18
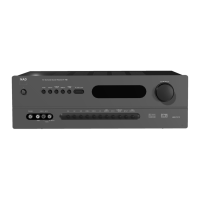
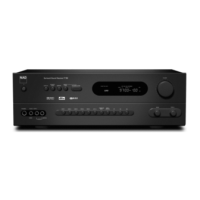
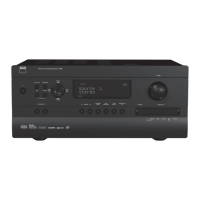
ABOUT THE ON-SCREEN DISPLAYS (OSD) AND FRONT-PANEL READOUT
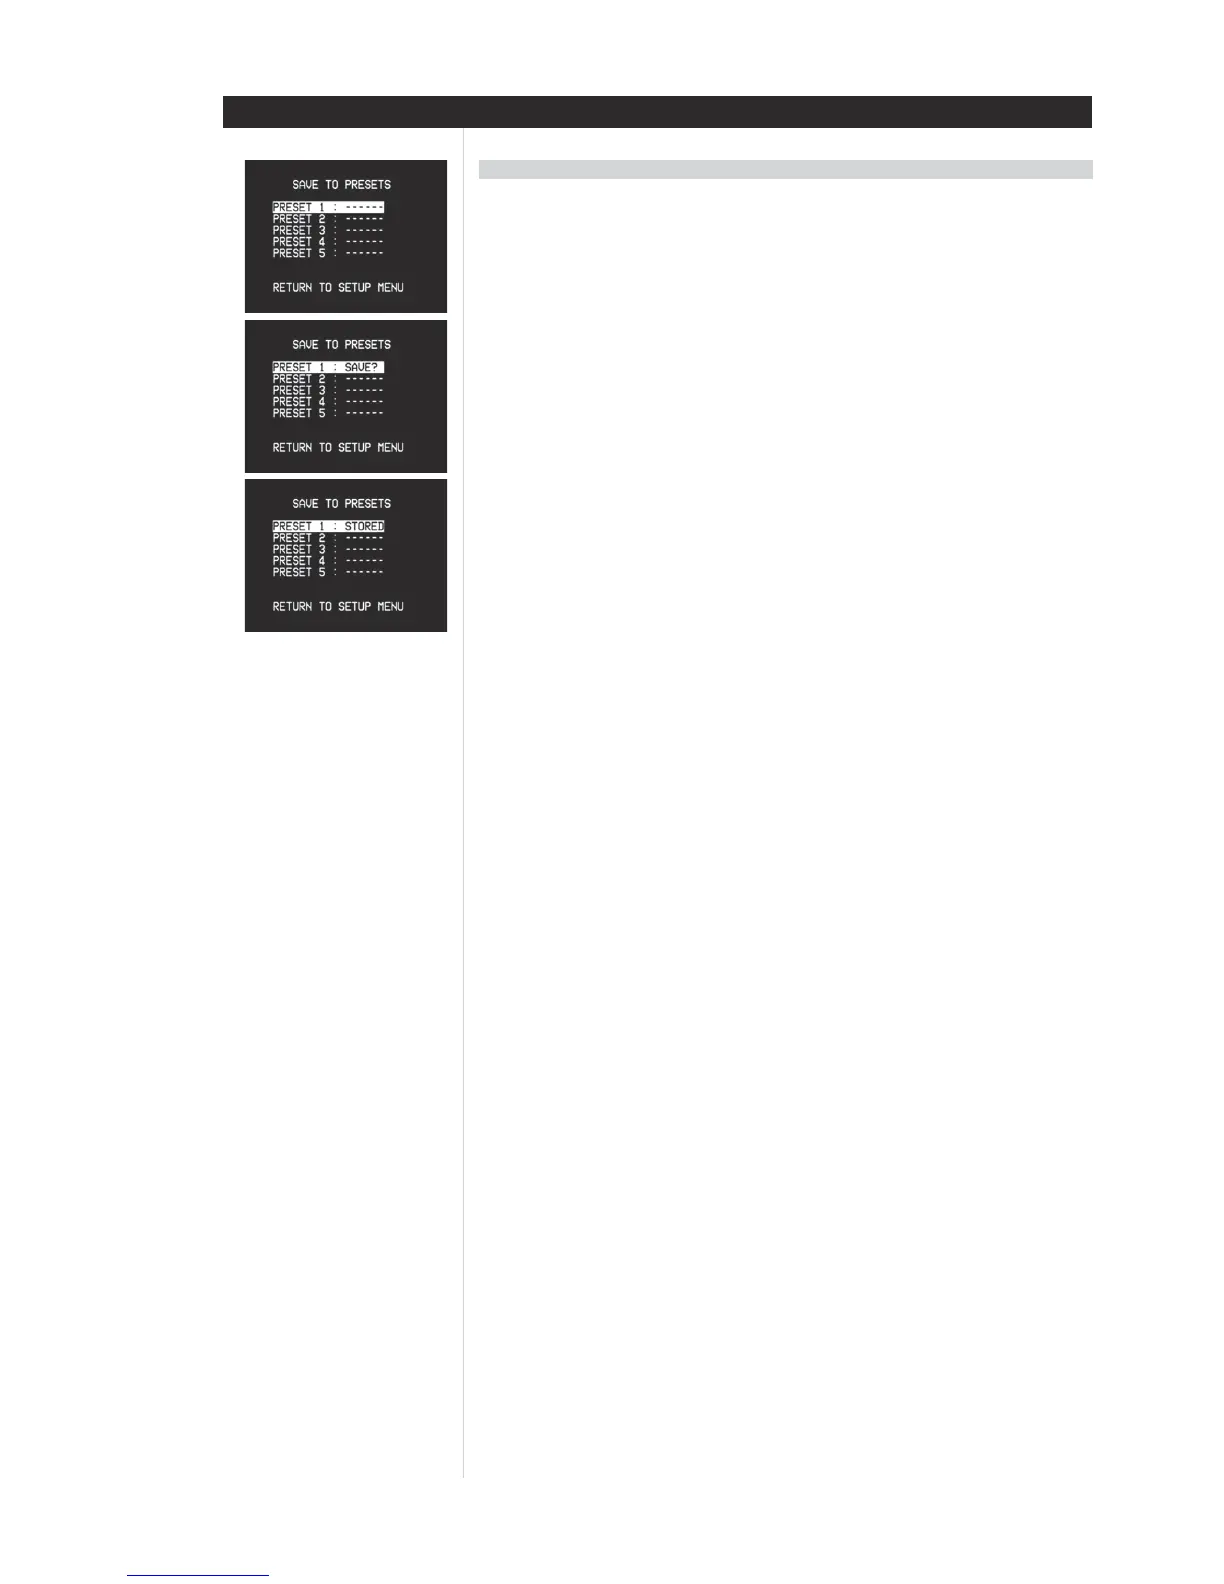
CREATING AND USING PRESETS
The T 773’s simple but powerfully flexible system of “Presets” allows you to customize virtually every aspect
of your audio-video playback, and recall them with a single key-press. Every parameter of T 773 operation
that is available from the main <Setup> menu — input settings, level settings, delay settings, speaker
settings, and listening mode selection and adjustments — is stored, together, as a single Preset. You might
create one Preset optimized for pop music and another for classical, or Presets that recall each family
member’s favorite setup, or one for fully cinematic home-theater playback and another for late-night
movies, with each Preset’s surround mode, channel levels, and speaker-setup fine-tuned to a particular
scenario or preference.
CREACREA
CREACREA
CREA
TING PRESETSTING PRESETS
TING PRESETSTING PRESETS
TING PRESETS
Creating a Preset consists simply of storing a complete set of all settings accessible from the main <Setup>
menu, including Tone Control settings. To save a collection of settings to a Preset, use the HTR 2 remote’s
[
/] keys to scroll to the to main <Save to Preset> item. Use [/] to scroll to the desired Preset’s line
[1-5]; <Stored> will be flashing. Now press the HTR 2’s [Enter] to store the Preset; <Stored> will be stop
flashing, confirming that the Preset has been stored.
NOTE: The selected Preset remains in force until you select a different Preset.
NOTE: It is strongly recommended to leave Preset 1 “empty”; that is, memorized with no changes at all
made to the calibrated values you have entered on all of the <Setup> menu lines. This will make returning
to your calibrated setup defaults easy.
RECALLING PRESETSRECALLING PRESETS
RECALLING PRESETSRECALLING PRESETS
RECALLING PRESETS
You may recall a Preset at any time; the newly recalled Preset will replace the previous Preset (if any).
Presets can only be recalled using the HTR 2 remote:
Press the HTR 2’s square [A/V Preset] key (red dot), then press the numeric key 1-5 corresponding to the
desired preset.
NOTE: The [A/V Preset] key works as a momentary “shift” key: You must press it every time before invoking
a Preset via a numeric key.