Chapter 1 GPIB Hardware
© National Instruments 1-5 GPIB Hardware Guide
4. Remove the corresponding slot cover on the back panel of the
computer.
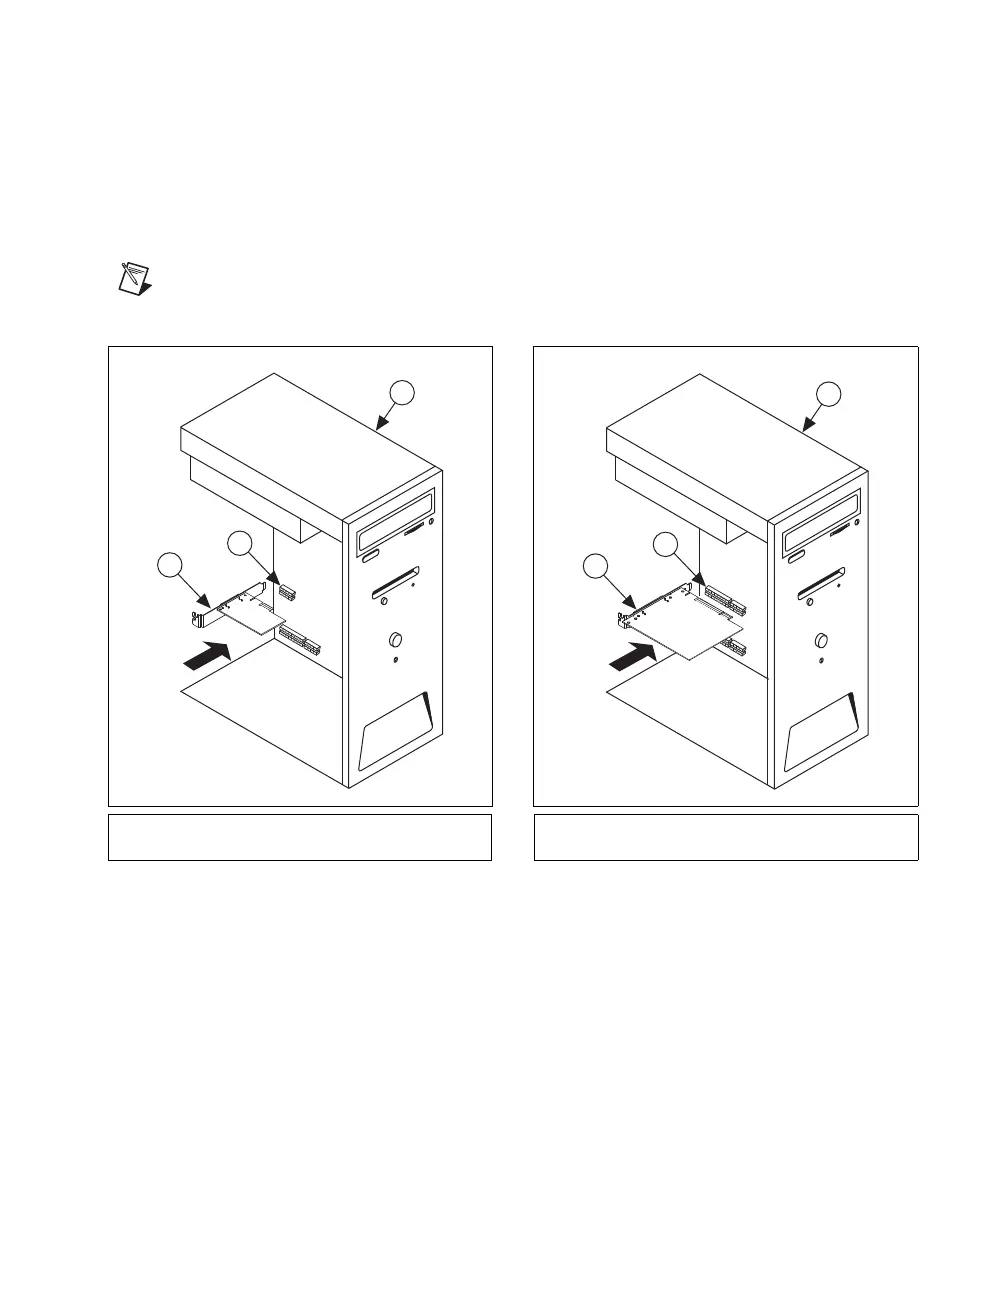
5. Insert the GPIB board into the slot with the GPIB connector sticking
out of the opening on the back panel, as shown in Figure 1-3. It might
be a tight fit, but do not force the board into place.
Note Your PCI Express board may be larger than the one shown in the figure.
Figure 1-3. Installing Your PCI Card
6. Screw the mounting bracket of the GPIB board to the back panel rail
of the computer.
7. Replace the top cover (or the access panel to the expansion slot).
8. Power on your computer.
The GPIB hardware installation is now complete.
1 PCI Express Board
2 PCI Express Slot
3 Computer 1 PCI Board
2PCI Slot
3 Computer
3
1
2
 Loading...