12 | ni.com | NI VirtualBench Calibration Procedure
Verifying Resistance
To verify the resistance function of the VirtualBench, complete the following steps:
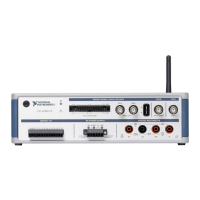
1. To verify resistance ≤19 kΩ, connect the red connectors on one end of the low EMF copper
cable to the banana plug connectors of the VirtualBench, and connect the connectors on the
other end of the cable to the appropriate calibrator binding posts. Figure 3 shows the correct
connections.
Figure 3. Cable Connections for Resistance ≤19 kΩ
2. Wait 2 minutes for the thermal EMF to stabilize.
Note Thermal EMF stabilization time is not needed if the cables have not been
connected/reconnected.
3. Call DMM Configure Measurement with the following parameters:
• Function =
Resistance
• Auto Range = FALSE
• Manual Range = 100
4. Set the calibrator to output 0 Ω with 2-wire compensation turned on.
5. Call DMM Read to allow the calibrator to properly settle.
6. Wait 5 seconds for settling.
7. Call
DMM Read 20 times. Calculate and record the average value.
8. Output 1 Ω verification point on the calibrator.
9. Call
DMM Configure Measurement with the following parameters:
• Function =
Resistance
• Auto Range = FALSE
• Manual Range = 100
1 VirtualBench DMM 2 Multifunction Calibrator 3 Low EMF Copper Cable
HI
LO
HI
LO
HVI
SENSE
VΩ
OUTPUT
VΩA
AUX
CURRENT
GUARD GROUND
3
1 2
 Loading...