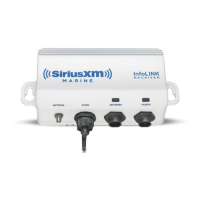
WM-4 Marine Weather & Audio Receiver Installation Manual
13
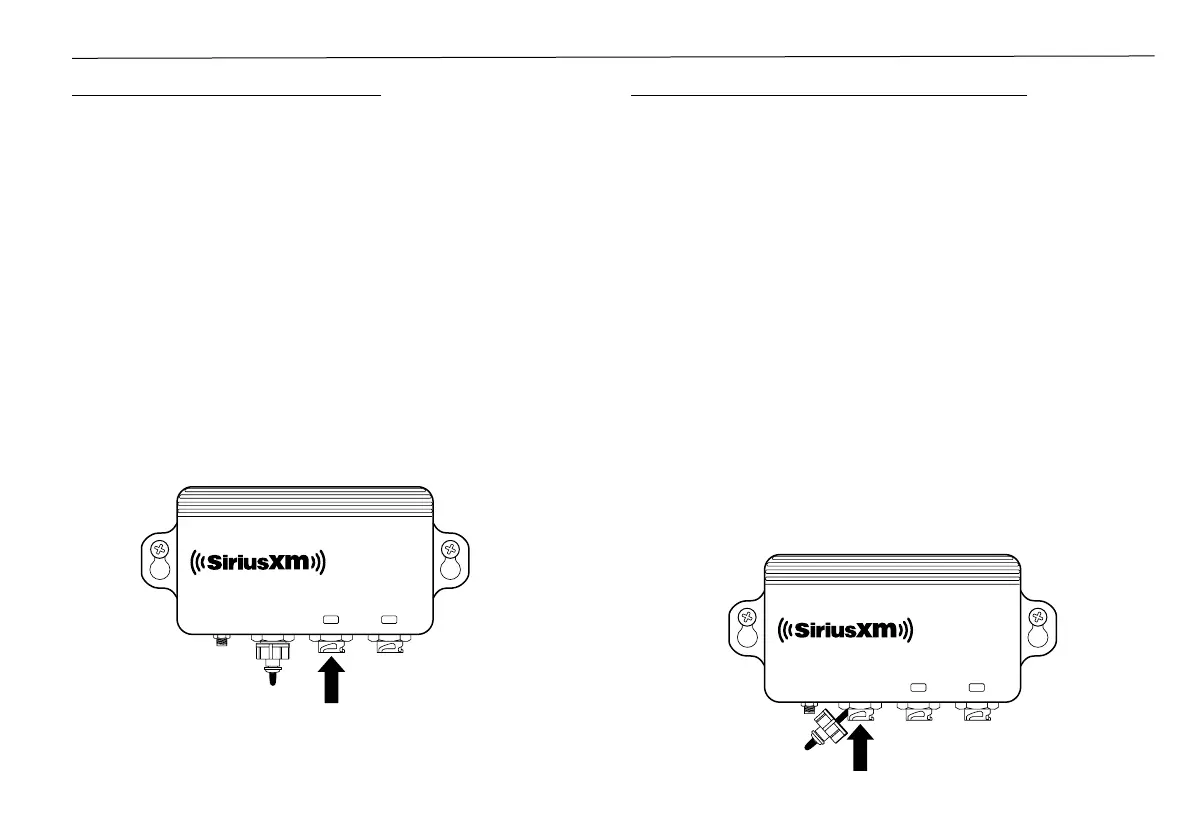
Connect the Network Cable
The Network Cable should be connected to your
system. The cable is marked near each end to
distinguish the connectors.
If your system does not utilize a Network Expansion
Port, connect the cable to the MFD’s Network port.
If your Navico system utilizes a Network Expansion
Port, connect the cable to the Network Expansion
Port. If there are no available connections on the
existing Network Expansion Port, you will need
to purchase another Network Expansion Port to
accommodate the WM-4 Receiver.
Connect the 7-pin end of the cable to the
NETWORK connection of the WM-4 Receiver.
Connect the Audio Cable (optional)
The audio connection is optional and is used if you
subscribe to a SiriusXM music and entertainment
package in addition to the SiriusXM Marine
subscription package.
If you are not installing an audio connection, do not
remove the water resistant cap that is installed on
the WM-4 Receiver’s AUDIO connector.
The Audio Cable provides an RCA-style Left and
Right audio connection. Connect these to the
auxiliary (AUX) input on your audio device.
If your audio system does not have RCA connectors
they will need an adapter cable, available from the
local dealer or an electronics retailer.
Remove the water resistant cap that is installed on
the WM-4 Receiver’s AUDIO connector, and connect
the Audio Cable.
ANTENNAAUDIO
MARINE
NETWORK
RECEIVER
POWER
InfoLINK
AUDIO
ANTENNAAUDIO
MARINE
NETWORK
RECEIVER
POWER
InfoLINK
NETWORK
 Loading...