INSTALLATION/ SERVICE MANUAL
INSTALLATION/ SERVICE MANUAL
11
12
INSTALLATION INSTRUCTIONS
INSTALLATION INSTRUCTIONS
1. Power down
• Turn o key, disconnect battery
• Put car on a stand and block wheels
• Use insulated tools
• Never use battery as workbench
2. Remove OEM Controller
• Remove OEM protective cover
• Remove and discard the battery positive
bus bar
• Remove resistor wires
• Remove battery negative cable
• Remove resistor cage with solenoid
• Unplug Harness
• Remove motor phase cables.
• Unbolt and remove the controller
3. Install Navitas TAC 2 Controller
• Route motor cables to new controller
around outside of controller mount
• Remove bolts, washer, lock washer from
top of new controller.
• Fasten TAC 2 Controller to existing
mounting bracket using original hardware
(
Fig. 2)
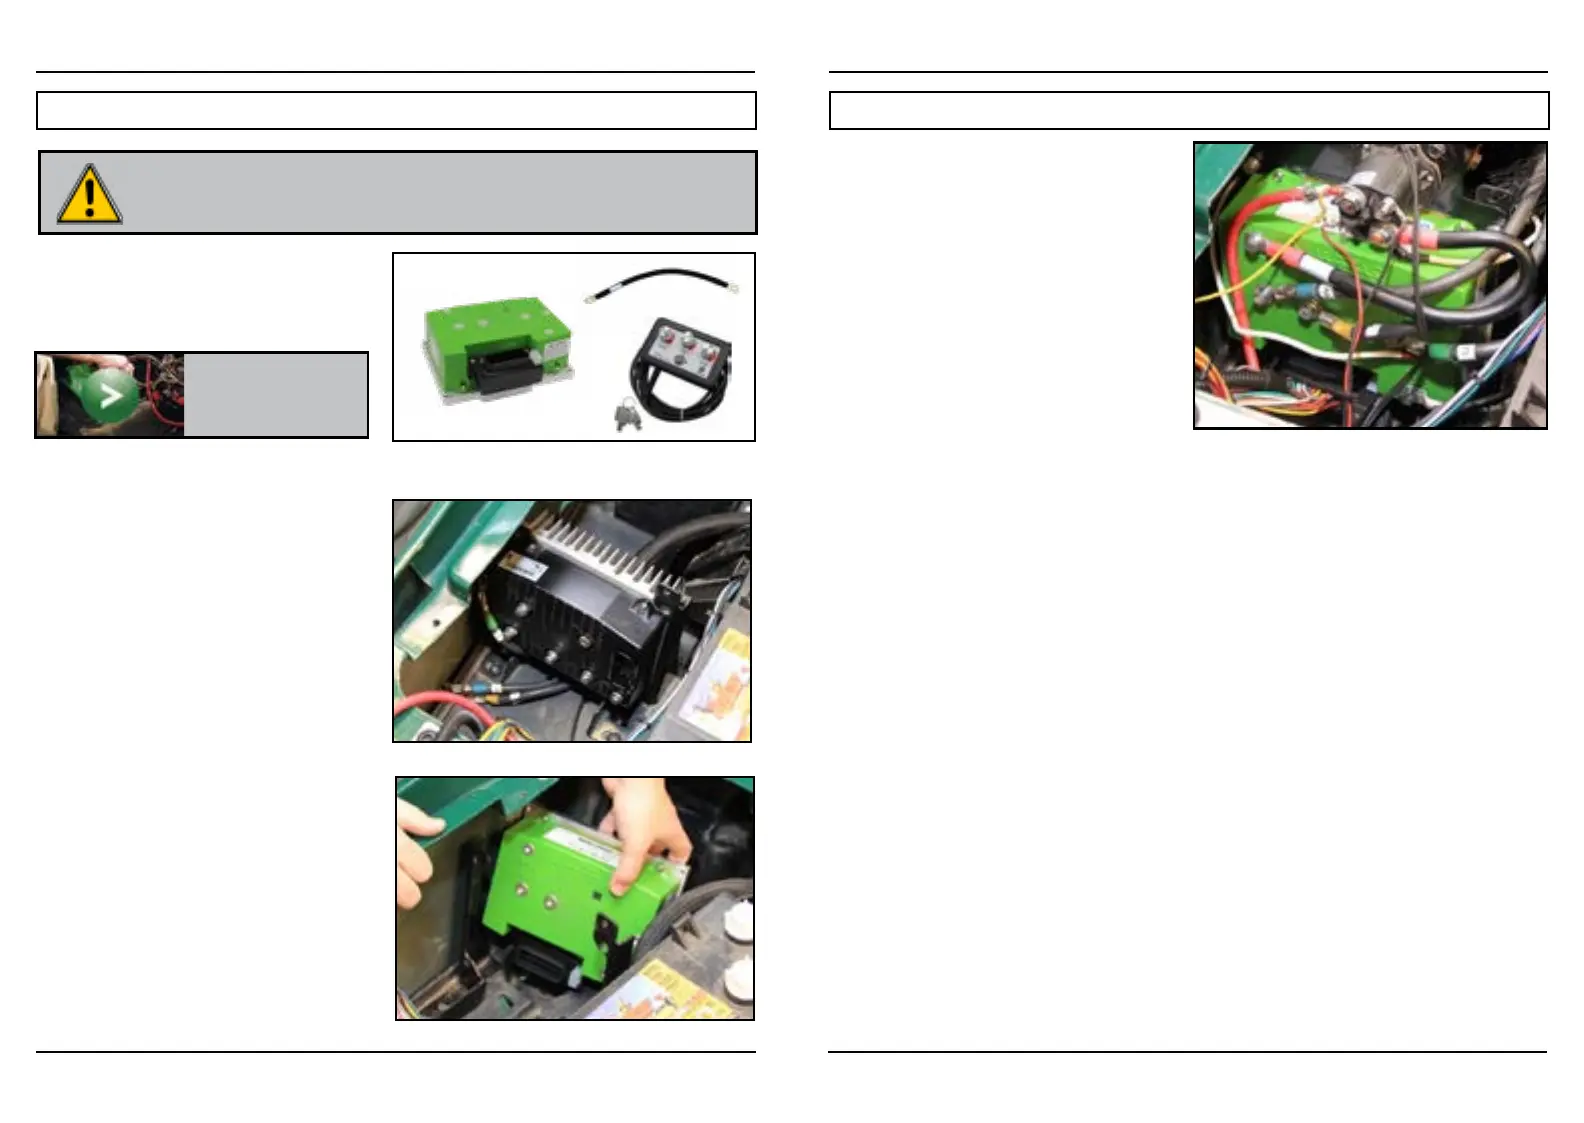
4. Connect Navitas TAC 2 Controller (Fig. 3)
• Connect cables using bolts, washers and
lock washers: U to U, V to V, W to W
• Fasten NEW battery positive cable (B+ from
controller to solenoid) and add black lead
from resistor on top of battery cable and
tighten w/13mm wrench or socket
• Re-fasten resistor cage with solenoid
mounted on it.
• Add battery positive cable to solenoid and
tighten w/13mm wrench or socket
• Tighten back positive terminal
• Add wire from the resistor to the resistor
output of the controller marked as “R” and
tighten w/10mm wrench or socket
• Connect battery negative cable - Tighten w/10mm wrench or socket per specs on page
10.
5. Connect RXV OEM harness (Fig. 3)
• Insert RXV OEM harness into adapter module
• The Programming end of the CURTIS harness will NOT be used
• Re-connect the cover.
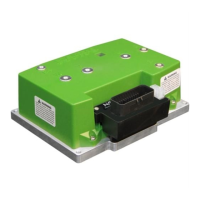
PARTS
• AC controller
• B+ cable (for solenoid to controller)
• On-The-Fly programmer
Disconnect all batteries before beginning
installation. If the car has a Run/Tow switch, you
must place the switch in the TOW position first!
CAUTION
RXV Installation
To view our Installation
video for Golf Cars, visit:
NavitasVS.com/support
6. Install On the Fly Programmer (Optional)
• Unclip the three nuts to remove cup holders
• Feed end of cable through body hole on the dash and leave enough slack to mount the OTF on
the dash
• Mount on On-the-Fly programmer on the dash w/ Velcro strap
• Feed cable back through the channel to the floor and chase back following wiring harness to the
Navitas adaptor module and connect it. Zip tie cable to the factory wiring harness
• Connect OTF programming end into the adaptor module, and connect original controller harness
into adaptor module;
• Zip tie motor phase wires to resistor cage
• Original communication plug from OEM controller not used
• Re-Connect cover
• Mount OTF on the dash
• Re-power the system by Connecting battery connection.
7. Test installation
• Lift drive wheels o ground
• Reconnect battery pack
• Turn key to Forward
• Press on throttle to activate wheels
.
RXV Installation cont’d
Fig. 1
Fig. 2
Fig. 3
Note: Installation is easier and faster if RXV body is removed completely. See Manufacturer’s
instructions for body removal.
 Loading...

