English
English
10 11
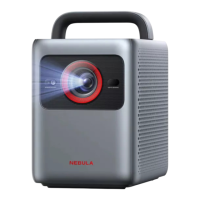
5. PowerOn
①
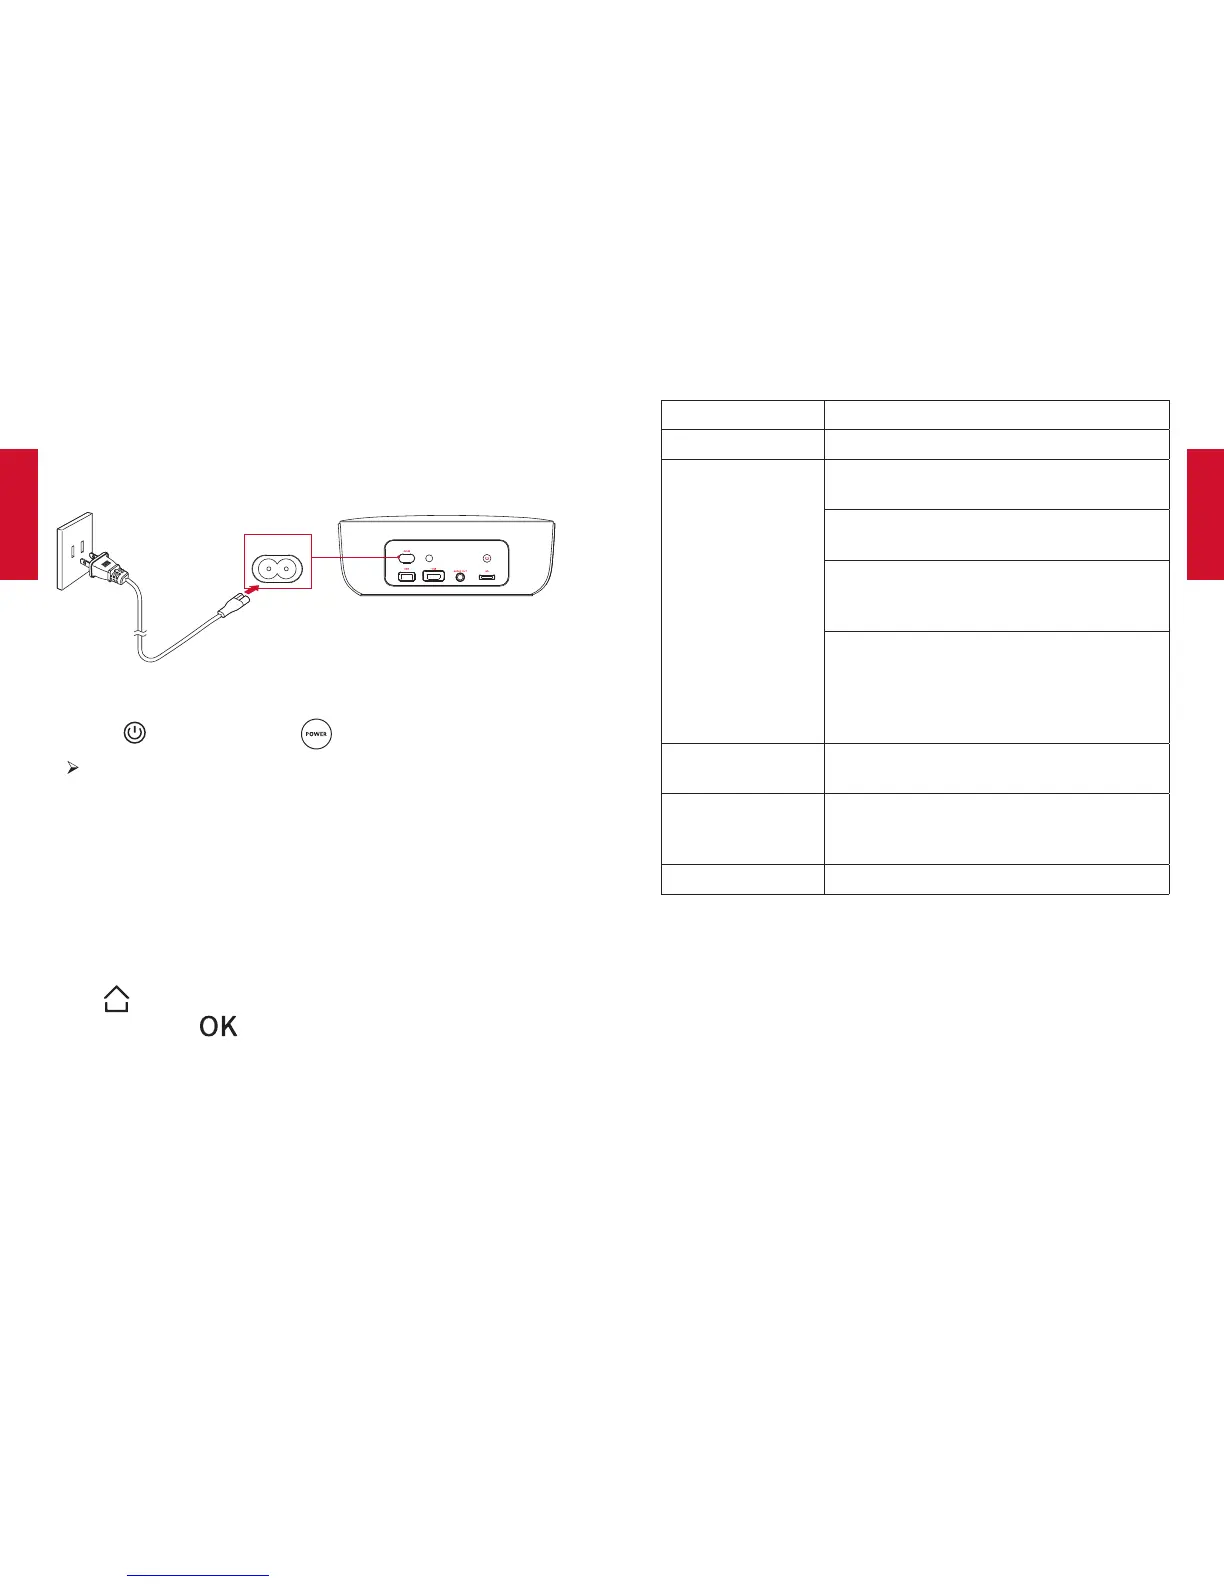
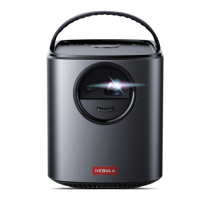
Connect this projector to the outlet by using the provided power
cord.
AC-IN
②
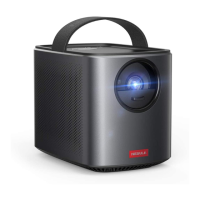
Remove the lens cover.
③
Press on the rear panel or on the remote control once.
The power button indicator turns from red to white. After 6
seconds,theindicatorwillalternatelyflashwhiteandredve
times, and then this projector will turn on.
④
Turn this projector towards a flat, white projection surface.
⑤
To focus the image, rotate the lens.
6. Settings
Go through the setup process when you turn on this projector for
thersttime.
Press on the remote control to access the home menu, select
[Setting] and press .
[Language] Select an on-screen language.
[Display Mode] [Standard] /[Bright]
[Projector Mode] [Front]: The device is located in front of the
projection surface.
[Rear]: The device is located behind the
projection surface.
[Front Ceiling]: The device is hanging from
the ceiling in an upside down position. The
image is rotated by 180 degrees.
[Rear Ceiling]: The device is hanging from
the ceiling in an upside down position
behind the projection surface. The image
is rotated by 180 degrees and horizontally
mirrored.
[V. Keystone]
Manual keystone correction. The default
value is 0.
[Firmware Upgrade]
Check if it is the latest version. Follow the
on-screen instructions to upgrade the
rmwareversion.
[About] Know the device name and system version.
UsingtheNebulaPrizm
1. PlayfromHDMIPlaybackDevices
This projector can be connected to various HDMI playback devices
suchasaTVbox,TVstick,DVDplayer,set-topbox(STB),game
machine or other devices.
①
Connect this projector to an HDMI playback device with an
HDMI cable (not provided).