65
3. Convenient Features
⓬ Projecting an Image from an Angle (Geometric Correction
Tool in Image Express Utility Lite)
TheGeometricCorrectionTool(GCT)functionallowsyoutocorrectdistortionofimagesprojectedevenfroman
angle.
What you can do with GCT
• TheGCTfeatureincludesthefollowingthreefunctions
• 4-pointCorrection:Youcantaprojectedimagewithintheborderofthescreeneasilybyalignthefourcorners
ofanimagetotheonesofthescreen.
• Multi-pointCorrection:Youcancorrectadistortedimageonthecornerofawallorirregularshapedscreen
byusingmanyseparatedscreenstocorrecttheimageaswellas4-pointCorrection.
• Parameters Correction:Youcancorrectadistortedimagebyusingacombinationoftransformationalrules
preparedinadvance.
Thissectionwillshowanexampleforusewith4-pointCorrection.
Forinformationabout“Multi-pointCorrection”and“ParametersCorrection”,seethehelpleofImageExpress
UtilityLite.(→page60)
• Yourcorrectiondatacanbestoredintheprojectororyourcomputerwhichcanberestoredwhennecessary.
• TheGCTfunctionisavailablewithaUSBcable,wiredorwirelessLANconnection,andvideocable.
Projecting an Image from an Angle (GCT)
ThissectionwillshowanexampleforusewithUSBDisplay(usingaUSBcabletoconnectacomputerandthepro-
jector).
• TheUSBDisplayfunctionwillautomaticallydisplaythecontrolwindow
• ForavideocableorLANconnection,installandstartImageExpressUtilityLiteinyourcomputerbeforehand.(→
page58)
Preparation:Adjusttheprojectorpositionorthezoomsothattheprojectedimagecancoverthewholescreenarea.
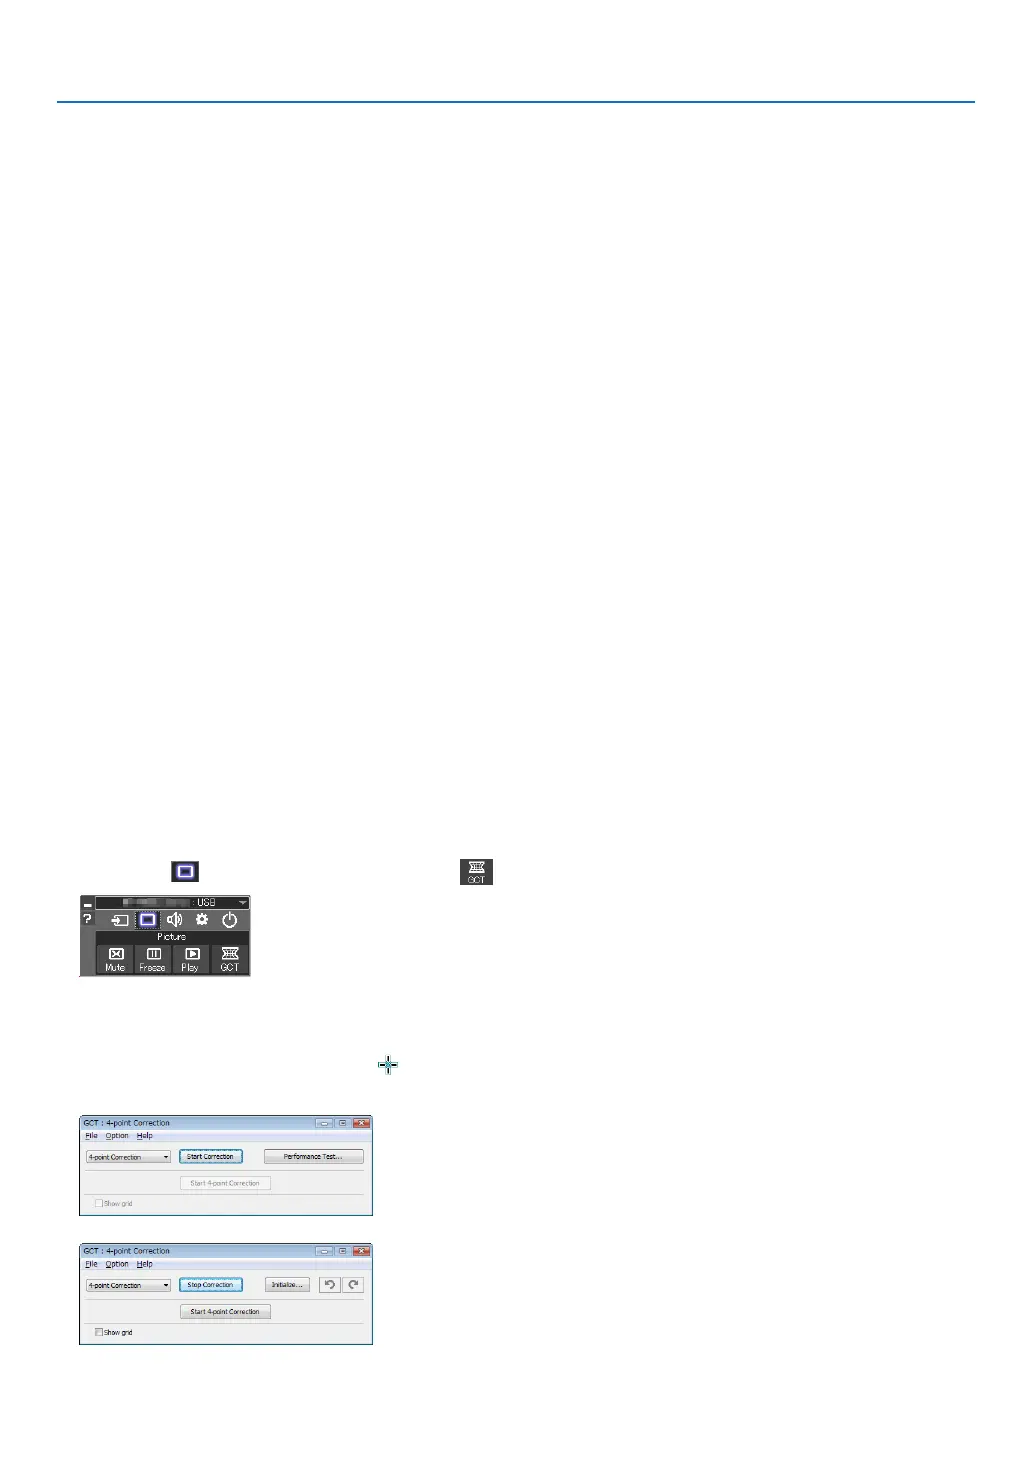
1. Clickthe“ ”(Picture)iconandthenthe“ ”button.
The“4-pointCorrection”windowwillbedisplayed.
2. Clickthe“StartCorrection”buttonandthen“Start4-pointCorrection”button.
A green frame and a mouse pointer ( ) will be displayed.
• Four[•]markswillbeappearedatfourcornersofthegreenframe