105
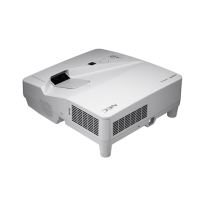
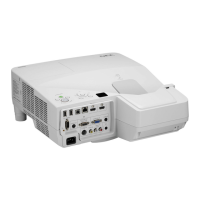
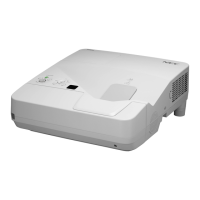
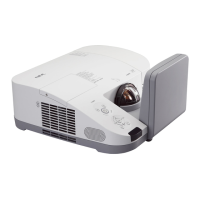
6. Installation and Connections
WARNING
* Installingyourprojectorontheceilingmustbedone
byaqualiedtechnician.ContactyourNECdealerfor
moreinformation.
* Donotattempttoinstalltheprojectoryourself.
• Onlyuseyourprojectoronasolid,levelsurface.Ifthe
projectorfallstotheground,youcanbeinjuredand
theprojectorseverelydamaged.
• Donotuse the projector where temperatures vary
greatly.Theprojectormustbeusedattemperatures
between41°F(5°C)and104°F(40°C)(Ecomode
selected automatically at 95°F to 104°F/35°C to
40°C).
• Do not expose the projector to moisture, dust, or
smoke.Thiswillharmthescreenimage.
• Ensure thatyouhave adequateventilation around
yourprojectorsoheatcandissipate.Donotcoverthe
ventsonthesideorthefrontoftheprojector.
ReectingtheImage
Usingamirrortoreectyourprojector’simageenables
youtoenjoyamuchlargerimagewhenasmallerspace
isrequired.ContactyourNECdealerifyouneedamirror
system.Ifyou’reusingamirrorsystemandyourimage
isinverted,usetheMENUandbuttonsonyour
projectorcabinetoryourremotecontroltocorrectthe
orientation.(→page90)
 Loading...