16
2. Projecting an Image (Basic Operation)
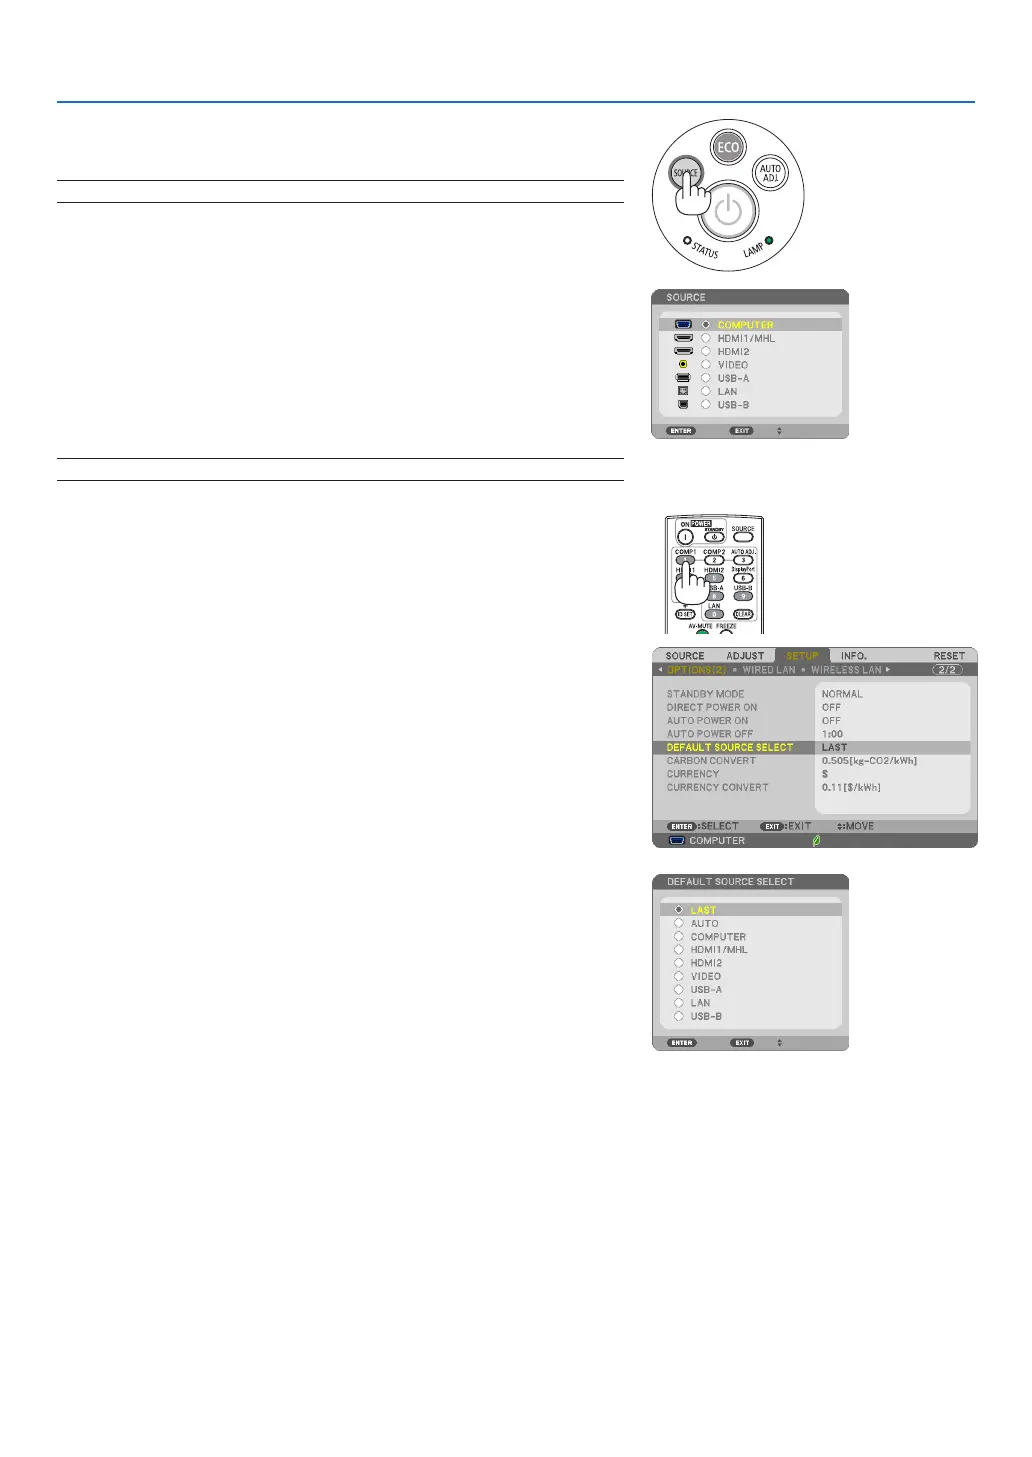
Selecting a Source
Selecting the computer or video source
NOTE:Turnonthecomputerorvideosourceequipmentconnectedtotheprojector.
DetectingtheSignalAutomatically
PresstheSOURCEbuttononce.Theprojectorwillsearchfortheavailable
inputsourceanddisplayit.Theinputsourcewillchangeasfollows:
COMPUTER→HDMI1/MHL→HDMI2→VIDEO→USB-A→LAN→
USB-B
• WiththeSOURCEscreendisplayed,youcanpresstheSOURCE
buttonafewtimestoselecttheinputsource.
TIP:Ifnoinputsignalispresent,theinputwillbeskipped.
UsingtheRemoteControl
PressanyoneoftheCOMPUTER1,HDMI1/MHL,HDMI2,VIDEO,USB-
A,USB-B,orLANbuttons.
SelectingDefaultSource
Youcansothatitwillbedisplayedeachtimetheprojectoristurnedon.
1. Press the MENU button.
The menu will be displayed.
2. Press the buttontwicetoselect[SETUP]andthe button or
theENTERbuttontoselect[GENERAL].
3.
Press the
buttonfourtimestoselect[OPTIONS(2)].
4. Press the buttonvetimestoselect[DEFAULTSOURCESE-
LECT]andpresstheENTERbutton.
The [DEFAULT SOURCE SELECT] screen will be displayed.
(→ page 95)
5.
Select a source as the default source, and press the ENTER button.
6. PresstheEXITbuttonafewtimestoclosethemenu.
7. Restart the projector.
The source you selected in step 5 will be projected.
TIP:
• WhentheprojectorisinStandbymode,applying acomputersignalfroma
computerconnectedtotheCOMPUTERINinputwillpowerontheprojector
andsimultaneouslyprojectthecomputer’simage.
([AUTOPOWERON]→page95)
• OnWindows7,acombinationoftheWindowsandPkeysallowsyoutosetup
externaldisplayeasilyandquickly.

 Loading...