Necta ASTRO Touch screen upgrade kit by QUVEND Zrt.- MANUAL
6
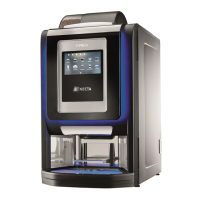
3.3 Installation of the Display
A. Stick the 2 stickers following he signs on them (Item 6)
B. Drill or rasp holes where it is marked on the stickers
C. Replace the mid cover, but keep it loosened
D. Take the power supply unit (Item 4) and lace the plug over the electric channel (hole) of the
mid console
E. place carefully the display (Item 1)
F. Place the display mounting kit (Item 2)
G. Cut the plastic cover to appropriate size (around 405*405mm)
H. Put the resized plastic cover to its place and fasten it properly
I. Replace the side cover and also tighten the mid cover bolts
J. Connect the keyboard cables and the power supply unit to the display
K. Move the lighting form the old upper back door cover to the new one (Item 3)