S - Vacuum Cleaners
EN
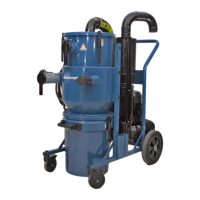
6.2Replace the cartridge filter/filter
package
NOTE!
• Replacing the entire filter package is recom-
mended. When only changing the socks, the
filter ring should also be replaced.
• If the filter is placed into a dust bag for dis-
posal, tie off the dust bag. See Figure11.
1 Turn off the vacuum cleaner.
2 Remove the filter and place it into a box or dust
bag for disposal.
3 Put in the new filter.
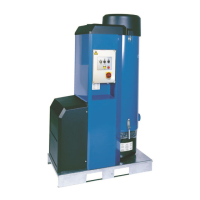
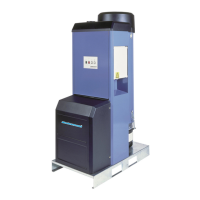
6.3Side channel fan
The fan is equipped with sealed ball bearings requir-
ing no lubrication. The units are maintenance free.
NOTE!
Repairs on the fan may only be performed by
the manufacturer.
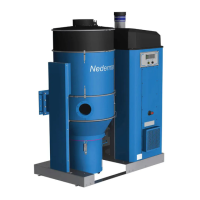
6.4Routine inspection and service
Follow this list to routinely inspect, and repair or replace worn and damaged parts on the inside and outside of
the vacuum cleaner. See also Chapter10Appendix A: Service form. Contact your nearest authorized distributor
or Nederman for advice on technical service or if you require help with spare parts.
Items to inspect What to look for Service
VACUUM OFF
Suction hoses, couplings Leaking suction hoses and coup-
lings.
Replace. For grounding guide, see Fig-
ure5.
Cables and plugs Damaged cables and plugs. Replace.
Gaskets Worn out, aged and leaking gaskets. Replace.
Cartridge filter Worn out filters. Replace.
Filter sock Full or torn filter sock. Clean or replace a full filter sock. Replace a
torn filter sock.
Silencer material Damaged silencing material. Replace.
Ejector nozzle Dirty ejector nozzle. Clean.
Wear plate, silo
Wear plate, grit and dust
separator
Damaged or frayed rubber pad on
the wear plate.
Replace the wear plate.
SIDE CHANNEL FAN
Motors Control that the motors are running
clockwise as seen from above.
Start the fan briefly, check the direc-
tion of rotation. Impeller rotation must
match the arrow on the fan housing. If it
does not, switch the phases L1 and L3 for
three-phase operation.
Starter Loose and damaged cables. Dam-
aged electrical components.
Replace damaged parts. Tighten cables.
22
 Loading...