34
The tables below explain the meaning of the dip-switches for the Syncro or Solo operating
mode (a Syncro machine that works individually) and paired with other devices.
Mode DIP-SWITCH No. 3
SOLO ON
SYNCRO OFF
Mode DIP-SWITCH No. 4
With electromechanical lock ON
Without electromechanical lock OFF
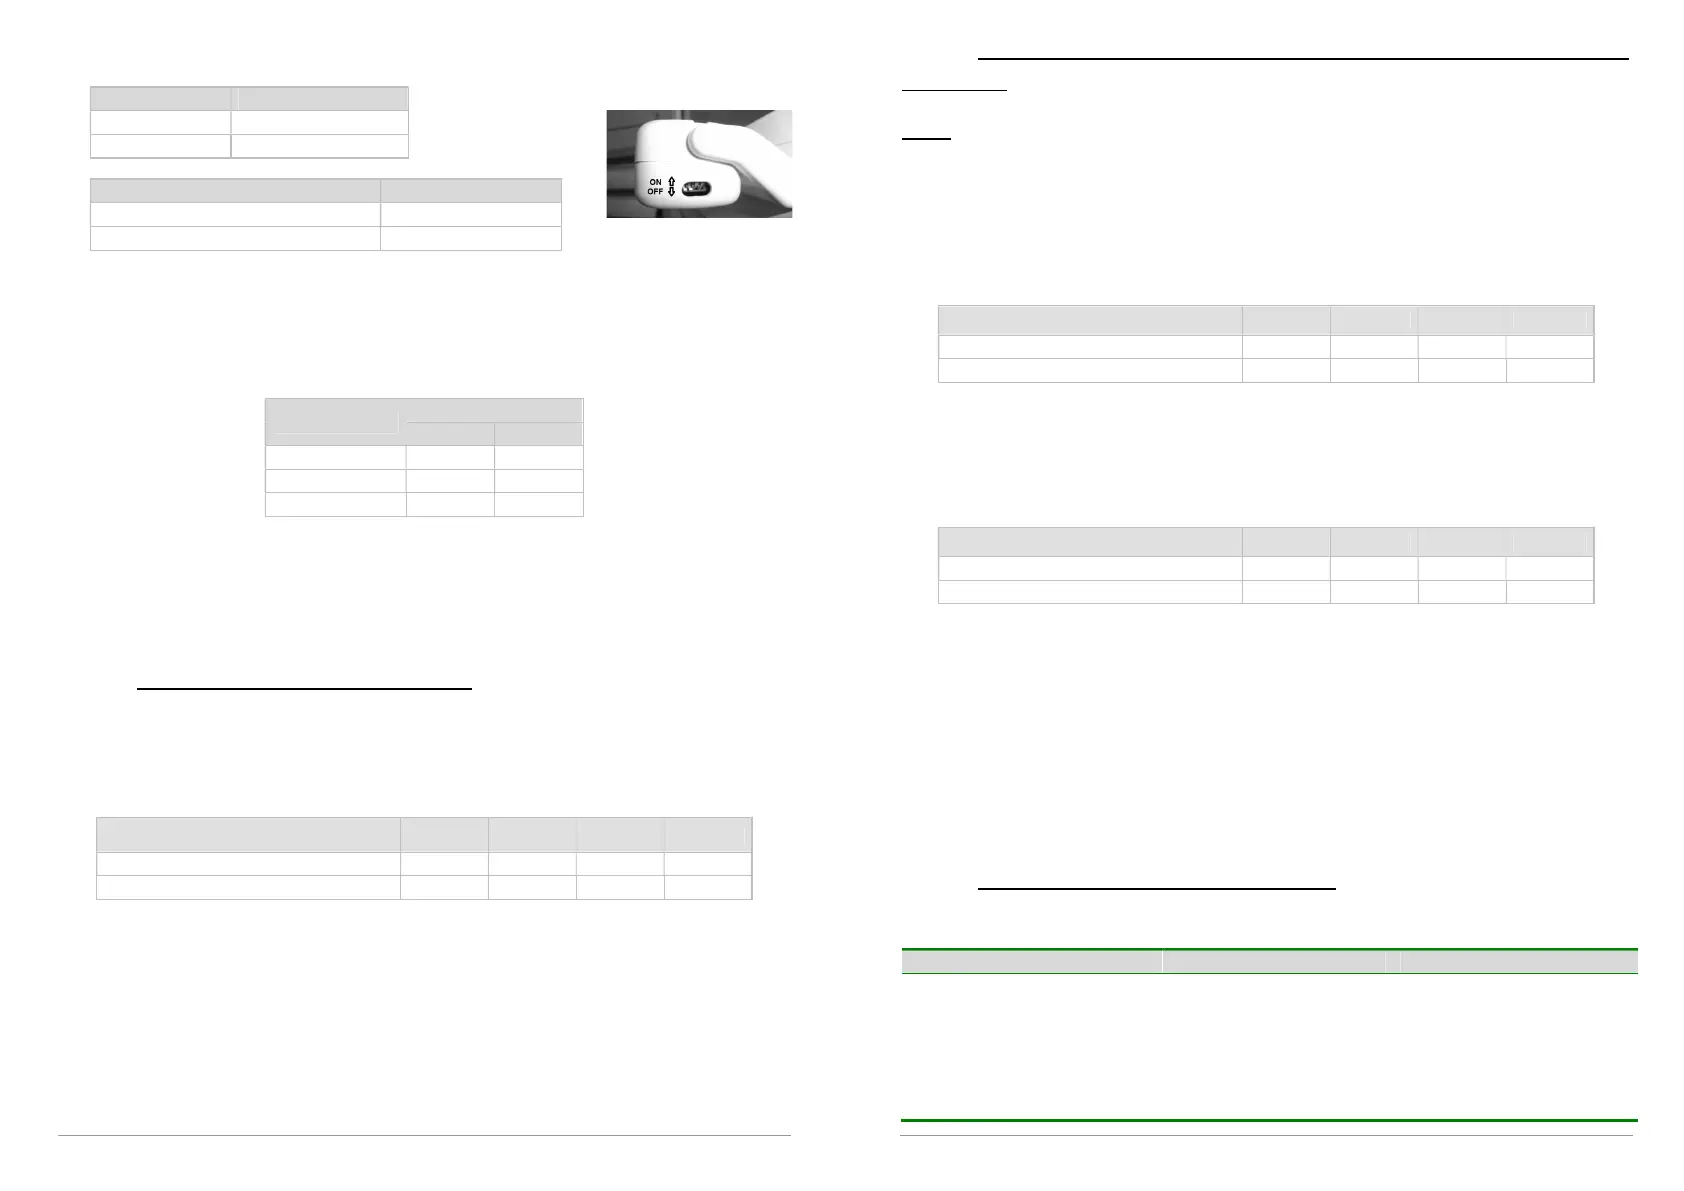
Opening stroke-end
Three (3) stroke-end positions can be set for the chain in excursion. The setting is done by
adjusting the dip-switches No. 1 and No. 2 appropriately.
The setting is simple, immediate and executable at any time, and it is achieved by operating
on the levers of the dip-switches as shown in the table below.
STROKE-END
DIP-SWITCH
No. 1 No. 2
100 mm ON OFF
200 mm OFF ON
400 mm ON ON
After setting the stroke-end, it is recommended that you make at least one test manoeuvre.
In case of error, the setting can be repeated in order to obtain the desired stroke.
Closing stroke-end
(See specific chapter for Kato at point 11.1).
11.4. Setting for SOLO operation of a Syncro³
Ensure that all the connections of the wires have been made correctly (for the connections of
the electromechanical lock, see the respective instruction manual).
Isolate the actuators from the power source.
Remove the chains from the attachment of the window.
Position the dip-switches of the machine as shown in the table below.
Dip-switch No. 1 No. 2 No. 3 No. 4
With electromechanical lock OFF OFF ON ON
Without electromechanical lock OFF OFF ON OFF
Power the machine in any direction: the machine automatically moves the chain in the
closing and then opening direction, stopping automatically in the end position (about 8
cm).
Cut off power to the machine.
Position dip-switches No.1 and No.2 according to the desired stroke (see the opening
stroke-end table).
Connect the machine to the power supply again and carry out some opening and closing
manoeuvres.
35
11.5. Setting for synchronized operation (chain alignment and address acquisition)
IMPORTANT. This procedure should be carried out for all the actuators that you want
to synchronize with one another (max 8).
NOTE. In the case of just 2 actuators, they are already factory-set; if there are more
than 2 or in the event of replacements, follow the instructions below.
Ensure that all the connections of the wires, including the synchronization wires, have
been made correctly (for the connections of the electromechanical lock, see the
respective instruction manual).
Isolate the actuators from the power source.
Remove the chains from the attachment of the window.
Position the dip-switches of the machines as shown in the table below.
Dip-switch No. 1 No. 2 No. 3 No. 4
With electromechanical lock OFF OFF ON ON
Without electromechanical lock OFF OFF ON OFF
Power the machines in any direction: the machines automatically move the chain in the
closing and then opening direction, stopping automatically in the end position (about 8 cm).
Ensure that all the machines have the chains aligned at the same position (about 8 cm). If
the chains are not at the same position, repeat the procedure from the beginning.
Cut off power to the machines.
Position the dip-switches according to the table below for acquisition of the addresses.
Dip-switch No. 1 No. 2 No. 3 No. 4
With electromechanical lock OFF OFF OFF ON
Without electromechanical lock OFF OFF OFF OFF
Power the machines again in any direction.
The machines now communicate with one another and acquire an address. The LED
(near the Dip-switches) of each machine begins to flash in relation to its address; ensure
that the LEDs flash with different numbers of flashes (machine No.1 1 flash – pause - 1
flash - pause; machine No.2 2 flashes – pause – 2 flashes - pause). Repeat the
procedure in case of error.
Cut off power to the machines.
Position dip-switches No.1 and No.2 according to the desired stroke (see the opening
stroke-end table).
Now the machines are synchronized. Connect the machines to the power supply again
and carry out some opening and closing manoeuvres.
11.6. Light signals of the LED (for Kato Syncro³)
In case of a problem during installation or operation of the machines, consult the possible
causes listed below:
LED Function Meaning Solution
Overload due to an obstacle
2 flashes – pause – 2 flashes –
pause
Communication error Check the connections
between the machines
Continuous flash General synchronism error Check the settings of the dip-
switches or repeat the
procedure for alignment and
address acquisition
 Loading...