© 2016 Nelson Stud Welding, Inc. Page 14
All Rights Reserved. January 2016 Part No. 729-110-043 Rev. 1.02
5 Weld Setup
1 Confirm that the unit is switched off.
NOTE: Combo cable is normally used with the Contact mode.
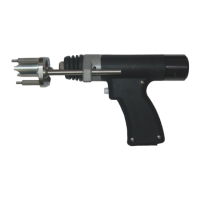
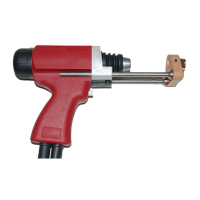
2 Connect gun, combo cable and ground cables to the appropriate terminals.
3 Determine initial weld parameters in the Table of Weld Parameters.
4 Adjust voltage.
5 Install chuck and stud stop.
6 Adjust gun spring pressure.
7 Adjust plunge.
Plunge is the distance the stud extends beyond the stand-off posts (or spark shield). Loosen the leg locking
screws and adjust the plunge to approximately 3mm and retighten the leg locking screws.
8 Switch the power unit on.
9 Check concentricity of chuck and spark shield.
10 Begin production welding after samples weld have been validated for strength and appearance.
11 For finer contact gun adjustments, refer to Error! Reference source not found..