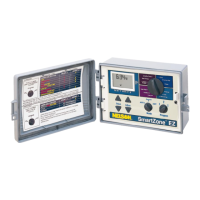
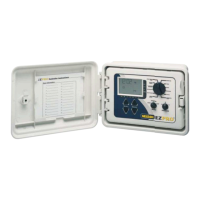
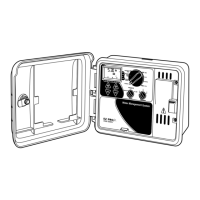
PBOGRAMMING INSTRUCTIONS
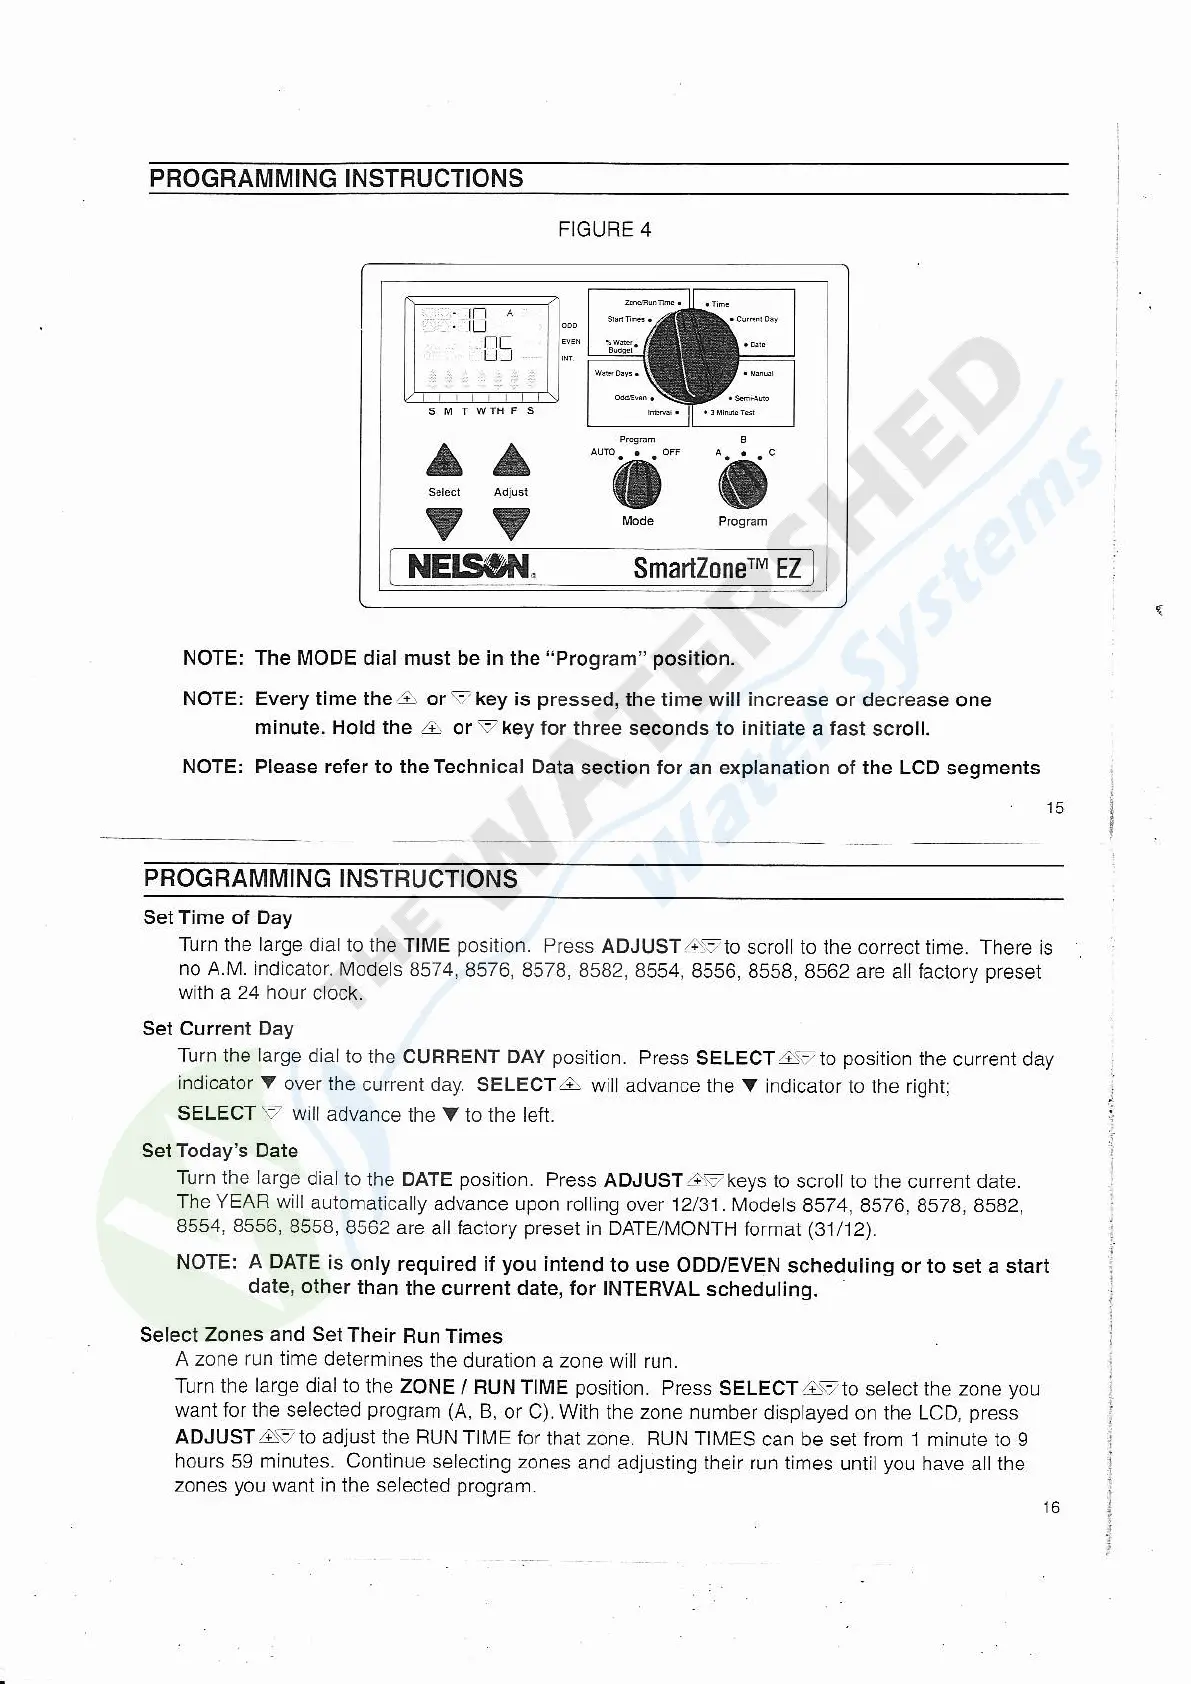
FIGUBE 4
ff":-:
o
NOTE: The MODE dial must be in the"Program"
posiiion.
NOTE: Every time theA or:tkey is
pressed,
the time will increase or
decrease one
minute. Hold the A
or':,-key lor three seconds to initiate
a
fast
scroll.
NOTE: Please refer to the Technical Data
section for an explanation of the LCD
segments
15
PROGRAMMING
INSTRUCTIONS
SetTime ol Day
Turn the large
dialto lhe TIME
position.
Press ADJUST
/t:r.-,
to scrol to the correct t me. There rs
no A.4,4. indicator.
l\,lode s 8574,
8576, 8578, 8582,
8554, 8556, 8558, 8562 are
atL
factory
preset
wilh
a
24 hour
clock.
Set Current Day
Turn the large dial
to the CURRENT DAY
position.
Press
SELECTA!7To
posrtion
ihe
curreni day
ind cator V
over lhe
current day. SELECTA
wii advance
the
V
indicator to ihe right;
SELECT
T
will
advance
the V io the left.
Set Today's Date
Turn lhe large
dia to
lhe DATE
position.
Press
ADJlJSTzNTkeys
to scroll io the current date.
The YEAR will
auiomatically
advance upon
rol ing over 12/31. Mode
s 8574, 8576,857a, 85a2,
:
8554,8556,8558,8562
are
alllactory
preset
in DATE/MONTH
forrnat
(31/12).
NOTE: A DATE is
only
required if
you
intend
to use ODD/EVEN
scheduling or to set a start
date, other
than
the current date, for TNTERVAL
scheduting.
Select Zones
and SetTheir
BunTimes
A zone r!n
time
delermines
the
duaation a zone wtll run.
Turn the
large
dial
to
the ZONE
/
RUN TlliE
position.
Press
SELECTAi--to select the zone
you
wafi for the selected
program
(A,
B,
or C). With the zone number
dtsplayed on the LCD,
press
ADJIJSTA.7 10 adjusl lhe RUN
TIME for
that zone. BUN T|\,4ES
can be set from
j
minute to
g
hours
59
minutes. Continue
selecting zones
and adjusting their run times
until
you
have all the
zones
)ou
waal
n rha se
ec_ed
progra.r.
16 l
 Loading...