18
SCREENGUARD
™
INSTALLATION AND USER MANUAL
INITIAL OPERATION
Preparations
Before activating the filter for the first time, go through the following check-list
carefully (No special training is required to carry out these activities).
Check that the filter is mounted in the correct flow direction.
Check that all nuts and bolts are firmly tighten.
Check that all the command tubes are connected properly and that
all connections are tight (see page 12).
Ensure the filter is well supported an stable.
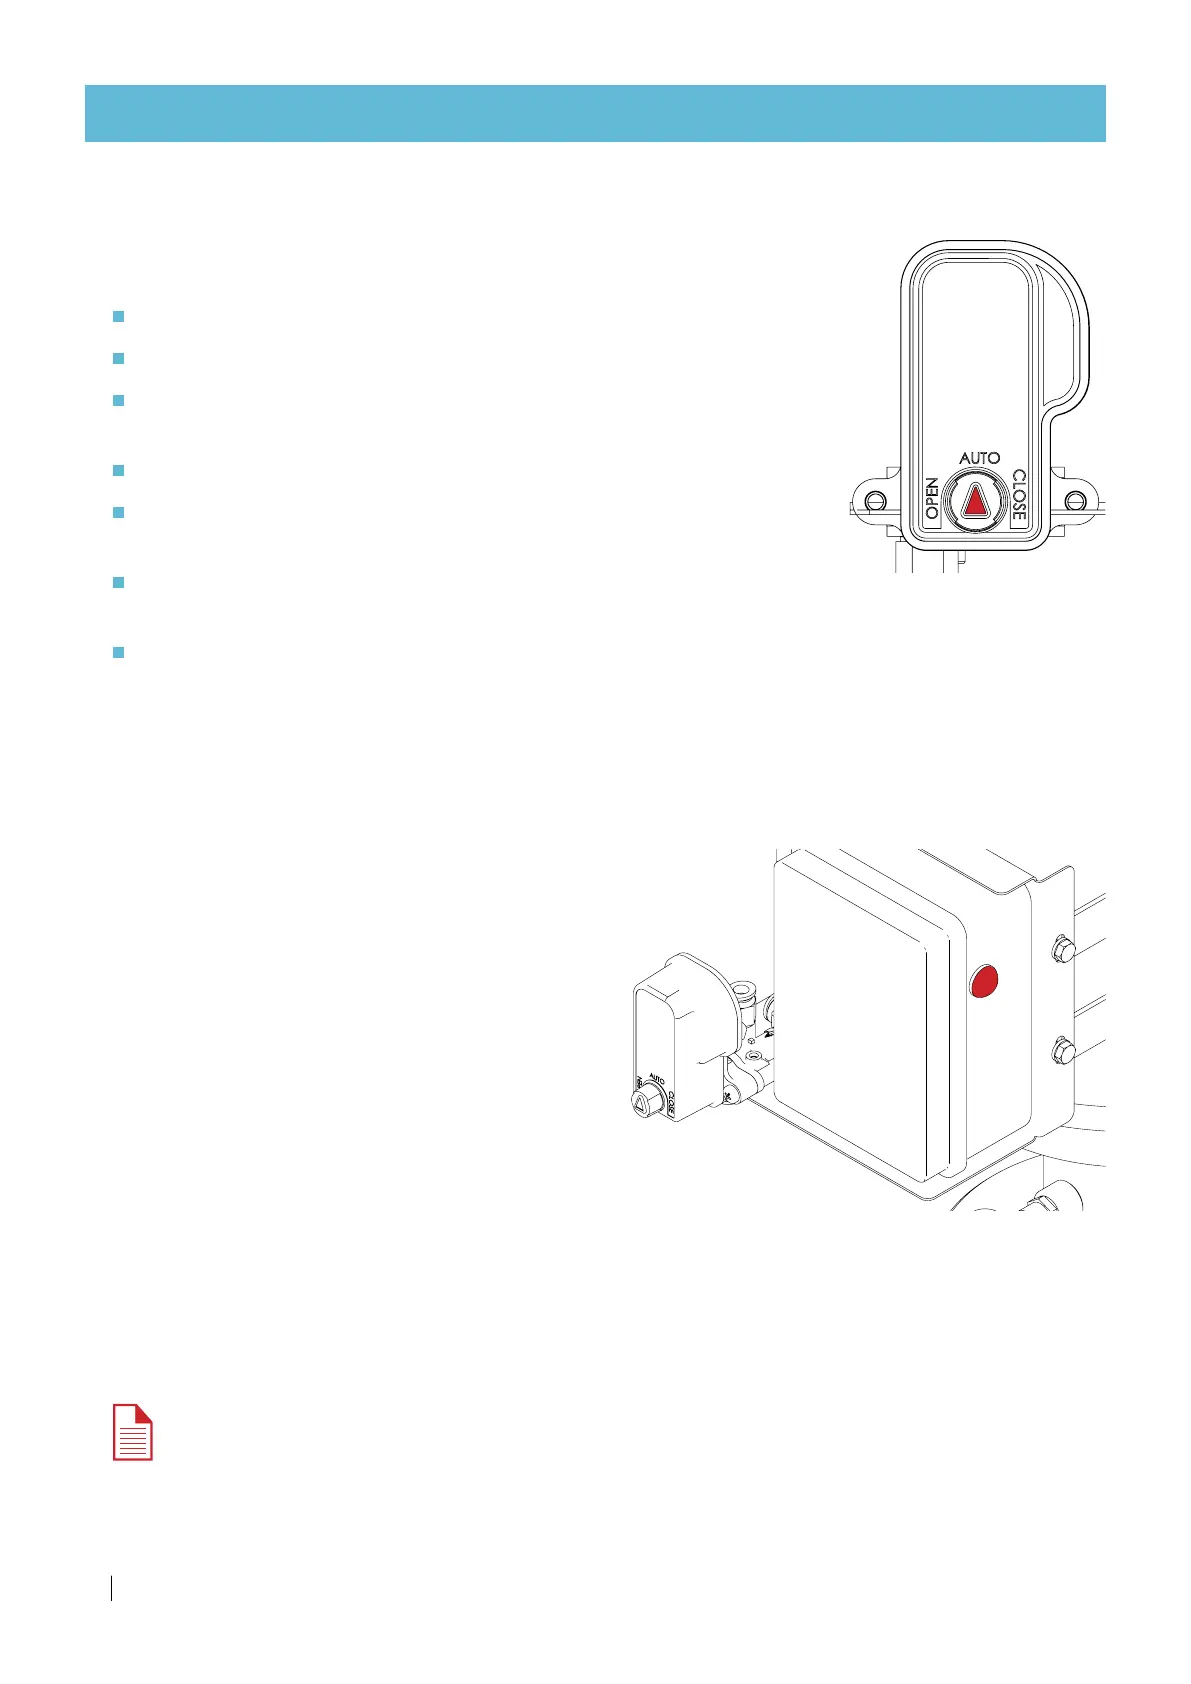
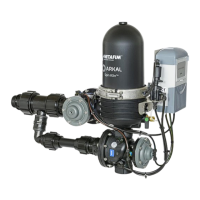
Check that the Aquative operator (solenoid) selector is turned to
the AUTO position.
Make sure that the flush pipe is installed in comformity with the
specifications (see Hydraulic installation, page 14).
Make sure the controller is active by initiating a manual flush (The solenoid should click).
(To initiate a manual flush hold the MANUAL button on the flush controller pressed for 5 seconds or use
the START command in the application.)
First operation
After completing the preparation check-list above, perform the following steps:
1.
Slowly open the isolation valve at the filter inlet.
Water will flow into the filter.
2.
Check for leaks and repair if necessary.
3.
Slowly open the isolation valve at the outlet of
the filter.
4.
Ensure the flow through the filter does not exceed
the filter's maximum flow rate (see page 6).
5.
Start a manual flushing cycle.
(To initiate a manual flush hold the MANUAL button
on the flush controller pressed for 5 seconds or use
the START command in the application.)
6.
Check the upstream pressure
during the flushing cycle
,
it should not drop below 2.0 bar (30 PSI).
8.
Perform 2 additional consecutive manual flushing cycles to evacuate air from the system.
9.
Monitor the upstream pressure
during the flushing cycles
,
it should not drop below 2.0 bar (30 PSI). If this cannot be ensured, consult Netafim™.
NOTE
The filter flushes in two, separate consecutive flushing cycles with a few seconds pause between
them (During the pause the filter does not flush).