Controller-to-stack cabling worksheet and cabling example for a quad-path HA configuration with two
quad-port SAS HBAs - shelves with IOM12 modules
You can use the completed controller-to-stack cabling worksheet and cabling example to
cable a quad-path HA configuration that has two quad-port SAS HBAs.
• If needed, you can refer to
SAS cabling rules for information about supported configurations, the controller
slot numbering convention, shelf-to-shelf connectivity, and controller-to-shelf connectivity (including the use
of port pairs).
• If needed, you can refer to
How to read a worksheet to cable controller-to-stack connections for quad-
pathed connectivity
.
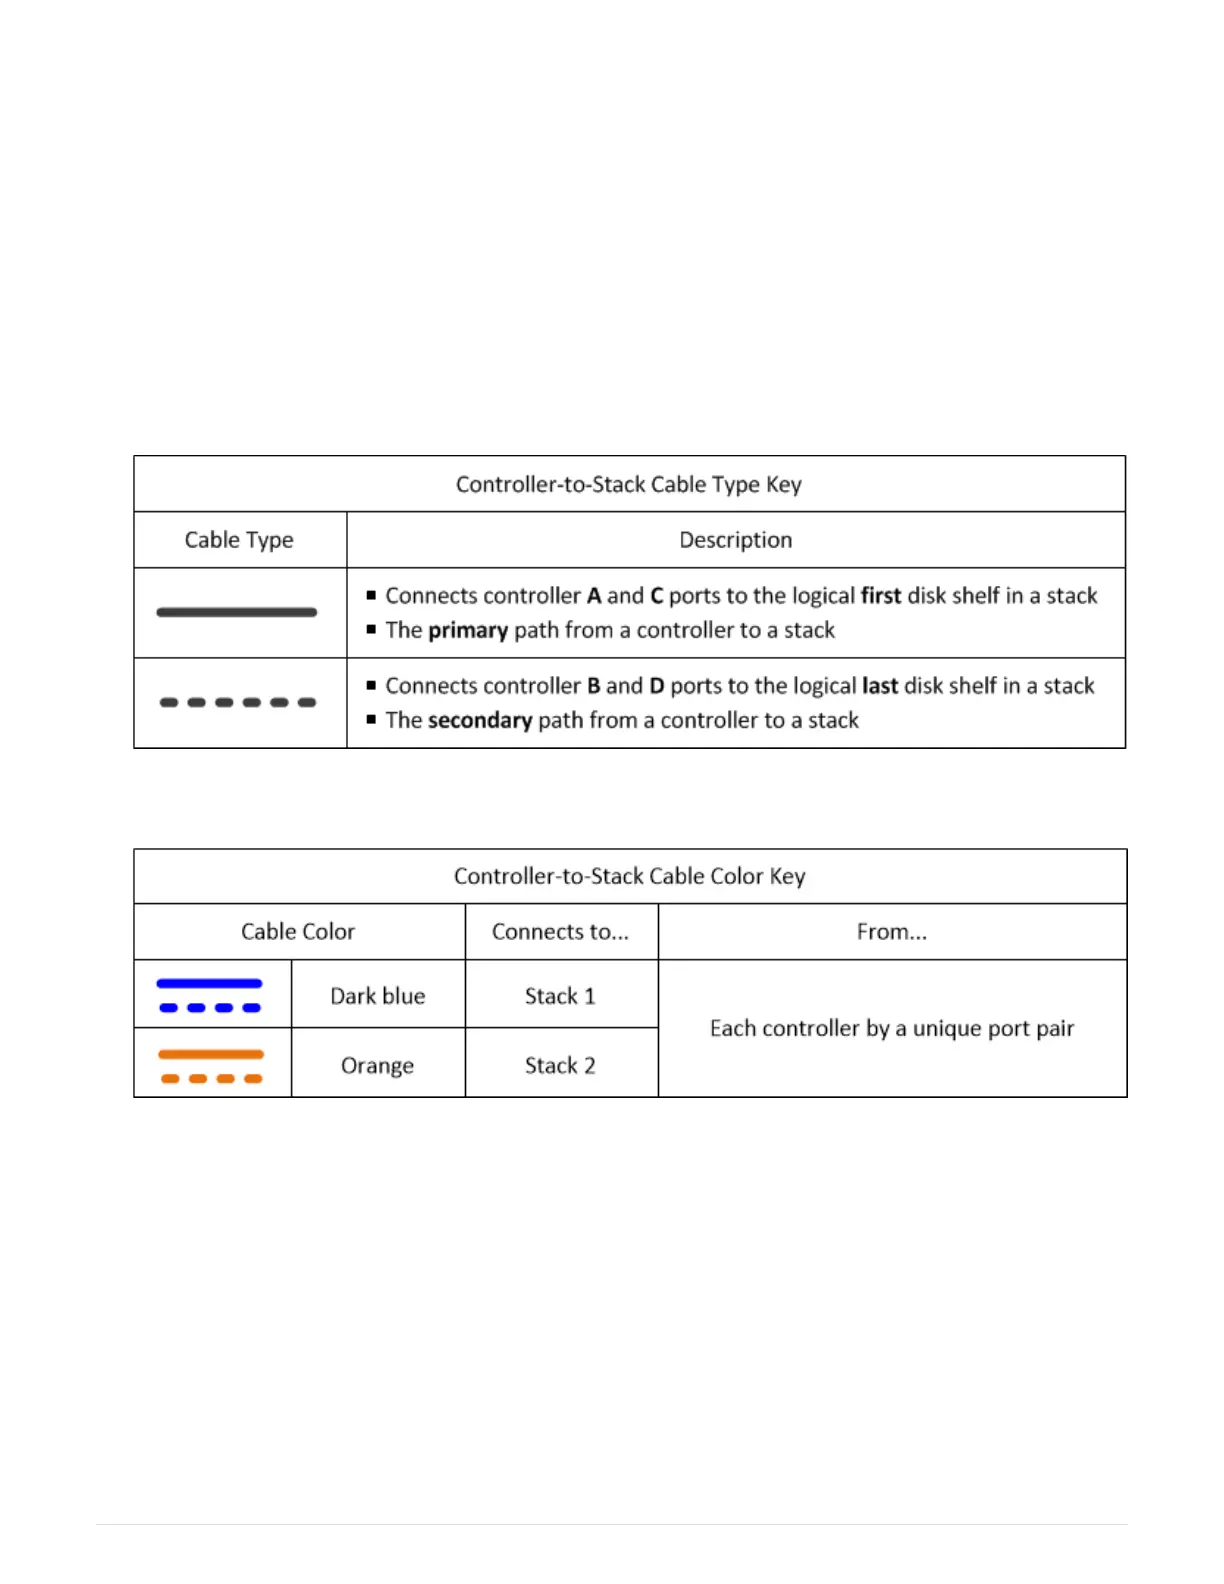
• The cabling example shows controller-to-stack cables as solid or dashed to distinguish controller A and C
port connections from controller B and D port connections.
• Cables in the cabling examples and their corresponding port pairs in the worksheets are color-coded to
distinguish connectivity to each stack in the HA pair.
• The cabling example visually distinguishes the two sets of multipathed cabling needed to achieve quad-
pathed connectivity for each controller to each stack in an HA pair or single-controller configuration.
The first set of multipathed cabling is referred to as “multipathed”. The second set of multipathed cabling is
referred to as “quad-pathed”. The second set of cabling is referred to as “quad-pathed” because
completing this set of cabling gives you the quad-pathed connectivity.
1600
 Loading...


