1. Open the air duct and locate the boot media using the following illustration or the FRU map on the
controller module:
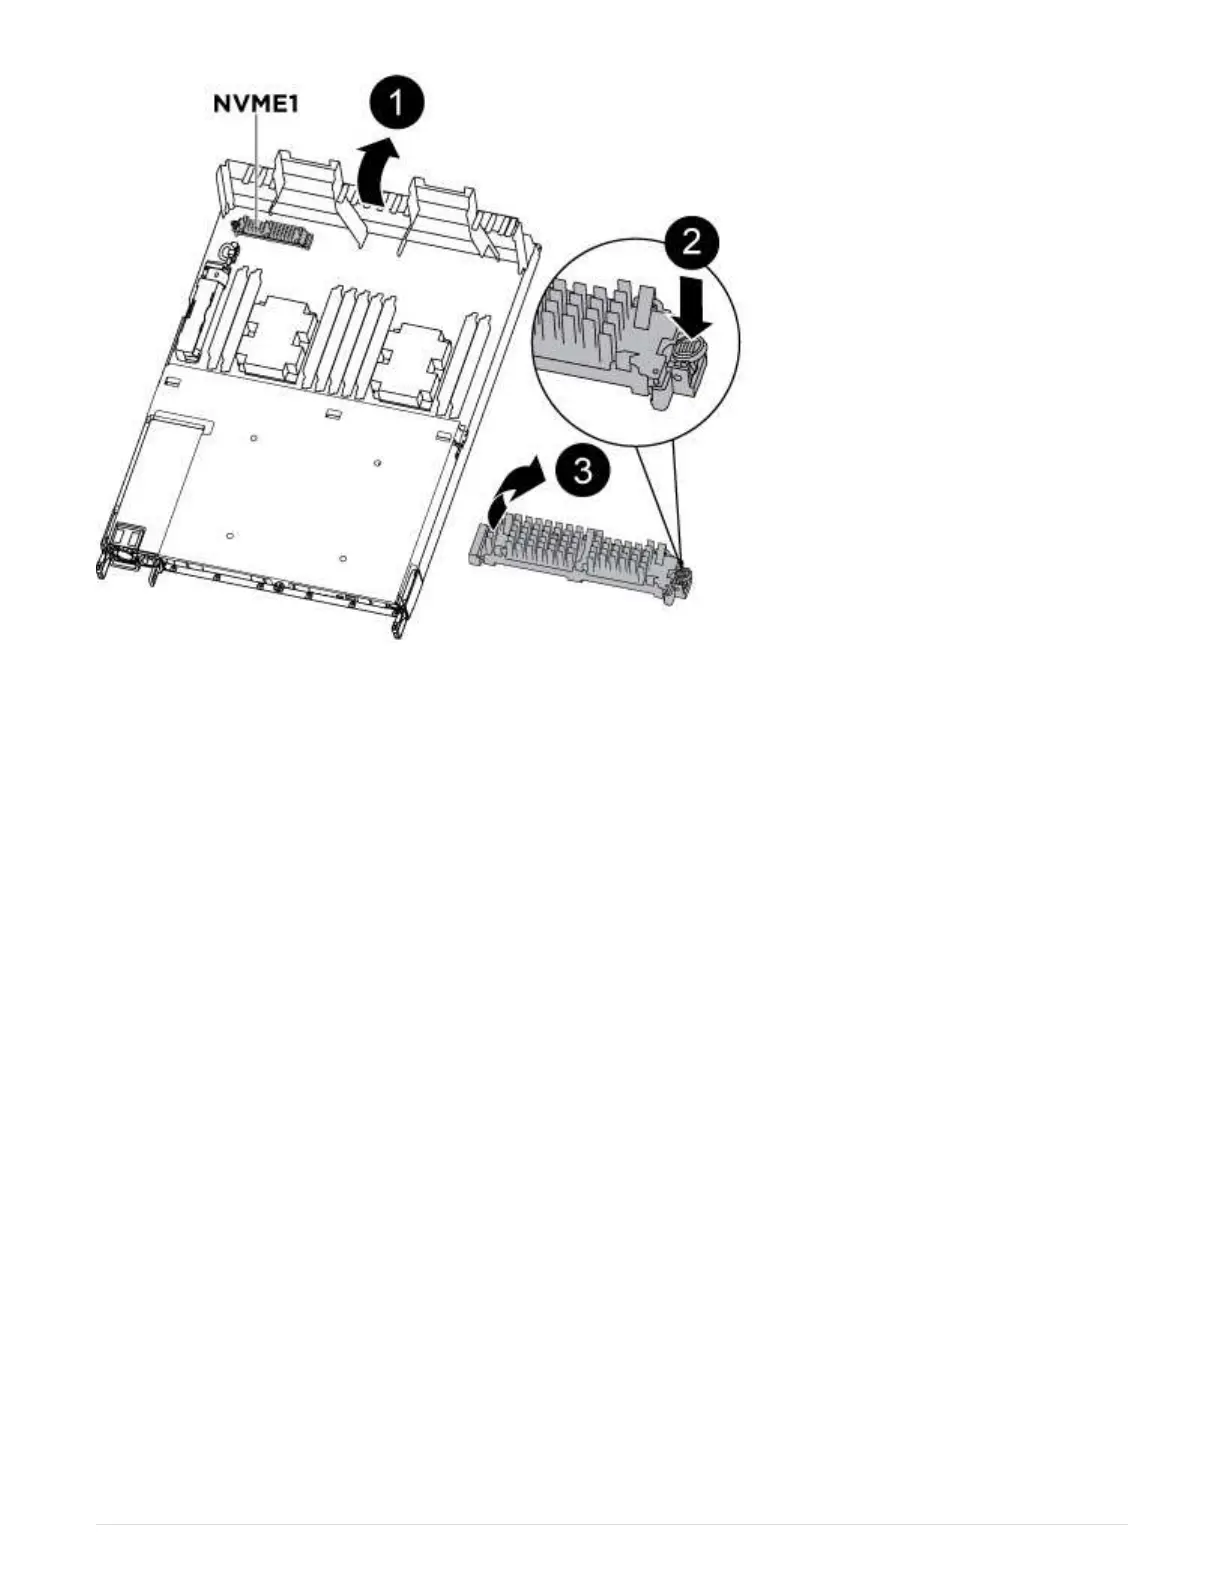
2. Locate and remove the boot media from the controller module:
a. Press the blue button at the end of the boot media until the lip on the boot media clears the blue button.
b. Rotate the boot media up and gently pull the boot media out of the socket.
3. Move the boot media to the new controller module, align the edges of the boot media with the socket
housing, and then gently push it into the socket.
4. Check the boot media to make sure that it is seated squarely and completely in the socket.
If necessary, remove the boot media and reseat it into the socket.
5. Lock the boot media in place:
a. Rotate the boot media down toward the motherboard.
b. Placing a finger at the end of the boot media by the blue button, push down on the boot media end to
engage the blue locking button.
c. While pushing down on the boot media, lift the blue locking button to lock the boot media in place.
Step 5: Move the DIMMs
You need to locate the DIMMs, and then move them from the impaired controller module
to the replacement controller module.
You must have the new controller module ready so that you can move the DIMMs directly from the impaired
controller module to the corresponding slots in the replacement controller module.
You can use the following illustrations or the written steps to move the DIMMs from the impaired controller
module to the replacement controller module.
433
 Loading...


