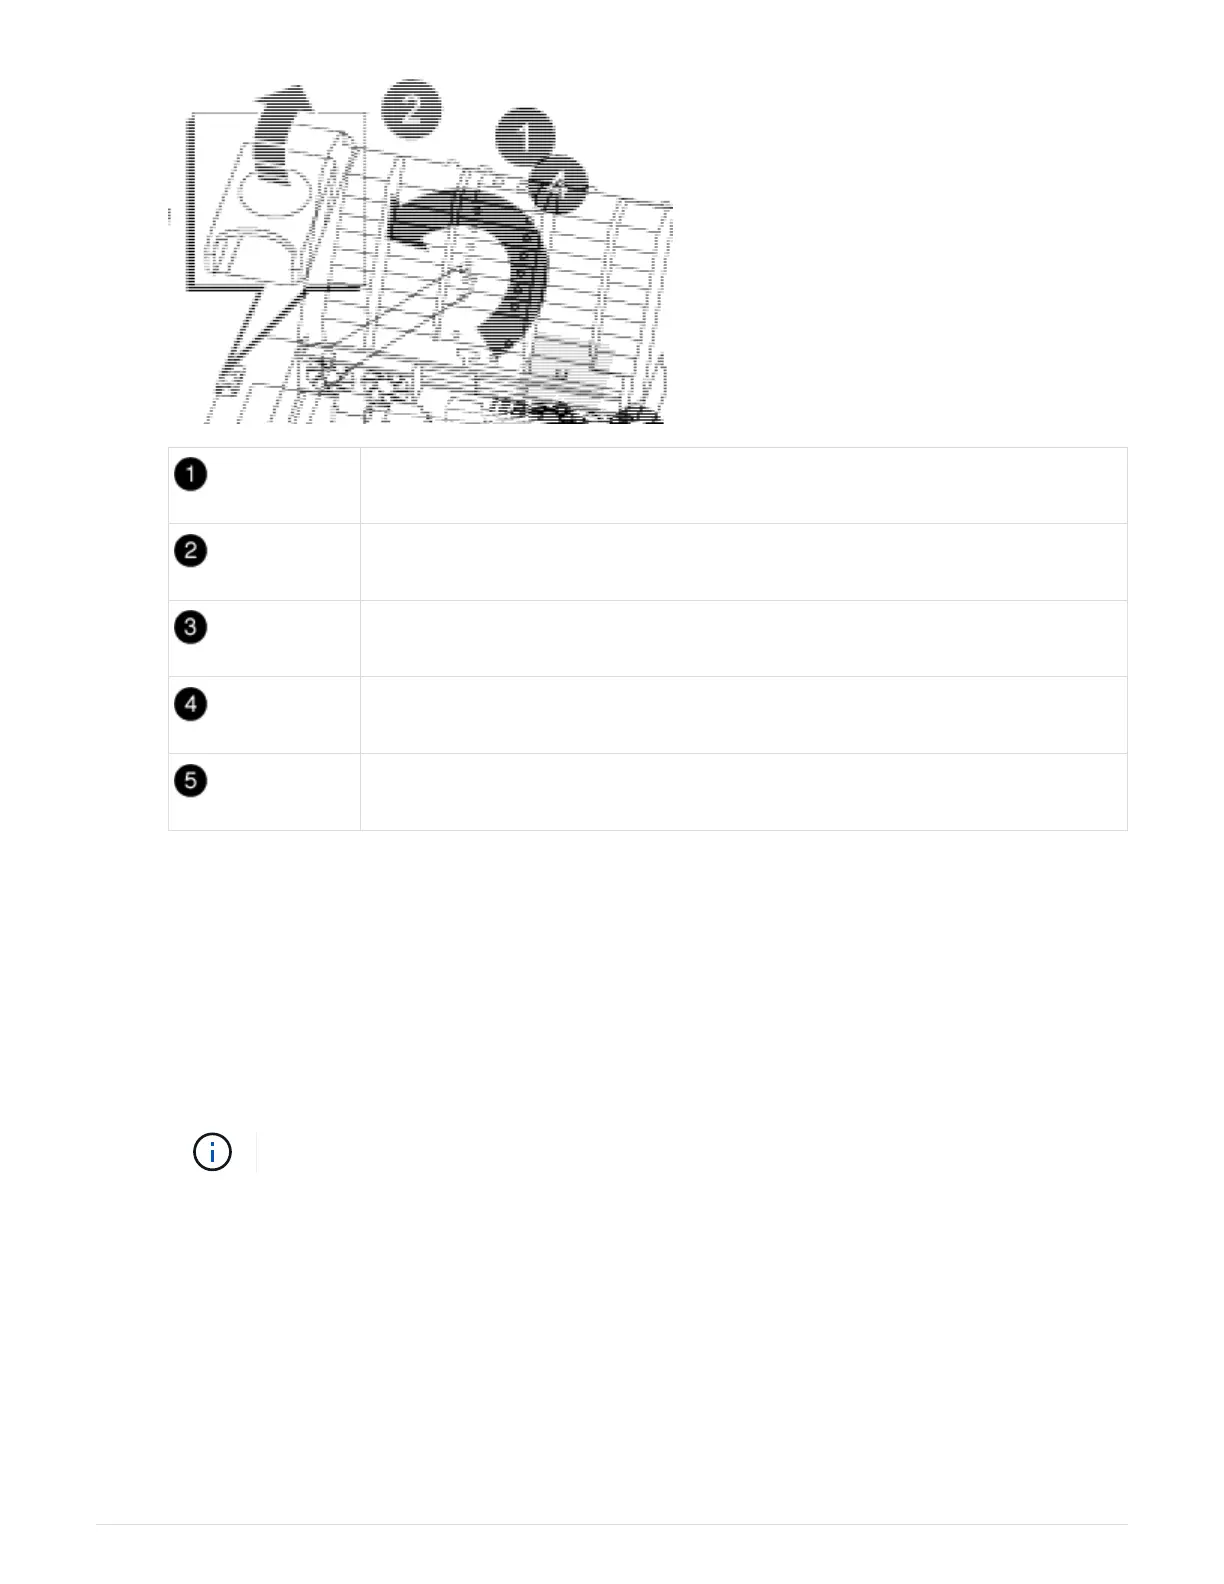
Air duct
Riser 2 (middle riser) or 3 (right riser) locking latch
Card locking bracket
Side panel on riser 2 or 3
PCIe cards in riser 2 or 3
5. Remove the PCIe card from the riser:
a. Turn the riser so that you can access the PCIe cards.
b. Press the locking bracket on the side of the PCIe riser, and then rotate it to the open position.
c. Swing the side panel off the riser.
d. Remove the PCIe card from the riser.
6. Install the PCIe card into the same slot in the riser:
a. Align the card with the card socket in the riser, and then slide it squarely into the socket in the riser.
Make sure that the card is completely and squarely seated into the riser socket.
b. For Riser 2 or 3, close the side panel.
c. Swing the locking latch into place until it clicks into the locked position.
7. Install the riser into the controller module:
a. Align the lip of the riser with the underside of the controller module sheet metal.
b. Guide the riser along the pins in the controller module, and then lower the riser into the controller
module.
c. Swing the locking latch down and click it into the locked position.
When locked, the locking latch is flush with the top of the riser and the riser sits squarely in the
927
 Loading...


