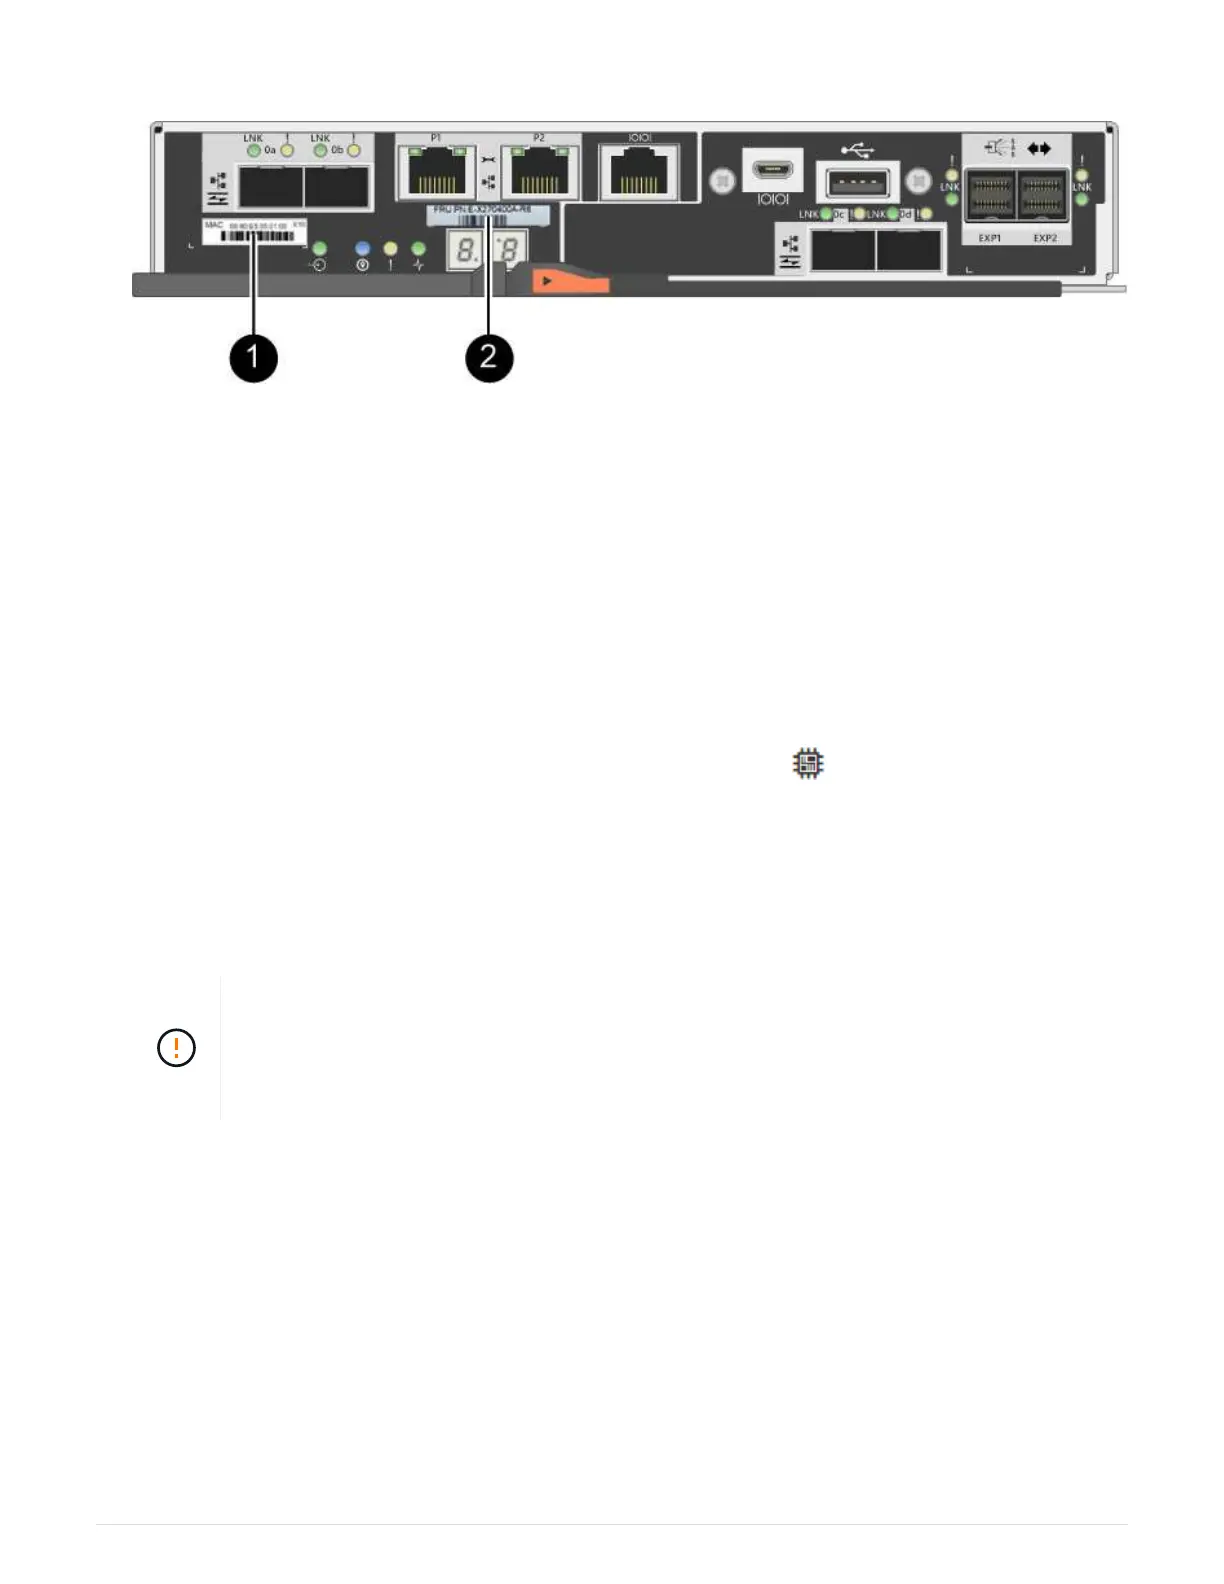
2. Locate the MAC address and FRU part number labels on the back of the controller canister.
(1) MAC address: The MAC address for management port 1 (“P1”). If you used DHCP to obtain the original
controller’s IP address, you need this address to connect to the new controller.
(2) FRU part number: This number must match the replacement part number for the currently installed
controller.
3. From SANtricity System Manager, locate the replacement part number for the controller canister you are
replacing.
When a controller has a fault and needs to be replaced, the replacement part number is displayed in the
Details area of the Recovery Guru. If you need to find this number manually, follow these steps:
a. Select Hardware.
b. Locate the controller shelf, which is marked with the controller icon
.
c. Click the controller icon.
d. Select the controller, and click Next.
e. On the Base tab, make a note of the Replacement Part Number for the controller.
4. Confirm that the replacement part number for the failed controller is the same as the FRU part number for
the replacement controller.
Possible loss of data access — If the two part numbers are not the same, do not attempt
this procedure. In addition, if the failed controller canister includes a host interface card
(HIC), you must install that HIC into the new controller canister. The presence of
mismatched controllers or HICs will cause the new controller to lock down when you bring it
online.
5. Back up the storage array’s configuration database using SANtricity System Manager.
If a problem occurs when you remove a controller, you can use the saved file to restore your configuration.
The system will save the current state of the RAID configuration database, which includes all data for
volume groups and disk pools on the controller.
◦ From System Manager:
a.
Select Support
› Support Center › Diagnostics.
b. Select Collect Configuration Data.
c. Click Collect.
The file is saved in the Downloads folder for your browser with the name, configurationData-
129

 Loading...


