CHAPTER
TWO
INITIAL CONFIGURATION
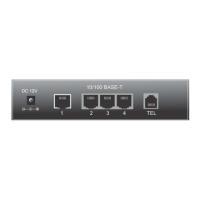
Plug the power cable into the power port (shown in the Input and Output Ports section) to turn on the Netgate®
Firewall. Allow 4 or 5 minutes to boot up completely.
Warning: If the CPE on WAN (e.g. Fiber or Cable Modem) has a default IP Address of 192.168.1.1,
disconnect the Ethernet cable from the WAN port on the Netgate 2100 Security Gateway before proceeding.
Change the default LAN IP Address of the device during a later step in the configuration to avoid having conflicting
subnets on the WAN and LAN.
2.1 Connecting to the Web Interface (GUI)
1. From the computer, log into the web interface
Open a web browser (Google Chrome in this example) and enter 192.168.1.1 in the address bar. Press
Enter.
Fig. 1: Enter the default LAN IP address in the browser
2. A warning message may appear. If this message or similar message is encountered, it is safe to proceed. Click
the Advanced Button and then click Proceed to 192.168.1.1 (unsafe) to continue.
3. At the Sign In page, enter the default pfSense
®
Plus username and password and click Next.
• Default Username: admin
• Default Password: pfsense
4