Basic Wireless Configuration and Security
7
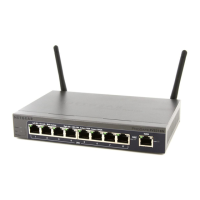
ProSafe Wireless-N 8-Port Gigabit VPN Firewall FVS318N
Configure Wi-Fi Protected Setup for Easy Configuration of
Wireless Clients
Push 'N' Connect using Wi-Fi Protected Setup™ (WPS) allows you to connect computers to a
secure wireless network with WPA or WPA2 wireless security. The wireless VPN firewall
automatically sets security for each computer or device that uses WPS to join the wireless
network. To use WPS, make sure that your wireless devices are Wi-Fi certified and support
WPS. NETGEAR products that use WPS call it Push 'N' Connect.
You can use a WPS button or the wireless router interface method to add wireless computers
and devices to your wireless network. For a list of other Wi-Fi-certified products available
from NETGEAR, go to
http://www.wi-fi.org.
To enable WPS and initiate the WPS process on the wireless VPN firewall:
1. Select Network Configuration > Wireless Settings > Wireless Profiles. The Wireless
Profiles screen displays (see
Figure 2 on page 5).
2. On the Wireless Profiles screen, to the right of the Wireless Profiles tab, click the WPS
option arrow. The WPS screen displays:
Figure 4.
3. From the Select Wireless Profile SSID drop-down list, select the name of the SSID for which
you want to enable WPS, for example, FVS318N_1 (the default SSID). The wireless profile
with which the SSID is associated needs to be configured for WPA, WPA, or WPA+WPA2
security in order to be displayed as a selection in the drop-down list.
4. From the WPS Status drop-down list, select Enabled to enable the WPS feature.
5. Click Apply to save your changes.
 Loading...
