11
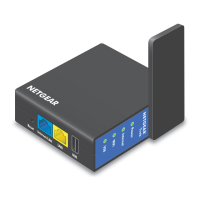
5. Connect your computer or wireless device to the Trek's SSID, or
connect your computer or wireless device to the Trek’s LAN port
with an Ethernet cable.
6. Open a web browser on your computer or wireless device, type
www.routerlogin.net in the address field, and press the Enter key.
If a login screen displays, enter admin for your user name and
password for your password. Then click the OK button.
The Wireless as WAN screen displays, which shows the available
wireless networks.
7. Make
sure that the Extend my current wireless router's range
check box is selected.
8. Select the wireless network that you want to connect to and enter
the related security information for that wireless network.
9. To be able to use these settings again without having to reenter
them, select the To save a name for profile check box.
10. In the field provided, enter a name for the profile.
11. Click the Apply button.
The Trek connects to the WiFi hotspot after a couple of minutes.
12. Connect your other wireless devices to the Trek.
For more information, see Connect WiFi Devices to Your Trek on
page 16.
 Loading...

