If you are using adjacent access points, consider to use different radio frequency channels
to reduce interference (see Change the channel for a radio on page 211).
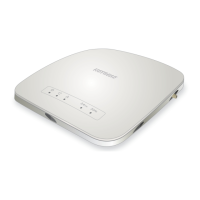
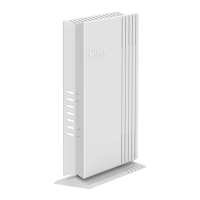
Wall-mount the access point/router
Wall-mounting holes are on the bottom of the access point/router. The distance between
the holes is 4.13 in. (105 mm).
We recommend that you use pan head Phillips wood screws, No. 6 type screw, 1 inch
long (U.S.) or 3.5 x 20 mm (diameter x length, European).
To wall-mount the access point/router:
1. Drill holes in the wall where you want to wall-mount the access point/router.
The distance between the holes in the wall must be 4.13 in. (105 mm).
2. Insert wall anchors in the holes.
3.
Insert screws into the wall anchors, leaving 3/16 in (0.5 cm) of each screw exposed.
4. Align the access point/router’s wall-mounting holes with the screws and mount the
access point/router so that the antennas are at the top.
User Manual263Position and Wall-Mount the
Access Point/Router
AC2000 802.11ac Wireless Access Point/Router WAC124