Additional documentation
The following documents are available at netgear.com/support/download/:
•
Installation guides
•
Data sheets
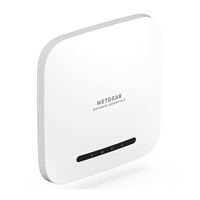
Unpack the AP
The package contains the following items:
•
WAX220 AP
•
Mounting plate with screw holes for mounting to a wall or ceiling with a 15/16 in.
(24 mm) T-bar
•
Metal bracket with T-bar lock, lock screw, and 4 short screws
Use these parts to mount the AP to celing with a T-bar.
•
2 Phillips head screws and anchors for mounting
Use these parts to mount the AP to a wall.
•
Installation guide
Note: You power up the AP by connecting it to a PoE+ switch. Depending on the
product ordered, the package might also include a power adapter. If you ordered a
package without a power adapter, you can still order a power adapter as an option.
For information about the mounting options, see Mount the AP to a Wall or Ceiling on
page 128.
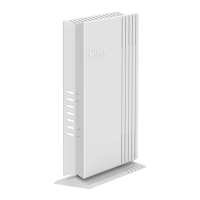
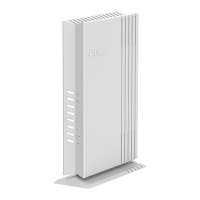
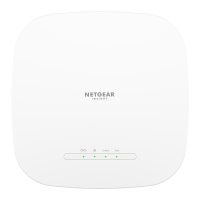
Top panel with LEDs
The LEDs that provide the status of the AP are located on the top panel of the AP.
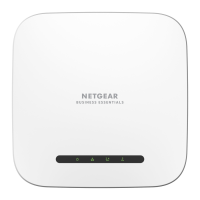
User Manual8Hardware Overview Model
WAX220
Essentials WiFi 6 AX4200 Dual Band Multi-Gig Access Point Model WAX220
 Loading...