19
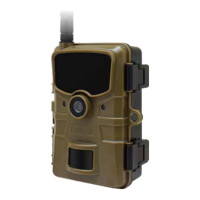
6.6. Aligning the camera
The Test mode is advantageous for determining the best possible detection angle and range of the
movement sensor. For this purpose attach the camera at approx. 1-2 m height to a tree and align the
camera with a desired direction.
Move slowly from one side of the observed area to the other. Move parallel to the camera. Try out dierent
angles and distances.
•
The red LED on the front of the camera indicates that you were detected by the sensor zone.
6.4. Night recording
During night recording the infrared LEDs
(IR LEDs) at the front of the Wildlife Camera
provide the light required for taking photos.
Wildlife Camera uses IR LEDs with a
long wavelength, to keep red light to a
minimum. The provided number of IR
LEDs generates a high deection angle
thus allowing night recording at a distance of 3 m to 20 m, without overexposing the object. Reecting
objects can, however, also cause overexposure within this range (e.g. road signs).
Please note that night recording using IR LEDs produces black and white images.
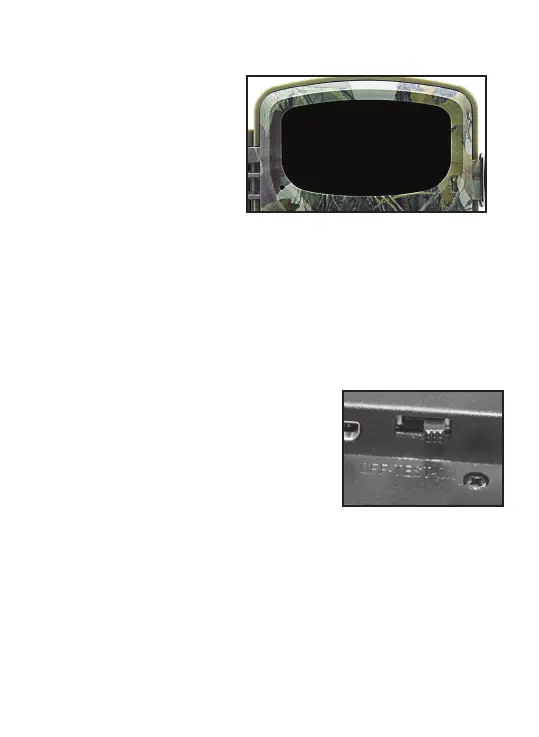
6.5. Setting up the Live mode
The standard application of the Wildlife Camera is the Live mode. When in this mode, photos are either
triggered by movement sensors or at intervals according to the respective setting.
To set up the Live mode, switch mode switch to ON position.
The red status LED ashes for approx. 5 seconds after which the
camera operates automatically and enters the Standby mode.
As soon as wild animals or other objects directly enter the detection
area of the sensor zone, the camera starts to rec
ord photos and
videos.