6
QUICK START GUIDE
1. Download the free trail camera APP on your
smartphone from the APP Store or Google Play.
2. Open the APP, then sign in or create a new account.
3. Log in and click the Camera icon at the bottom of
the screen, then click “+” to add a new camera. Scan
the QR code on the view screen of the camera or
manually or enter its serial # to associate this camera
with your account.
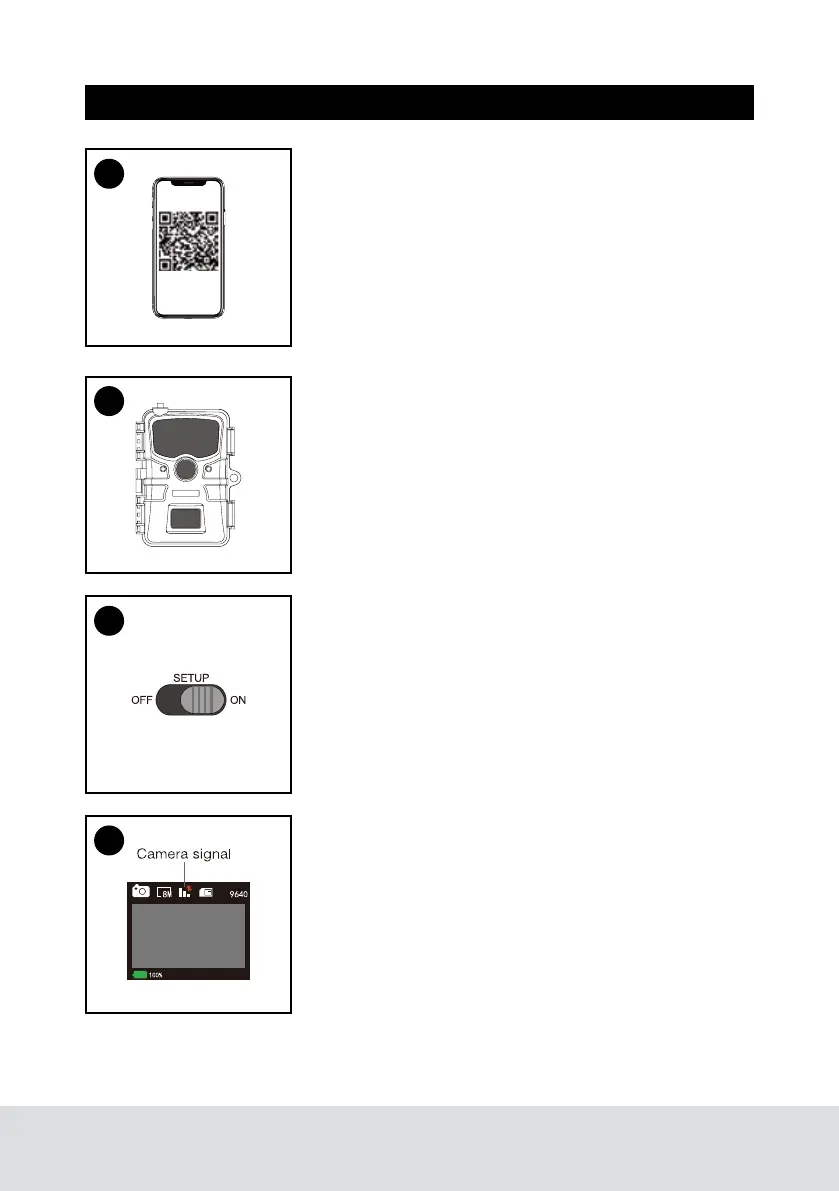
4. Remove the protective plastic covers from the
camera lens, and PIR sensor.
5. Install 8 AA batteries (Lithium batteries are
recommended. Alkaline batteries may be used but
battery life will be shorter. Rechargeable batteries are
not recommended.) Be sure to position the batteries
for correct polarity (+/-) when installing.
6. Install a new TF card, up to 32GB. High speed
cards (class 6 or above) are recommended if you
plan to record video clips. The new TF card are
recommended to format with the camera before
usage.
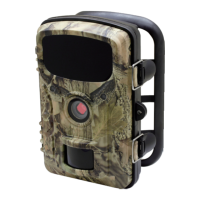
7. At the location where you will place the camera,
move the power switch to the On position. The
camera’s default settings are preset to: Photo
mode at 8MP resolution, with a 30 second interval
between photos, and “Medium” PIR sensitivity.
These settings may be easily changed to suit your
individual preferences or application (for example,
if you would rather capture videos, or photos at a
different resolution, spaced further apart), using the
app on your smartphone or menu in the camera.
(moving the power switch to the “SETUP” position).
8. Prior to closing the camera, ensure the camera has
acquired cellular signal. Lower signal strength can
cause interruptions in service and shorten battery
life. Mount the camera using the provided tree strap
or 1/4”-20 mounting socket.
9. Your 4G camera is now ready to use. You can now
utilize the mobile application to view images,
change camera settings, monitor battery life and
other functions of the camera.
3
4
7
8