5
G
or
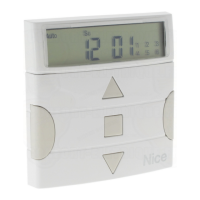
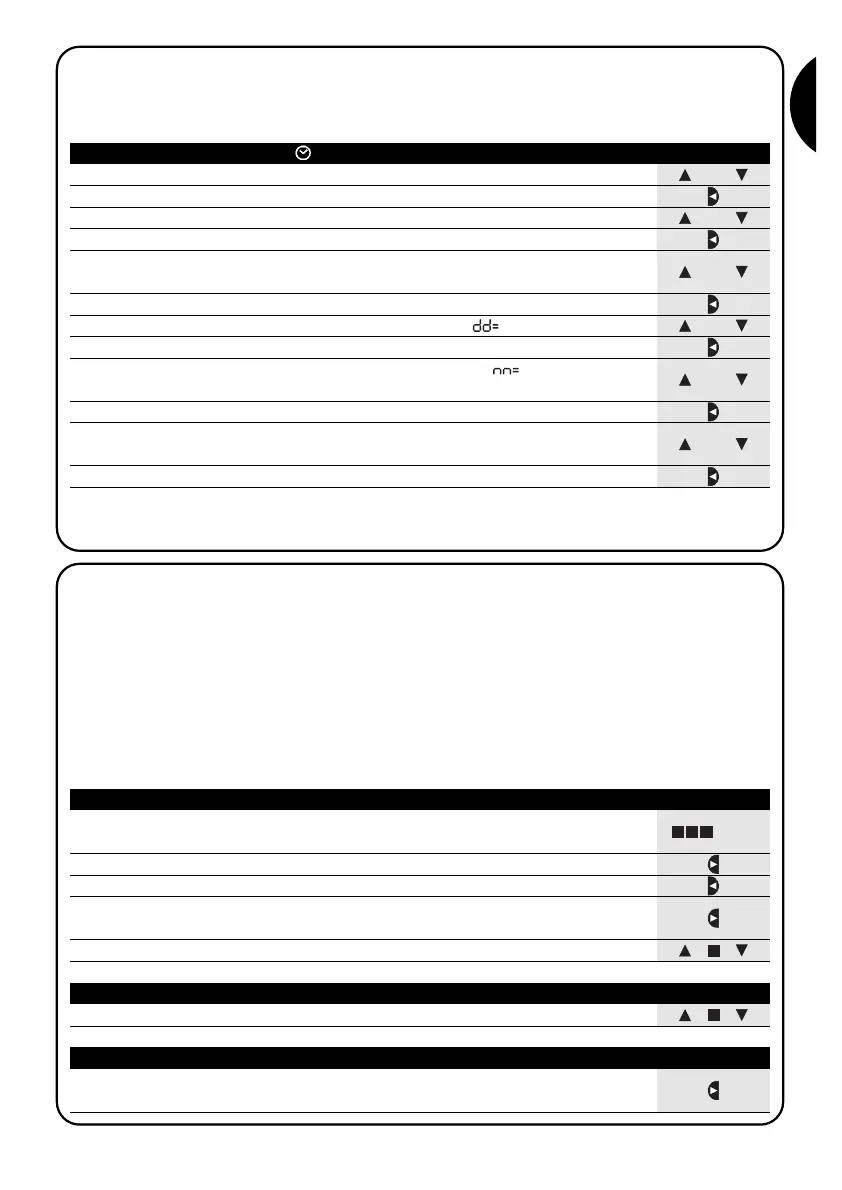
2.2) Initial setting of the timer
To set the timer, follow the steps in table No. 1. If you wish to set the timer, press key “■”; in this case the timer will
start running from 00.00 on Sunday.
Table 1 setting the timer after connecting the battery Example
1. Press key or to set the time
▼
▼
2. Press key to confirm the time
▼
3. Press key or to set the minutes
▼
▼
4. Press key to confirm the minutes
▼
5. Press key or to select the day of the week
(Su=Sunday; Mo=Monday; Tu=Tuesday; We=Wednesday; Th=Thursday; Fr=Friday; Sa=Saturday)
▼
▼
6. Press key to confirm the day
▼
7. Press key or to select the day of the month “ ”
▼
▼
8. Press key to confirm the day
▼
9. Press key or to select the number of the month “ ”
(01=January; 02=February….12= December)
▼
▼
10. Press key to confirm the month
▼
11. Press key or to select the year
(from 2000 to 2059)
▼
▼
12. Press key to confirm the year
▼
or
Only the timer must be re-set when the battery is replaced; all the events and parameters remain constantly memo-
rized in PLANOTIME.
or
or
or
or
... Auto
2.3) Memorizing PLANOTIME in the automation receivers
Every radio transmitter, including PLANOTIME, is recognized by the receivers of the automations through a “code”
which is different from any other transmitter code. A “memorization” process is therefore needed to enable the
automation to recognize PLANOTIME’s code. If a group consists of multiple automations, the memorization opera-
tion must be repeated for each of them. Since PLANOTIME is capable of controlling up to 6 groups of automations,
it will transmit a different code for each of them. Therefore, before you start the memorization procedure you need to
select the group to which the automation is to be assigned.
The memorization procedure must be carried out with PLANOTIME set to “manual” mode, by selecting a single
group at a time. To select the “manual” mode and choose a group follow the steps described in the table:
Table 2 Selecting “manual” mode and choosing a group Example
1. Press key ■ repeatedly a number of times until Auto starts flashing
2. Press key to select “manual” mode Man
▼
3. Press key to confirm the mode
▼
4. Starting from the first group, press key a number of times if you need to
select another group
▼
5. Now you can use keys ■ to send the commands to the selected grou
▼
▼
Table 3 Sending a command to the same group Example
1. Press one of the following keys ■
▼
▼
Table 4 Selecting another group Example
1. After transmitting, press key a number of times to select the desired group
▼
 Loading...