EasyManua.ls Logo

Nidek Medical OPD-Scan III - User Manual

Nidek Medical OPD-Scan III
344 pages
Print Icon
To Next Page IconTo Next Page
Loading...
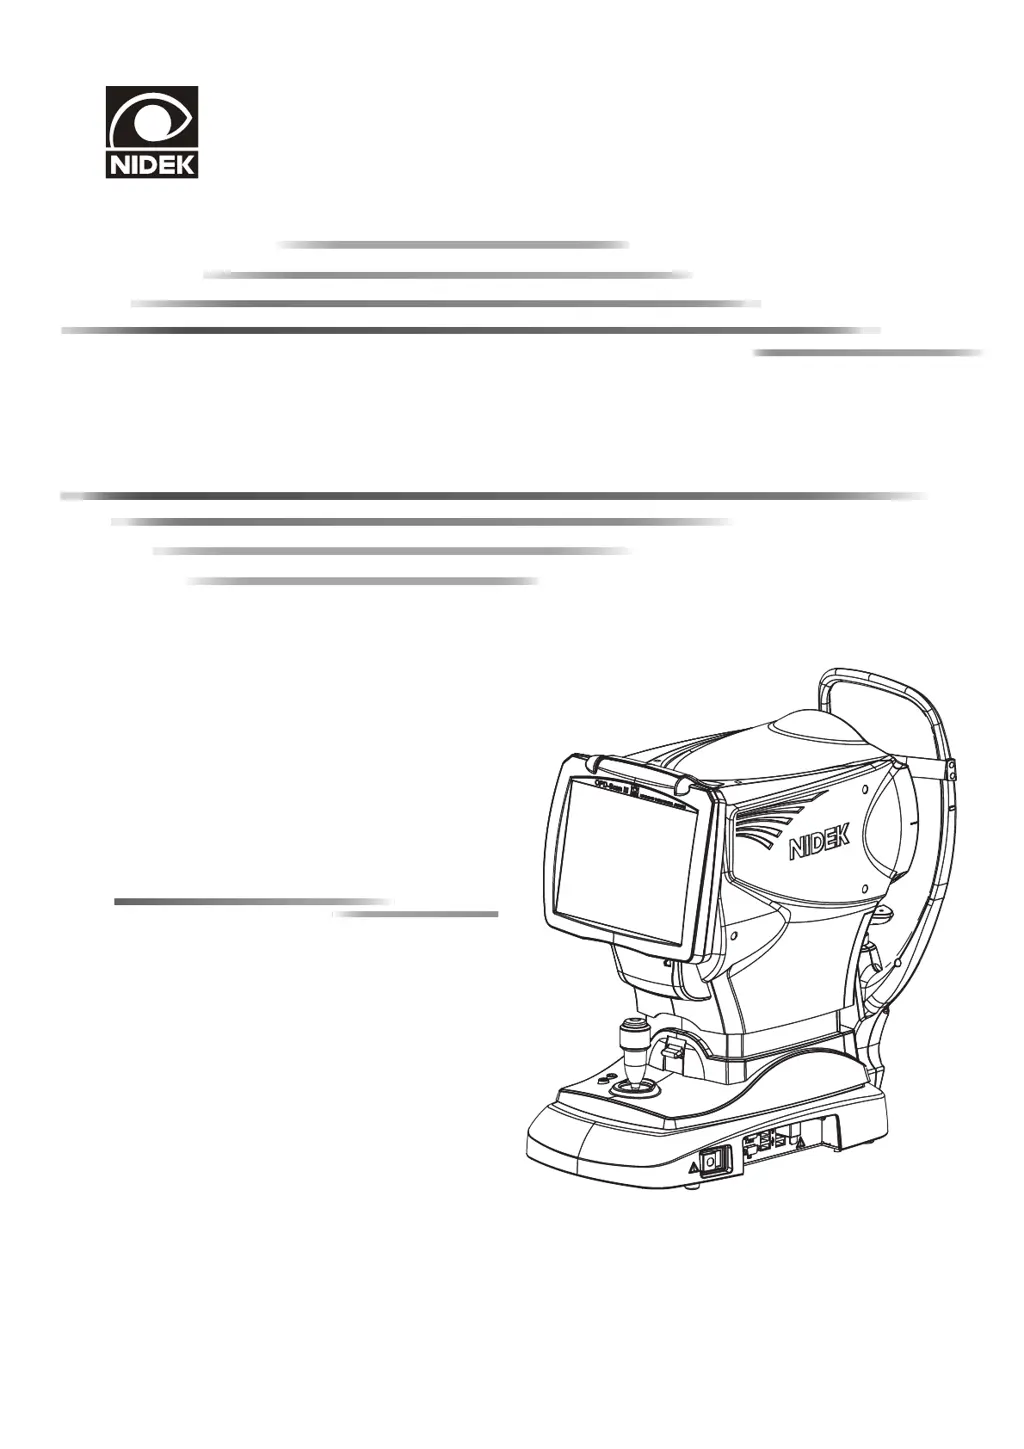
REFRACTIVE POWER / CORNEAL ANALYZER
OPD-Scan III
OPD-Scan III
OPERATOR’S MANUAL
OPERATOR’S MANUAL

Table of Contents

Questions and Answers

  • A
    Angela WardAug 12, 2025
    Why is the auto tracking or auto shot function not working on my Nidek Medical OPD-Scan III?
    • M
      Michael GonzalesAug 12, 2025
      The auto tracking or auto shot function on your Nidek Medical Measuring Instruments may not be activated. Ensure these functions are turned on using the tracking button or auto shot button. Room illumination reflecting on the cornea, certain eye conditions like keratoconus, recent corneal surgery, substantial ocular ataxia, or the patient's inability to fixate their eyes can also cause this. In such cases, turn off the auto tracking function and start measurement. Light interference from sunshine exposure may also affect these functions, so changing the device's location might help.
  • S
    Samantha ColeAug 16, 2025
    What to do if a measurement error appears on Nidek Medical OPD-Scan III Measuring Instruments?
    • F
      Francisco MartinAug 16, 2025
      A measurement error on your Nidek Medical Measuring Instruments can occur if the patient blinked during measurement. Instruct them to avoid blinking and try again. The eyelid or eyelashes obstructing measurement can also cause errors; instruct the patient to open their eyes wider, or gently lift the lid without pressing the eyeball. If the pupil is too small, have the patient sit in a dark room to allow pupil enlargement before retrying. It's also possible that the data exceeds the measurable limit.
  • V
    Valerie TannerAug 19, 2025
    Why is data not printing from my Nidek Medical OPD-Scan III Measuring Instruments?
    • J
      joseph43Aug 20, 2025
      If data is not printing from your Nidek Medical Measuring Instruments, first check the printer paper to ensure it has not run out; replace if necessary. Also, verify that the Internal Printer box is checked in the Options field within the Settings screen (Measurement tab).
  • K
    Kathy ElliottAug 25, 2025
    How to fix LCD that does not turn on Nidek Medical OPD-Scan III Measuring Instruments?
    • J
      Jessica SantosAug 25, 2025
      If the LCD on your Nidek Medical Measuring Instruments isn't turning on, check that the power cord is securely connected. Also, ensure that the power switch is turned on.
  • B
    Brian BrownAug 27, 2025
    What to do if the screen suddenly changes on Nidek Medical OPD-Scan III Measuring Instruments?
    • T
      Todd West DDSAug 27, 2025
      If the screen on your Nidek Medical Measuring Instruments suddenly changes, it may be due to the activation of power saving mode. Press any button to exit this mode.
  • R
    Rebecca CrawfordAug 31, 2025
    Why the main body cannot be moved laterally on Nidek Medical Measuring Instruments?
    • C
      cassandrarobertsonAug 31, 2025
      If the main body of your Nidek Medical Measuring Instruments cannot be moved laterally, the locking lever may be engaged. Flip up the locking lever to unlock it.
  • R
    Ronald GuerreroSep 3, 2025
    How to fix printer paper that does not feed in Nidek Medical OPD-Scan III Measuring Instruments?
    • B
      Benjamin MacdonaldSep 4, 2025
      If the printer paper does not feed in your Nidek Medical Measuring Instruments, ensure the paper is set straight and the core of the roll is correctly aligned. Open the printer cover and check the paper loading.
  • D
    Deanna JohnsonSep 7, 2025
    What to do if printer operates but printed results cannot be obtained on Nidek Medical OPD-Scan III Measuring Instruments?
    • R
      Robert RoySep 7, 2025
      If the printer on your Nidek Medical Measuring Instruments is operating but not producing results, ensure the printer paper is loaded with the correct side facing up.

Summary

1. BEFORE USE

1.1 Device Outline

Describes the NIDEK OPD-Scan III device, its functions, and measurement modes.

1.2 Intended Use

Specifies the diagnostic uses of the OPD-Scan III instrument for eye examination.

1.3 Principles

Explains the fundamental principles of refraction measurement and corneal topography.

1.4 Device Configuration

Details the physical components, front, rear, and bottom views of the OPD-Scan III device.

1.5 Screen Configuration

Explains the layout and functions of the main user interface screens like Main Menu.

1.8 Before First Use

Provides instructions for initial setup and preparation before the first operation of the device.

2. OPERATING PROCEDURE

2.2 Start Up and Shut Down

Covers the procedures for starting the device, recovery from power saving mode, and shutting down.

2.3 Patient List Screen Operation

Describes how to select, create, edit, search, and delete patient data within the list screen.

2.4 Measurement

Explains the general process of measuring corneal curvature and refractive power.

2.5 Measurement in OPD;CT measurement mode

Details measurements performed using the combined OPD/CT measurement mode.

2.6 OPD Measurement

Focuses on the objective refraction measurement procedure using OPD mode.

2.7 CT Measurement

Covers the corneal topography measurement procedure using CT mode.

2.8 Viewing Maps

Explains how to display and interpret measurement results using various map views.

2.9 Selecting Examination Data

Details how to choose specific data for display in summaries, differences, or comparisons.

2.10 Difference Analysis Display

Provides instructions on how to compare two or three examination data sets.

2.11 Comparison Analysis Display

Explains how to compare multiple examination data sets side-by-side.

2.12 Printing

Covers procedures for printing measurement data and summaries.

2.1 Operation Flow

Outlines the general sequence of operations for measurement and data handling.

3. ADVANCED OPERATION

3.1 Color Maps

Provides detailed explanations for various types of color maps used in analysis.

3.3 Setting of Summaries (Map Layout)

Allows customization of map layouts and registration of new summary configurations.

3.4 OPD Database Manager

Manages the device's database, including creation, backup, switching, and rebuilding.

3.5 Outputting Map Data

Explains how to output image and numeric data from various summary screens.

3.6 Editing Placido Ring Edges

Procedures for correcting deviations in detected placido ring edges using editing tools.

3.7 Editing Detected Pupil Edge

Methods for correcting inaccuracies in pupil edge detection using Move and Erase tools.

3.8 Editing OPD analysis area

Process for excluding specific areas from the OPD analysis using the Erase tool.

4. MAINTENANCE

4.1 Troubleshooting

Provides solutions for common device malfunctions and errors categorized by symptom.

4.2 Error Messages and Remedy

Lists error codes and their corresponding causes and countermeasures for proper servicing.

4.3 Replacing Printer Paper

Step-by-step guide for replacing the printer paper roll when it runs short.

4.4 Attaching a Stack of Chinrest Paper

Instructions for attaching chinrest paper for patient comfort and hygiene.

4.5 Checking Measurement Accuracy

Procedure for verifying measurement accuracy using a spherical model eye.

4.6 Utility Screen Operation

Overview of utility functions like data import/export and reader settings.

4.7 Maintenance Screen Operation

Accessing various maintenance functions like database, LAN, and calibration.

4.8 Changing Device Parameters

Detailed guide on how to change various device settings via measurement, print, and communication tabs.

4.9 Cleaning

Instructions for cleaning the device's measuring window and printer to maintain performance.

4.10 List of Replacement Parts

Lists consumable parts that can be replaced, such as printer and chinrest paper.

5. SPECIFICATIONS AND ACCESSORIES

5.1 Classifications

Classifies the device based on electrical shock, EMC, safety, and operating standards.

5.2 Specifications

Details the technical specifications for measurement accuracy, ranges, and device capabilities.

5.3 Standard Configuration

Lists the standard and optional accessories included with the OPD-Scan III device.

6. APPENDIX

6.1 Glossary

Provides definitions for technical terms used throughout the operator's manual.

6.2 List of Abbreviations

Lists abbreviations and their full meanings used in the device and operator's manual.

6.3 EMC (ELECTROMAGNETIC COMPATIBILITY)

Details the device's compliance with electromagnetic compatibility standards.

Nidek Medical OPD-Scan III Specifications

General IconGeneral
Axis Measurement Range0° to 180°
Corneal TopographyYes
PupillometryYes
Wavefront AberrometryYes
KeratometryYes
Auto AlignmentYes
Auto TrackingYes
Data ExportYes
Measurement MethodWavefront analysis, Placido-disc corneal topography
Measurement Range (Sphere)-20D to +22D
Measurement Range (Cylinder)0 to ±12.00 D
Keratometry Measurement Range5.0 to 100D
Corneal Topography Measurement Range5.0 to 100D
CompatibilityNidek

Related product manuals