Configuring the Camera’s Wireless Settings
14
2 Enter the computer’s administrator name and password (Macintosh only).
Enter the computer’s administrator name and password, and then click OK.
3 Confirm the language and click Next.
C If Nikon Transfer Is Already Installed
The Language Selection dialog will not be displayed if Nikon Transfer is installed. The Install
Center window is displayed in the language selected when Nikon Transfer was first installed.
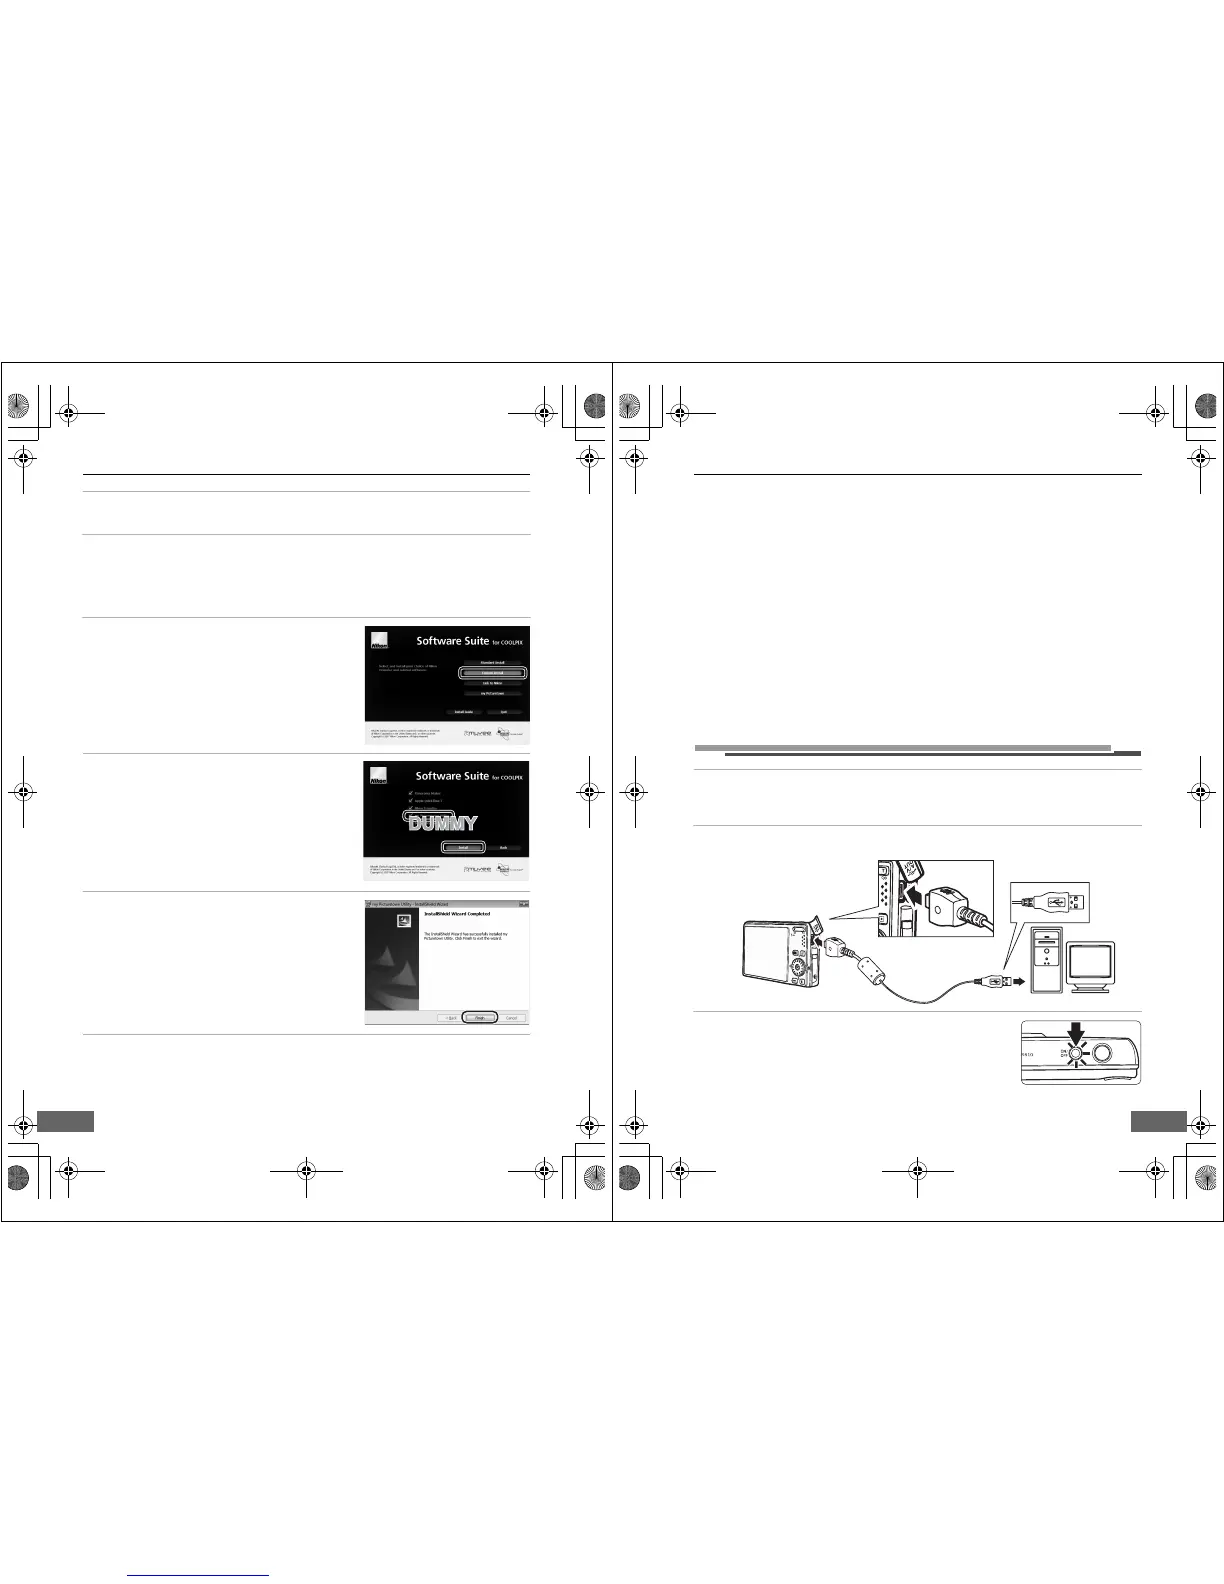
4 Click Custom Install.
5 Select my Picturetown Utility (w) and
click Install.
The my Picturetown Utility installer will start.
Follow the on-screen instructions to complete the
installation.
6 Finish the installation.
Click Finish (Windows) or Quit (Macintosh) and follow
the on-screen instructions to exit the Install Center
program.
7 Remove the Software Suite CD from the CD-ROM drive.
This completes installation.
Q7115_Wireless_EN.book Page 14 Tuesday, June 3, 2008 7:34 PM
Configuring the Camera’s Wireless Settings
15
C
Uninstalling the Utility
Windows: Select Start>All Programs>my Picturetown Utility>my Picturetown Utility
Uninstall and follow the on-screen instructions to complete uninstallation.
Macintosh: Open Applications>Nikon Software>my Picturetown Utility, double-click the
my Picturetown Utility Uninstaller icon, and follow the on-screen instructions to complete
uninstallation.
l Starting the Utility
1 Turn off the camera.
If the camera’s battery is exhausted while configuring wireless settings, the settings will not be
applied correctly.
2 Connect the camera to the computer using the supplied USB cable.
3 Turn on the camera.
If Nikon Transfer starts automatically, exit Nikon Transfer before
proceeding.
Q7115_Wireless_EN.book Page 15 Tuesday, June 3, 2008 7:34 PM
 Loading...