Chapter 1 Microscopy Procedures
4
Chapter 1-1
Microscopy Procedures
Bright-field Microscopy
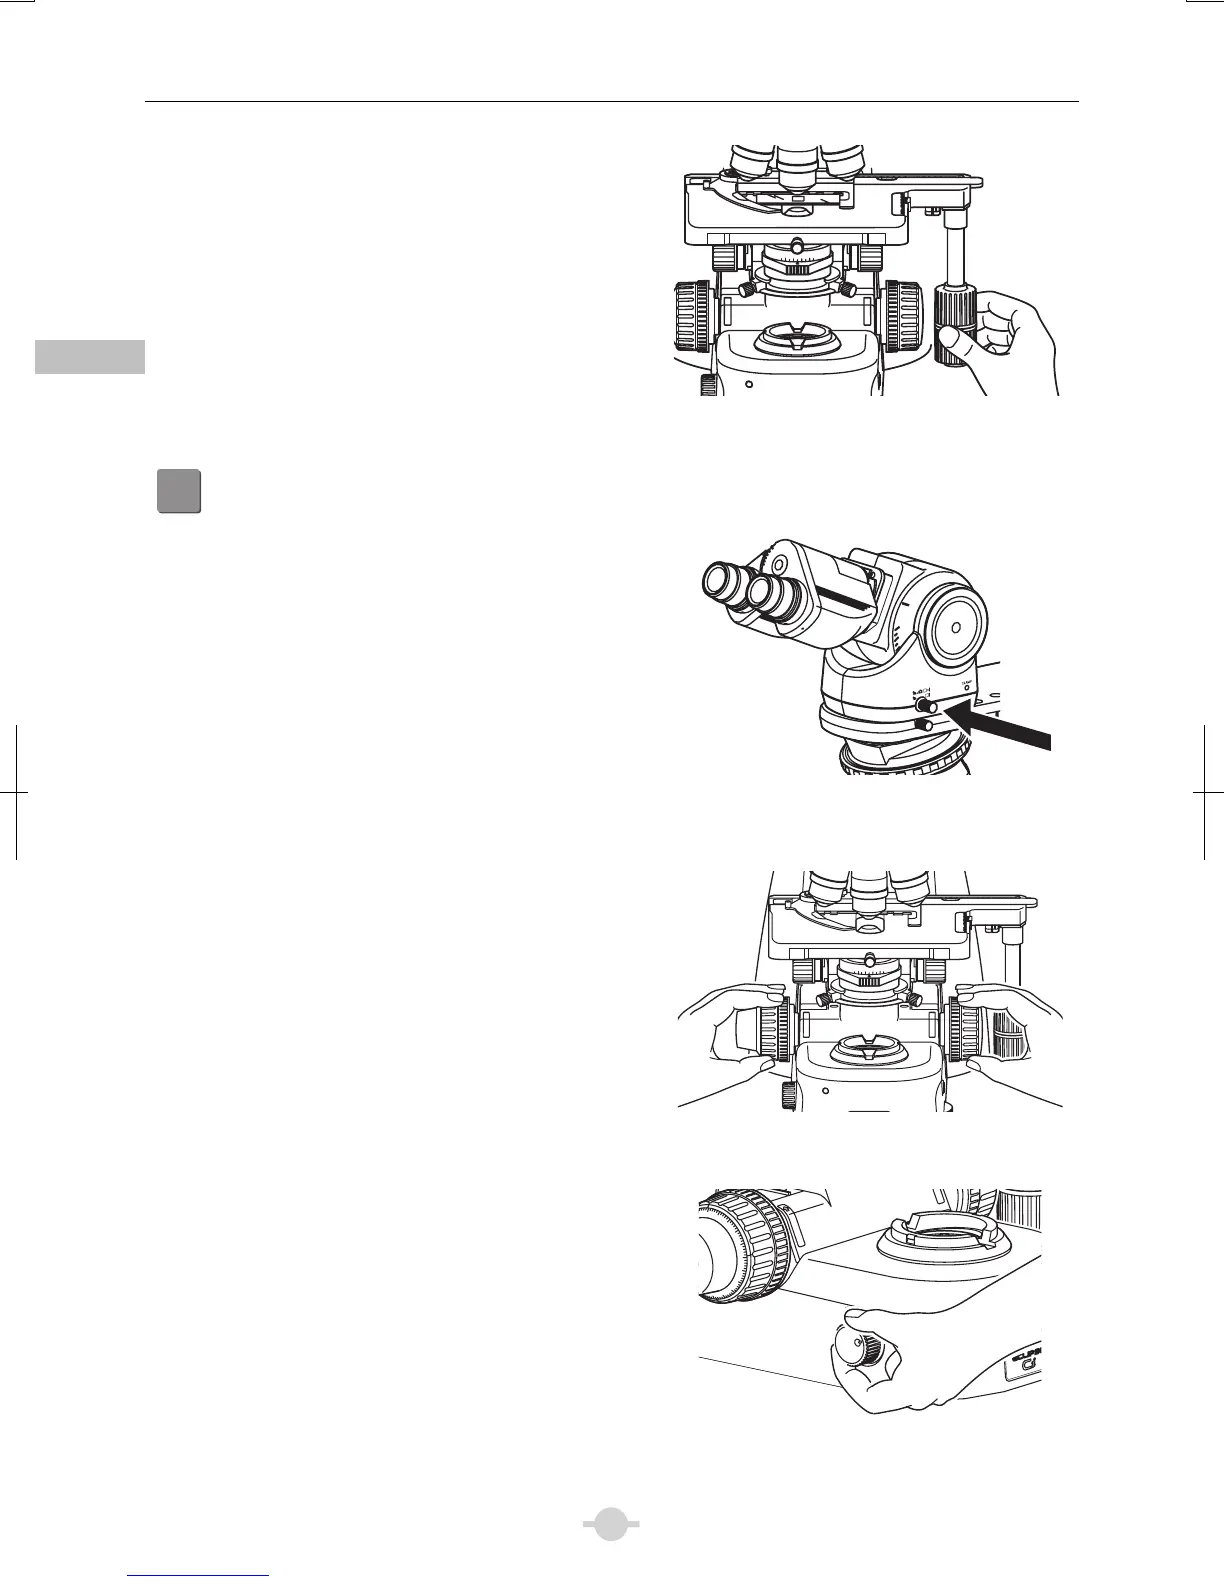
(2) Rotate the stage knob to move the stage and bring
the target into the optical path.
(So that the sample sealed under the cover glass
will be lighted.)
POWER
0.8
0.6
0.4
0.2
Bringing the Target into the Optical Path
6
Focus on the specimen. (→See Chapter 2 “2 Focusing on the Specimen (Vertical Stage Movement)” fo
details)
(1) When using the trinocular tube or ergonomic tube,
push in the optical path switching lever to distribute
100% light to the binocular section.
(2) Look into the eyepiece and turn the coarse focus
knob away to raise the stage to the upper limit. From
there, focus on the specimen by lowering the stage.
Switching the Optical Path 100% to the Binocular
Part
(3) When the focus was roughly adjusted using coarse
focus knob, turn the fine focus knob to accurately
adjust the focus.
POWER
0.8
0.6
0.4
0.2
Focusing on the Specimen
(4) Adjust the brightness of the field of view by turning
the dia-illumination brightness control knob.
TORQUE
CL
P
O
WER
0
90
80
30
20
10
Brightness Adjustment