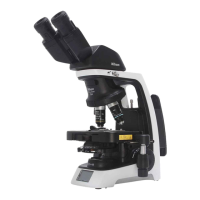
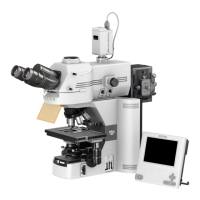
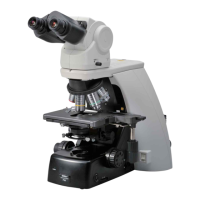
Do you have a question about the Nikon Eclipse E600 and is the answer not in the manual?
This microscope should only be used for microscopic observation.
Disassembling may cause malfunction and/or electrical shock.
Ensure input voltage matches microscope panel indication to prevent damage.
Use only specified power supply cord set for safety.
Avoid touching hot lamphouse and keep flammable materials away.
Use only the specified lamp and lamphouse to prevent damage.
Allow lamp to cool; turn off power and unplug before replacement.
Be careful not to graze hand on stage rack when moving.
Liquid contact can cause short circuits or overheating; dry immediately.
May affect precision electronic equipment if positioned too close.
Handle carefully; avoid unsuitable conditions to prevent damage or accuracy loss.
Detach lamphouse, grasp by base arm; avoid shock.
Controls stage vertical movement for focusing. Avoid improper rotation.
Adjust torque with the ring behind the coarse focus knob.
Marks stage position at focus, restricts coarse knob movement.
Adjusts light division between binocular and vertical tubes.
Allows installation of photomicrographic equipment.
Switch to disengage clicking for optical path selection lever.
Compensates for eyesight differences between eyes for easier observation.
Aligns view fields for binocular observation.
Aligns light path for optimal specimen illumination.
Adjusts resolution, contrast, and depth of focus.
Table indicating suitable pairings for optimal viewing.
Restricts illumination to the specimen area.
Houses NCB11, ND16, ND4 filters for various adjustments.
Component for positioning and moving the specimen.
Adjusts torque for X and Y axis stage movement.
Allows stage rotation for cropping images during photomicrography.
Automatically sets standard lamp voltage for color photomicrography.
Procedure for using oil-immersion objectives and condensers.
Procedure for using water-immersion objectives and condensers.
Lists required tools, primarily hexagonal screwdrivers.
Guidance on selecting a suitable environment for the microscope.
Verify input voltage matches the unit's specifications before use.
Instructions for replacing or installing the lamp and lamphouse.
Steps for installing the substage and stage components.
Procedure for fitting and securing the revolving nosepiece.
Steps for installing the eyepiece tube and eyepieces.
Procedure for safely connecting the microscope to power.
Refer to accessory manuals for installation.
Addresses issues like vignetting, uneven brightness, and component installation.
Troubleshooting for issues related to image quality and clarity.
Solutions for inconsistent focusing across the field of view.
Addresses problems causing image distortion or movement.
Diagnoses issues causing an unwanted color cast in the image.
Troubleshooting for low light levels, checking voltage and diaphragm settings.
Problems and solutions when using high magnification.
Addresses collision between objective and specimen during changes.
Solutions for focus shifts when switching objectives.
Troubleshooting for smooth specimen stage movement.
Problems with resolving a single image in binocular viewing.
Addresses causes of discomfort during prolonged use.
Diagnoses problems with the lamp not lighting or flickering.
Proper methods for cleaning lenses to maintain image quality.
Guidelines for cleaning the microscope body without damage.
Recommendations for storing the microscope and its parts.
Importance of regular checks for optimal performance.
| Optical System | CFI60 infinity optical system |
|---|---|
| Nosepiece | Quintuple nosepiece |
| Interpupillary Distance Adjustment | 50-75mm |
| Microscope Type | Upright biological microscope |
| Eyepiece | 10x widefield (FN 22) |
| Objectives | Plan Fluor |
| Condenser | Abbe Condenser (NA 1.25) |
| Stage | Rectangular mechanical stage |
| Focusing | Coaxial coarse and fine focusing |
| Diopter Adjustment | +/- 5 diopters |
| Phototube | Trinocular tube |
| Camera Compatibility | Compatible with various Nikon digital cameras |


