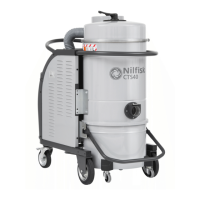
Vacuum cleaner description
This vacuum cleaner creates a strong air ow which is drawn
in through the inlet (5, Fig. 1) and blows out through the
exhaust (6, Fig. 1). After the hose and tools have been tted,
make sure that the motor turns correctly.
The vacuum cleaner is supplied with a check valve (Clapet)
which prevents air and materials from coming out of the dust
container, even if the electric motor rotates in the opposite
direction than the one expected.
Before turning on the vacuum cleaner, t the vacuum hose
into the inlet and then t the required tool on to the end part.
Refer to the manufacturer’s accessory catalogue or Service
Centre.
The diameters of the authorised hoses are given in the
technical specications table.
The vacuum cleaner is equipped with a primary lter which
enables it to be used for the majority of applications.
Besides the main lter which retains the more common types
of dust, the vacuum cleaner can be tted with an upstream
absolute lter and a downstream absolute lter, with a higher
ltering capacity for ne dust and substances harmful for the
health.
Optional kits
Please contact the manufacturer’s sales network for
information on optionals.
Instructions for installing the optional are included in the
conversion kit.
WARNING!
Use only genuine optional kits supplied and
authorized by the manufacturer.
Accessories
Various accessories are available; refer to the manufacturer’s
accessory catalogue.
WARNING!
Use only genuine accessories supplied and authorised
by the manufacturer.
WARNING!
ATEX variants: refer to the manufacturer’s sales
network.
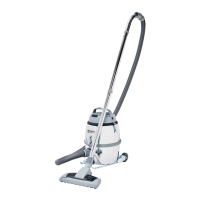
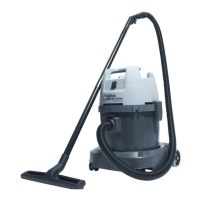
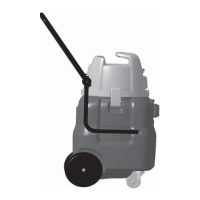
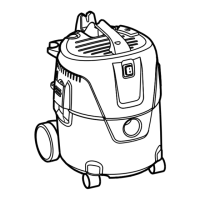
Parts and labels
Figure 1
1. Identication plate which includes:
• Manufacturer’s name and address
• Designation and model, including class (L, M or H)
• EC Mark
• Technical specications
• Serial number
• Year of manufacture
• Weight (kg)
2. Warning label
(For L, M, H, H AA for asbestos version)
3. Panel power plate
Indicates that the panel is powered by the voltage
indicated on the data plate.
4. Attention plate
Draws the operator’s attention to the fact that the lter
must only be shaken when the vacuum cleaner is o.
Failing this, the shaking would have no eect while the
lter itself could be damaged.
5. Inlet
6. Outlet
7. Check valve (Clapet)
8. Vacuuming unit
9. On/o switch (standard versions)
10. Vacuum hose
11. Closing plug (M, H versions)
12. Band latch
13. Container release handle
14. Control and check panel (versions with solid material
retaining sensor, cartridge lters or electric lter shaker)
Figure 2
1. L class label
2. M class label
3. H class label
4. asbestos label
The class L and M labels contain pictograms with the following
meanings:
WARNING!
This vacuum cleaner contains dust hazardous
for the health.
Only authorised personnel wearing suitable
personal protective equipment should empty
and service the vacuum cleaner, including removing
the means used to vacuum the dust. Do not use
without the complete lter system in place.
The class H label contains the above text.
 Loading...